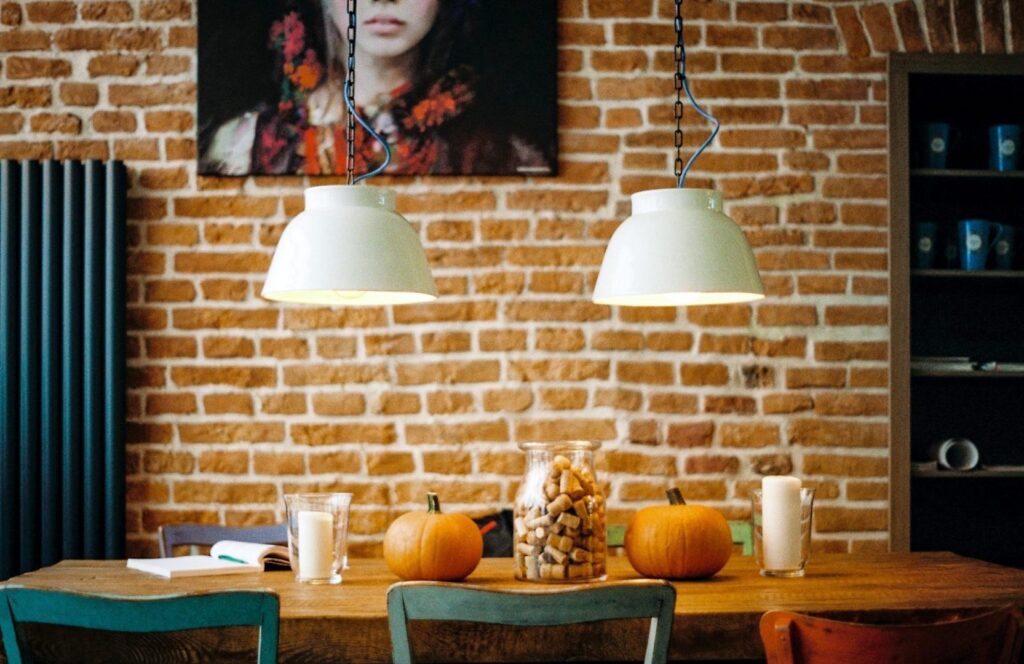
Exposed brick interiors have been trending for a while now, popular in hip new restaurant openings, underground bars and inner-city apartments, all keen to channel a particular urban aesthetic in the most simple way possible.
That said, this aesthetic is just as easy to achieve at home. For many older houses, there is a beautiful brick wall sitting behind the drywall, just waiting to be exposed. This look can give your house real character, evocative of a certain timelessness and modernity, all rolled into one.
The biggest challenge for homeowners who choose an exposed brick interior isn’t in the exposing, per se, but rather, in the taking care of their brick walls. Bricks are sensitive, brittle and porous and each of these characteristics presents their own set of challenges. With that in mind, here are 5 IDEAL tips for taking care of your exposed brick wall.
HANGING OUT
Artwork and other decorative items, tastefully chosen and hung, can truly make a house a home. But when you have an exposed brick wall as your interior design centrepiece, that becomes somewhat challenging to properly pull off. While some may believe that drilling directly into the bricks is the best way to do hang art, this is, quite simply, the wrong approach. The bricks can crack when drilled into and this will cause its own set of problems.
Instead, drill into the mortar and use anchors to hang whatever you need to. Ensure that the drill is set to the lowest speed possible to avoid vibrations that can make the mortar come loose. Alternatively, hiring professional drilling services can mitigate these concerns, as the process – both physically and metaphorically – will be in the hands of an expert.


REPLACING MORTAR
Speaking of which…bricks are held together using mortar and if that mortar deteriorates, it could bring about a whole host of issues including the weakening of that section of the wall. To ensure this doesn’t happen, the mortar should be replaced when it deteriorates.
If you know how to work with mortar and can do this yourself, start by preparing the work area. This includes laying a tarp below the area you’ll be working on. Next, clean the entire wall so you have a better idea of what areas you should work on. There are various ways to clean your brick wall, and these are material specific, so ensure you choose one that applies to the types of bricks you have. Check out Do It Yourself’s useful guide to 4 types of brick cleaning products for more on that.

After that is done, it is time to remove the mortar. This can be done using a chisel. All that remains is to prime the surface, apply new mortar and replace the bricks. If the bricks are too old to be put back where they came from, don’t be shy about replacing them. Be ruthless; this is the structure of your home we’re talking about, after all.
Most houses use standard brick dimensions but it is always a good idea to measure so you know the exact brick size you need.
In addition to the size, you might also want to consider the colour and style of existing bricks so the new bricks do not look out of place and jarring, visually. In their brick dimensions guide, Armstrong Supplies outline that the standard brick size in the UK can be simplified into a 3:2:1 ratio, with the standard being ‘’215 x 102.5 x 65mm. There is then a 10mm allowance for the mortar joints so the standard size for brickwork is 225 x 112.5 x 75mm’’.

PROTECTION AGAINST DUST AND HUMIDITY
Although bricks are quite sturdy, they are also porous. This presents several problems, two of which are being susceptible to humidity and also, to dust. The former can lead to deterioration of the bricks as well as mould issues. To prevent this from happening, use an acrylic-based paint or sealant to your interior brick wall.
As for dust, using a microfibre cloth or the brush attachment that comes with your vacuum cleaner will work well. If the walls are too grimy, for example, after moving into a new house, use some water with a mixture of mild dishwashing soap and salt in a 1:1 ratio. Then apply this mixture to the wall and wait for 10 minutes. You can then use a sponge to wipe the wall, sit back and revel in the results.

EFFLORESCENCE
Efflorescence is a white powder that starts to appear on brick walls after several years. Although it does not have a detrimental effect on the integrity of the wall, it is still a nuisance if it gets on your clothes. Keep in mind that although efflorescence often forms on exterior walls, it can also develop on interior brick walls.
The best way of removing efflorescence is to scrub the wall using a brush with hard bristles and a mixture of water and bleach. Horizontal motions work best, but do your best to avoid the mortar as the hard-bristle brush can damage it.
If the surface has a lot of efflorescence, you can use chemical cleaning agents (acidic agents are best) that are diluted according to the instructions needed. Do not forget to use protective gear, such as gloves, safety goggles and a mask. Also, remember to soak the surface in water prior to cleaning, so the cleaning agent doesn’t soak into the wall, and rinse the surface as you clean so the cleaning agent is not on the wall for longer than is necessary.
PREVENTING WATER DAMAGE
Water damage can be caused by water splashes and rising damp, and exposed brick certainly isn’t immune to this. In areas where a lot of water is used, especially in the kitchen, water can splash onto the brick wall and when it soaks into the mortar, it can cause the foundation of the wall to break down. Fortunately, this issue can be fairly easily solved by using a sealant, as we mentioned earlier.
When water seeps from below, it causes rising damp. When the water evaporates, it leaves salt crystals that can break down the mortar. It is therefore important to take care of this problem before it becomes a bigger issue.


