Ideal for keeping your chef’s knives razor sharp and ready for anything.
So, you’ve shelled out a ton or two on a new set of chef’s knives. You’ve put your blades through their paces with your finest brunoise, julienne and pont neuf, and you’ve got through a fair few boxes of blue plasters in the process.
On the surface, it seems like things are going pretty well, young apprentice.
But here’s a lesson for life, as well as for your chef’s knives; that box-fresh, factory-sharp confidence you’ve accrued over the course of several hundred onions (and plenty of tears shed!) won’t last forever.
Indeed, without proper maintenance of your knives, you’ll soon notice you’re dicing those onions less finely, slicing through meat less effortlessly, and bruising all manner of ingredients rather than seeing them off with a single stroke of your blade.
Because even the finest of chef’s knives need regular sharpening to ensure they’re performing to their full potential, keeping your fingers safe (there’s nothing more dangerous than a blunt knife, after all), and helping you prevent degradation of the blade, too.
The sheer variety of options on the market for knife sharpening can be daunting, with ancient methods rubbing shoulders with the most cutting-edge (excuse the pun) of technologies, all promising to make your blade sharper.
We’ve tried them all, suffering the blood (lots and lots of blood), the sweat, and the tears, to bring you these 5 of the best knife sharpeners, IDEAL for keeping your chef’s knives razor sharp and ready for anything.
SHAN ZU Sharpening Stone
We simply had to start our guide to the best knife sharpeners for chefs with the whetstone, which, when used correctly, is quite simply the most effective route to a razor sharp blade.
Interestingly, though you need to saturate your whetstone in water prior to use, the word ‘whet’ isn’t referring to moisture – rather, whet means ‘to sharpen’. Which, we would argue, bodes well for your blades when in the right hands. Anyway…
Whetstones work through a process of grinding and abrasion. Made from tiny rough-edged particles or grit, the user applies gentle pressure to their blade as they drag it back and forth along the stone (usually ceramic or made from synthetic materials), gradually filing away any rough edges and burrs to return the blade to its factory-level angle of sharpness. In the case of chef’s knives, this is generally 20° cutting angle for European blades and 15° for Japanese.
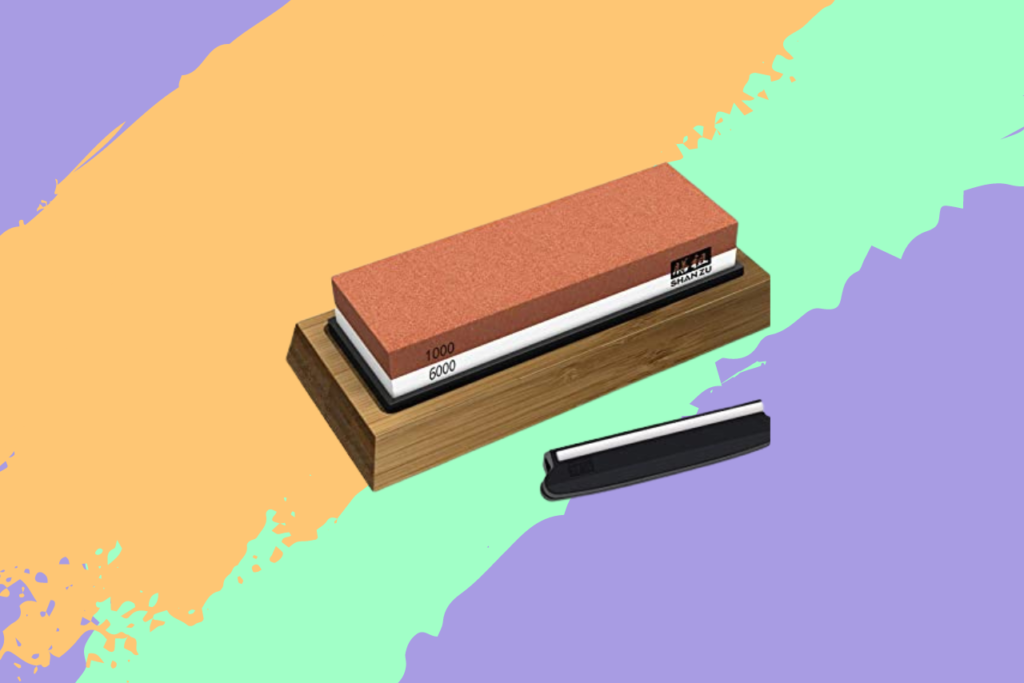
You’ll generally use two sides of a whetstone; coarse, at a grade of roughly 1000 for sharpening, and fine, at a grade of roughly 6000 for honing, though those grades differ considerably according to blade and need.
Once you’ve got the knack of the necessary applied pressure, motion and angle required – check out Cooks Illustrated handy guide on whetstone technique – whetstones are universally acknowledged as the best way to achieve a razor sharp knife edge.
The problem, we would argue, is getting that knack. Though you can buy analogue angle guides to use with your whetsones (we’re particular fans of the SHAN ZU sharpening stone, which comes with an angle guide and non-slip bamboo base for added safety), achieving those very specific angles and mastering the technique requires a hell of a lot of guesswork, time and terminally blunted blades.
That’s where our next entry comes in…
You can find the SHAN ZU sharpening stone on the knife maintenance section of the company’s official online store, or via Amazon.
HORL 2 Sharpener
Created by German father and son team Otmar and Timo Horl, the HORL aims to solve the problem of precision sharpening in an ingenious and hugely satisfying way.
The results, we should say, speak for themselves.
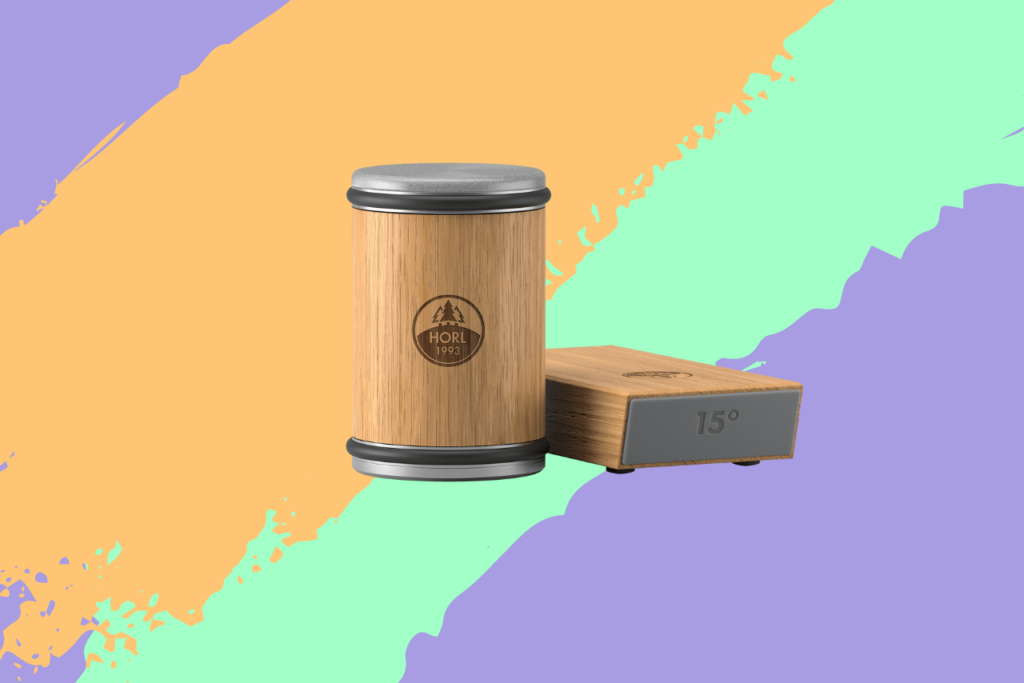
The HORL 2 knife sharpening range (there are three available; the HORL cruise, HORL 2 and HORL 2 Pro) comes in two parts. The first, a magnetic block onto which you attach your blade at the traditionally desired angles; on one side, 20° for European knives, and on the other 15° for Japanese. This ensures your blade is locked in place at the precise angle required for the sharpening process.
The second part of the HORL 2 is essentially a barrel-shaped rolling sharpener, with a disc attached to either side. The first, a diamond grinder that creates the perfect angle, and the second, a ceramic honing disc for that precision touch. With your knife held magnetically in place at the correct angle, you simply roll the sharpener across your blade, mimicking the motion of using a whetstone, but with precision guaranteed – you can watch the HORL 2 in motion here.

With no need for soaking and sharpness pretty much guaranteed in just a few strokes, this really is an incredible product. It’s also one which feels sturdy and reassuring in the hand; if used correctly, you should never need to replace the grinding discs or magnetic block.
Should you wish to, a range of discs in various grits are available if you’re seeking even further precision from your blades.
HORL products are available at horl.com or Borough Kitchen online.
BeaverCraft Leather Strop
Even after the precision sharpening and honing of your whetstone or HORL sharpener, you may be left with a few microscopic inconsistencies (known as ‘micro teeth’).
This is where stropping comes in; essentially, polishing the edge of an already honed knife to remove those inconsistencies and take it from sharp to razor sharp. Not only that, but the results of an efficient strop are aesthetic, too; known as the ‘mirror’s edge’, a stropped blade glistens in the sunlight and reflects like a mirror. You could even do your hair in (not with, mind) a knife that’s seen this treatment!
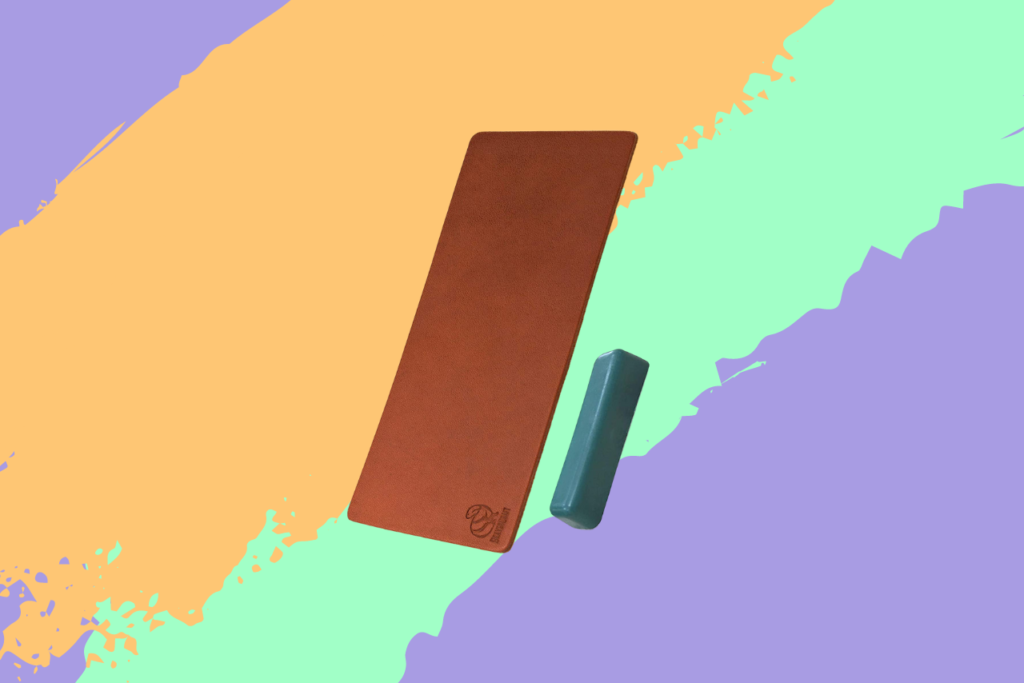
Stropping is best done on a strip of leather, using a similar pull technique as used on a whetstone, with the polishing further enhanced by applying a paste or compound to your leather.
Our favourite leather strop that we’ve thus far come across is the Beavercraft Leather Strop, which comes complete with its own compound. When used after a whetstone or the HORL (who also sell a leather strop as an accessory to their innovative sharpeners) for that final flourish, you’ll be amazed by the results.
You can find Beavercraft products on their official online store, or via Amazon.
Global Ceramic Water Sharpener
For a no-fuss, no-mess sharpener, a ceramic ‘pull through’ aims to do the job of mimicking a whetstone, but in a quicker, more convenient way. The results are a little mixed.
That’s not to say pull-through sharpeners should be dismissed. In the home kitchen, where the necessity for razor sharp knives is less pressing, they represent a safe and efficient way to moderately sharpen a knife without first having to master the technique required on a whetstone.
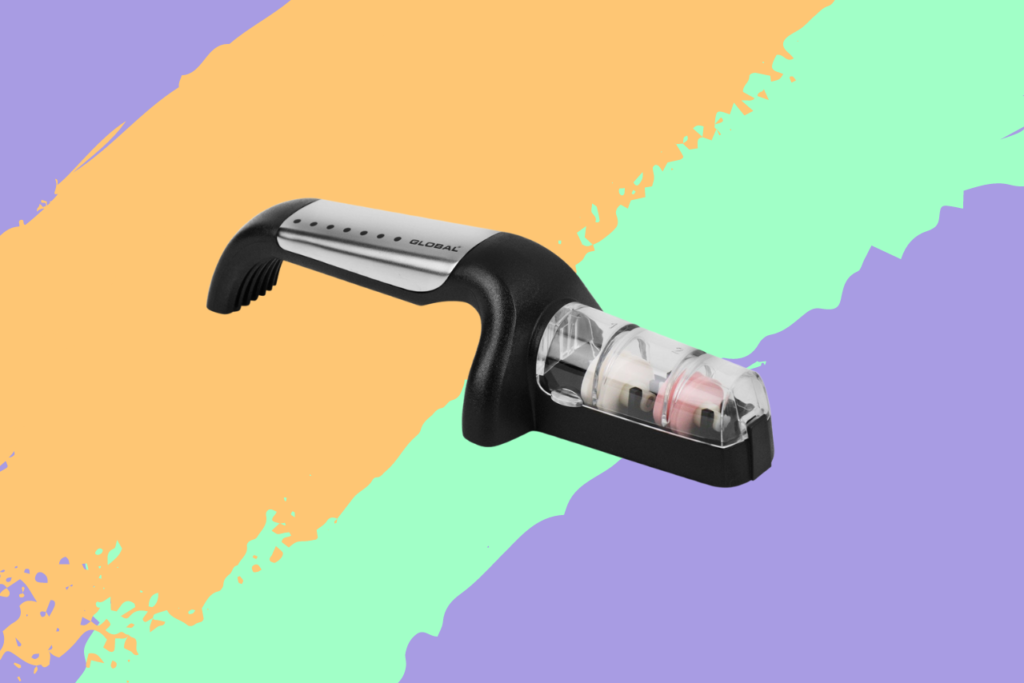
This is because pull-through sharpeners provide a similar effect to a whetstone, using abrasion. The advantage for home cooks is that you use your knife in a guided upright position, ensuring you achieve roughly the correct angle, but in a safer way.
The version we’ve found to provide the best results is the Global Ceramic Water Sharpener, which has two settings for coarse and fine sharpening, and mimics a whetstone in that the user fills the two sharpening compartments with water to ensure that some of the grit is held in suspension during sharpening.
If you’re short on time or willpower, such pull-through sharpeners do a decent job of keeping your blades slicing and dicing smoothly.
Wusthof Honing Steel 9’’
Speaking of efficiency, any self-respecting chef or knife-aficionado will want a honing steel in their arsenal of sharpening equipment.
We’ve all seen Gordon Ramsay or your local kebab-bossman elegantly wafting their blade across a honing steel and enjoyed the show, but what do these ubiquitous tools actually do?
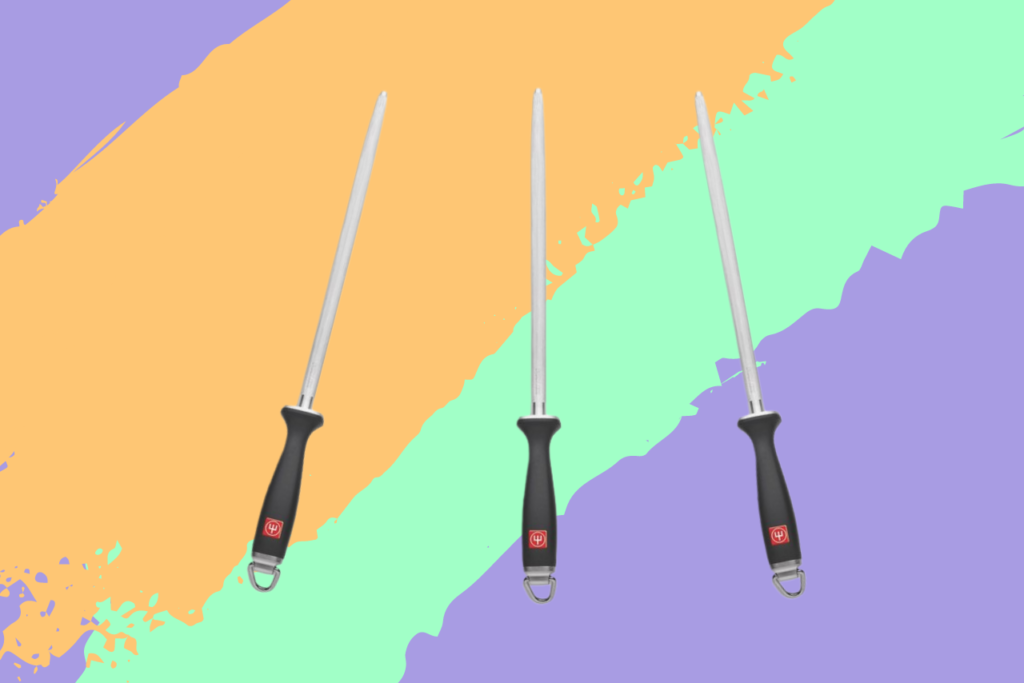
Well, a honing steel works a little like the finer grind on your whetstone or HORL, folding back the burr that you revealed in the first stage of sharpening and re-aligning the blade. Many chefs choose to hone their knives before and after each service or slicing session, but for the homecook, this may not be necessary.
Read: How to land your first job in a professional kitchen
As with whetstones, the key difficulty with efficient honing on a steel is getting that 20° or 15° angle just right, which can take years to master. Unless you’re seriously skilled and dextrous, free-handing isn’t recommended when using a honing steel – you’re just not going to get that angle on point.
Instead, you should use your honing steel vertically, with the tip touching your work surface. Find the correct angle (this video provides a useful explanation on doing that) and pull the knife from heel to tip across the steel as if you were taking a slice off the honing rod.
With a little practice, this is a fantastic way to hone your chef’s knives, but shouldn’t be used as the only method of sharpening your blades.
For fantastic honing, we prefer to use a Wusthof sharpening steel, ideally at a length of 9 inches for maximum control. This one boasts a diamond coated surface and pleasing weight in the hand, though most honing steels do a roughly similar job.
Interestingly, just as with angle guides for whetstones, you can also find angle guides for honing steels. These neat little devices attach to the base of the steel (right next to the handle) and guide your blade, helping you achieve the correct angle. Wedgek provide the best versions we’ve seen; check out Serious Eat’s guide here for more on that.
So, How Do I Know If My Knives Are Sufficiently Sharp?
Once you’ve sharpened your knives obsessively and diligently, you’re probably wondering just how to tell if you’ve done a good job. Aside from going to town on a carrot or celery stick, there are a couple of other ways to check the newly-minted sharpness (or otherwise) of your blade using items you’ll find at home.
Firstly, the marker pen method; simply draw a thin line along the edge of both sides of your blade before sharpening. If the line disappears on both sides, the edge has learned its angle and is now sharp.
Alternatively, cut close to horizontally across a piece of paper. If your blade catches or struggles to cut through the paper cleanly, it’s not yet sharp. Should you be able to cut through the paper in the kind of satisfying manner usually reserved for scissors and Christmas wrapping paper, then you’ve done a great job with your sharpening.
Now, watch those fingers!


