This week marks National Butchers Week, celebrating the fantastic work and pride for their craft shown throughout this oldest of professions. Coincidentally, we’re also at the quarter-final stage of another season Masterchef, traditionally an opportunity for eight contestants to treat eight separate racks of lamb with disdain. Get ready for fat not rendered, meat served blue (‘I’m sorry, I can’t eat that’) and watery sauces with less integrity than the judges.
If you do fancy showing this amazing cut of meat the respect it deserves, we’ve teamed up with renowned meat masters Ginger Pig to bring you these; our 7 IDEAL steps to the perfect, medium rare rack of lamb.
HAVE YOUR BUTCHER PREPARE THE RACK FOR ROASTING
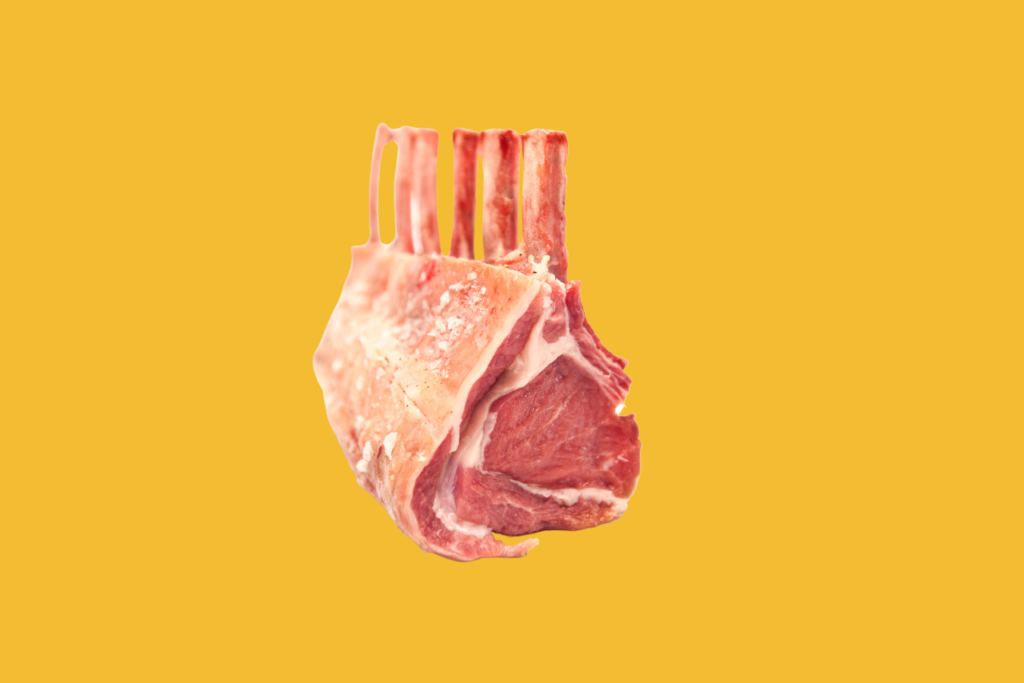
A rack of lamb is known as the ‘best end’ for a reason; it’s unmatched in tenderness and taste when cooked right. Getting it roast ready requires skill. Fortunately, your ever knowledgeable butcher will want you to enjoy this prime cut to its full potential, and as such will be more than happy to make the job of cooking it as easy for you as possible. So, ask for them to ‘french trim’ the rack, in other words, remove excess fat and scrape the rib bones clean so they look presentable and don’t burn in the oven. Your mate behind the butcher’s block will probably also ask if you want the chine removing. Answer in the affirmative if you won’t want to present your expertly cooked meat in individual, easy to manage portions.
ROOM TEMPERATURE MEAT
As with most meat cookery where a hot frying pan is the first part of the cooking process, you don’t want your rack to be fridge cold when it first touches down in some hot oil. At best this will slow the cooking time, at worst it’ll bring the temperature of the fat and pan down significantly and lead to a stewing of the meat rather than searing.
This threat is easily averted; take your meat out of the fridge well ahead of time, and let it reach room temperature. You also want the surface area of your rack of lamb to be as dry as possible to achieve a decent browning, so make sure you go to town with the paper towels prior to seasoning.
SEASONING SAVVY
Nature’s design means it’s tough to get seasoning into the middle of a full 8 ribbed rack. A simple marinade of olive oil, garlic, rosemary and perhaps some anchovy, will work its magic with time. Just go easy on any acidic element, which is going to cure the meat and mess with its integrity prematurely. Make sure you salt generously on all sides before the next part of the process.
SCORE & RENDER
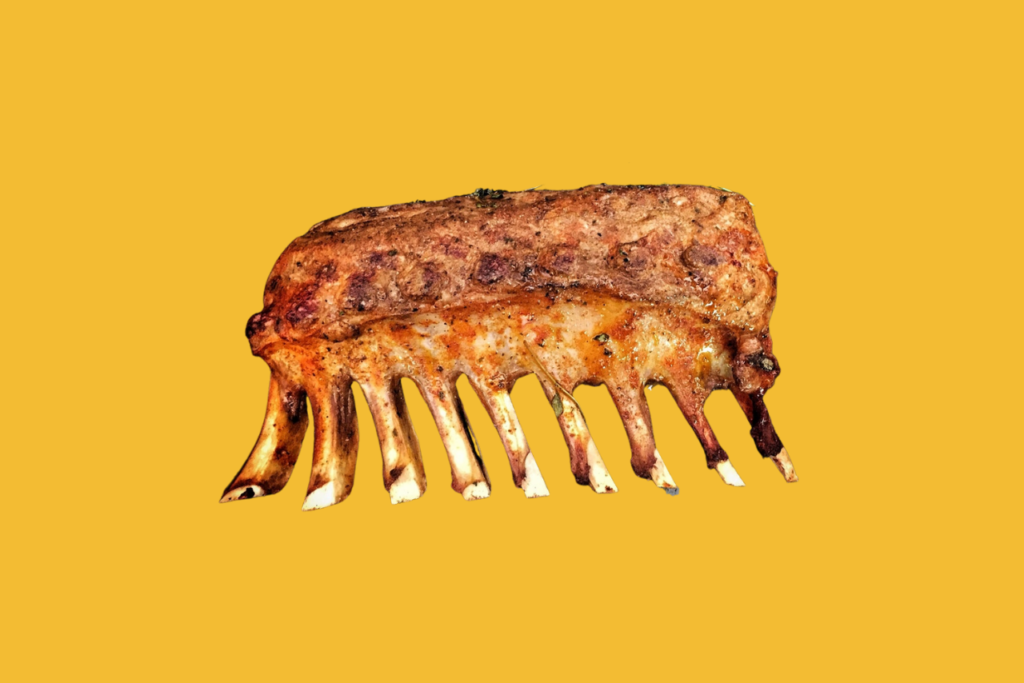
Your butcher can do the former if asked, but if you’re taking matters into your own hands, take a sharp as shark’s teeth knife and score diagonally and counter-diagonally; you know the score. Get your oven preheated to 190˚C.
Next, get a wide, ovenproof, heavy bottomed pan on medium to hot on the hob. Give the pan a generous slug of a neutral oil with a high smoke point and lay your rack carefully skin side down in the pan. Allow the fat to render out a little. Then turn up the heat and get that skin nice and crispy; the best bit for most!
Once you’re satisfied with the crisp skin, add a little butter to the pan (along with some rosemary and garlic, perhaps) and allow it to foam. Sear all the other sides of the rack in this heady mix for maximum flavour. Do this bit carefully and don’t worry, it won’t affect the internal heat of the lamb meat all that much. That work is done in the oven.
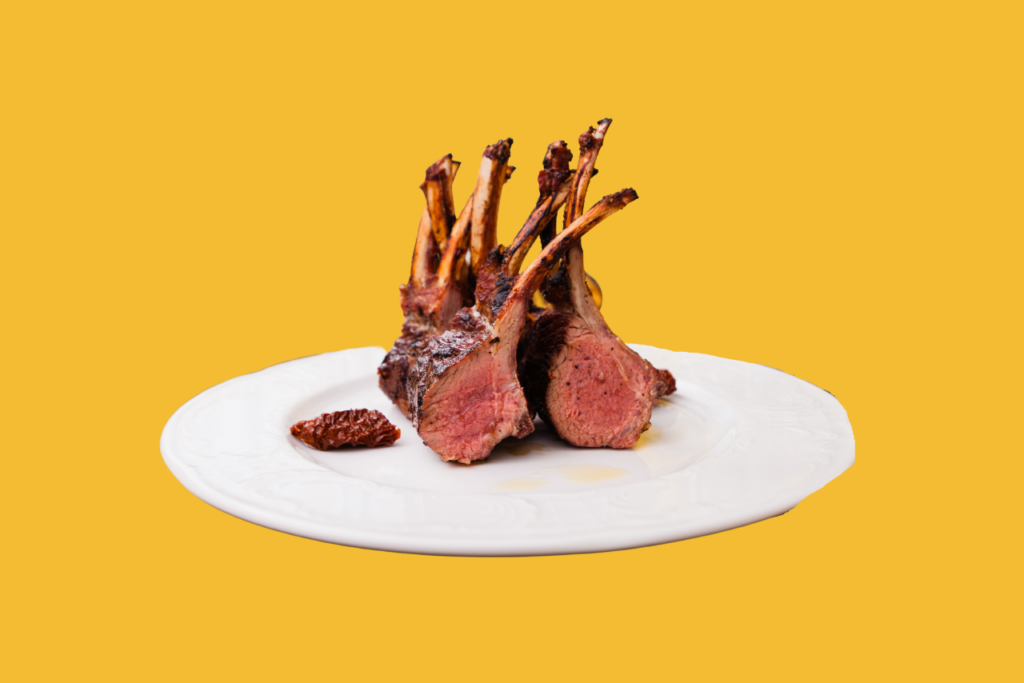
OVEN READY
Have the rack of lamb skin side up in the pan, and transfer that pan to the oven. It’ll need, roughly, between 12 and 15 minutes (adjust times according to how many ribs are in your rack) to achieve that perfect medium rare finish. The only way to ensure this is by using a meat thermometer; you’re looking for 60 to 65°C in the middle.
R’N’R
You’ve gone to all this work, you can wait a little bit longer to enjoy it at its best, right? The rack needs time to rest, preferably under a tented piece of tin foil, so that its juices can redistribute outwards and, in doing so, make for the most tender meat imaginable. Lovely stuff.


