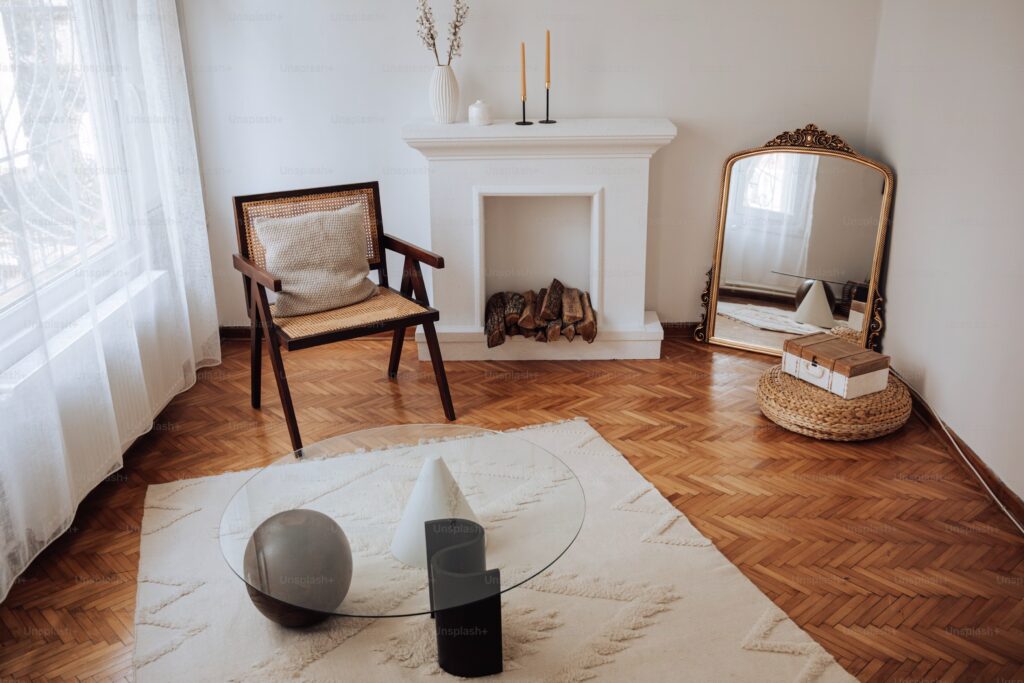
Doesn’t it sound so satisfying under foot? Don’t you love the way it both absorbs and amplifies sound when you want it to? And how about its ability to catch the light just right? Are you tired of all these rhetorical questions yet?…
Well, according to experts, we’re not the only ones enthusing about hardwood flooring. In fact, as reported in Home Light, 54% of buyers would pay more for homes decked out in hardwood.
We’d wager that 54% wouldn’t be so keen if those hardwood floors hadn’t been properly looked after, however. Indeed, solid wood floors, engineered wood flooring and reclaimed wood floors should all be maintained and cared for in a similar manner to ensure they’re looking their best and performing well.
For wood floors to last a long time, they must be kept clean, swept regularly, varnished occasionally and treated with the correct products. With all that in mind, here’s how to maintain hardwood floors to make them last.
Be Aware Of The Danger Signs
Since wood is a natural product, it will let you know if something is wrong. Prevention is better than cure, as they say, and this maxim even applies to hardwood flooring! Indeed, it’s essential that you manage elements that can cause your flooring to buckle, crack or discolour, with heat and humidity (both high and low) having a particularly dramatic effect on wood.
To avoid the issues we mentioned, you should maintain a consistent temperature (between 16°C and 25°C is advised) at home and ensure a relative humidity of between 35% and 45%. You can monitor the humidity at home using a hygrometer, available on the high street for as little as £20. Should the humidity be too low, consider introducing a humidifier. If it’s too high, a dehumidifier will do the trick. This should also help manage any issues with mould.
Keep Them As Dry As Possible
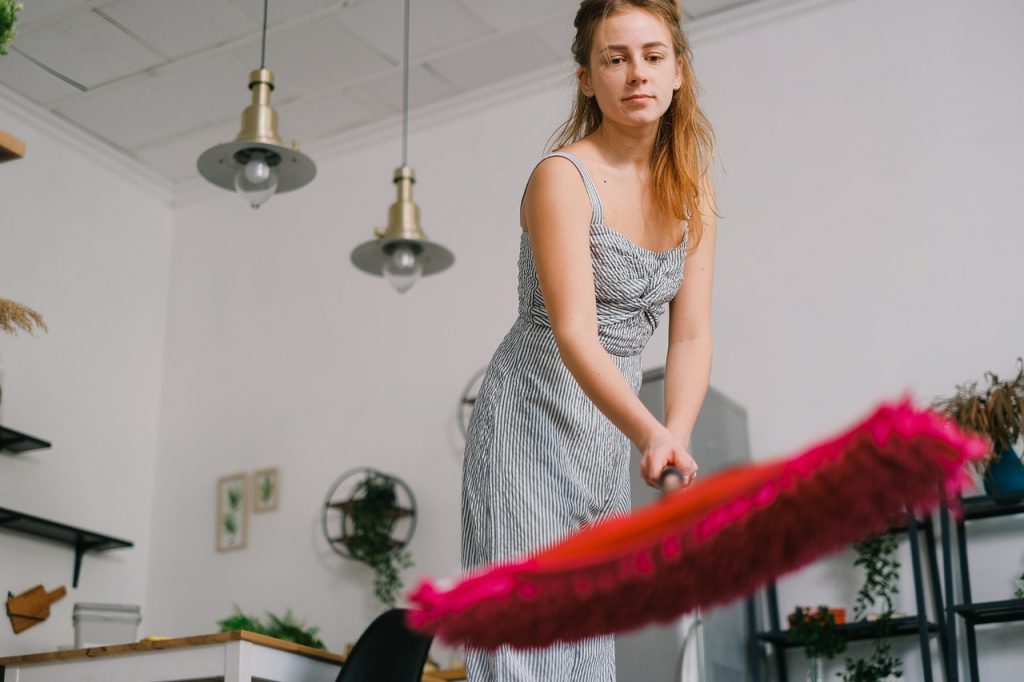
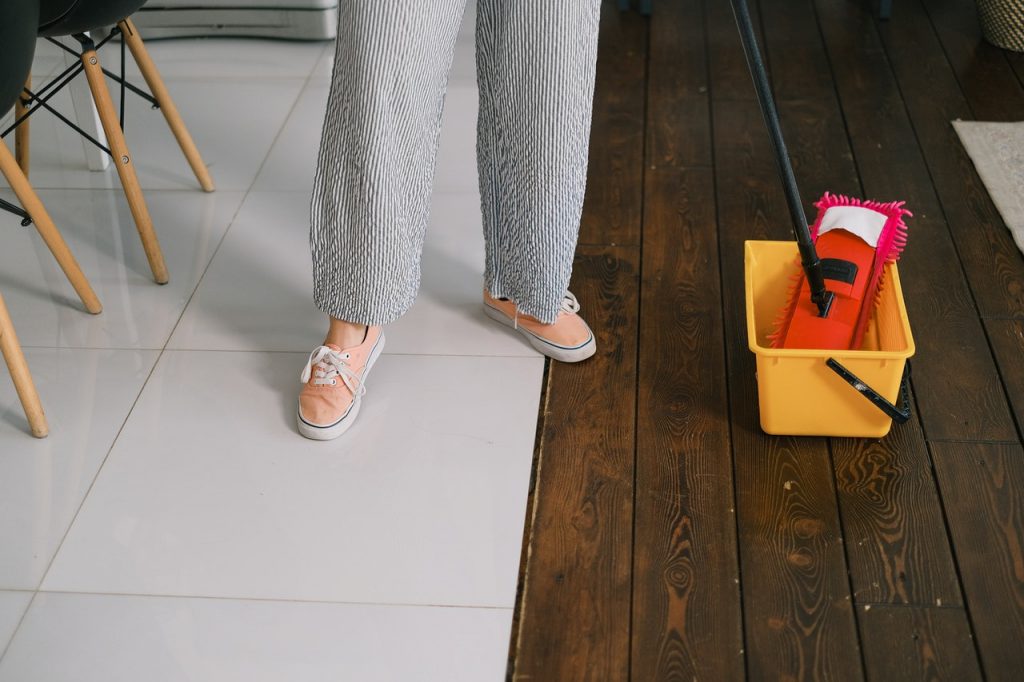
Water is the enemy of hardwood flooring, and if your floors get wet, their wood may expand. Aside from the dehumidifying we mentioned earlier, it’s also essential that you clean up any spillages immediately – though you shouldn’t use water based products to do this! A soaking wet mop is the worst thing you can do here, and steam cleaning isn’t much better, the latter causing vapour to enter the gaps in your flooring and leading it to expand. Instead, it’s recommended that you sweep and vacuum regularly and judiciously.
Vacuum Frequently
We emphasise the importance of keeping litter and debris off your hardwood floor. When you walk across wooden flooring, any debris underfoot acts almost like sandpaper, leading to scuff marks that are irreversible.
Vacuuming should be done on a regular basis, ideally with a soft brush to prevent scratches occurring. This should help you lift dust and debris from the tiny gaps between planks without causing damage.
Determine Which Cleaning Product Is Right For You
There isn’t a set rule for the ideal cleaning product for wood flooring; rather, it’s dependent on several factors such as the humidity levels of your home and the type of wood used. For this reason, we advocate listening to the product recommendations of your flooring or finish manufacturer.
Certain goods should be avoided at all costs, though. If you have a hardwood floor, we don’t recommend using any harsh chemicals to clean it. In fact, many experts recommend you use white vinegar mixed with warm water at a ratio of 100 ml 4000 ml, roughly. It should be noted that some hardwood flooring doesn’t respond well to vinegar, however, so you should check the solution in an inconspicuous spot prior to using it more comprehensively.
Read: 7 Flooring Ideas For Your Living Room
Repair Surface Scratches
Of course, some floor scratches are going to happen, and are part and parcel of the ins and outs of the day. Surface scratches can be repaired with a stain marker from a wood furniture touch-up kit. That should get the job done.
Know When To Recoat
You’ll know it’s time to recoat the floor when it begins to wear, tear and take on a tired appearance. Sanding shouldn’t be necessary for a recoat; instead, simply put another coat of finish on top to bring back the brilliance and liveliness of the original floor finish. An extra layer of protection every time it’s needed is what this activity can do to extend the life of a floor for many years to come.
Use Furniture Pads & Protect High-Traffic Areas
Place felt pads under all furniture legs, chairs, and table bases to prevent scratches and indentations when items are moved or shifted. These pads should be replaced every few months as they can accumulate dirt and grit that could actually cause more damage than protection. For high-traffic areas like hallways and entryways, consider using runners or area rugs to provide an extra layer of protection, but ensure they have non-slip backing that won’t damage the floor’s finish.
Control Sunlight Exposure & UV Damage
Direct sunlight streaming through windows can cause significant fading and discolouration in hardwood floors, creating uneven patches that detract from their appearance. Install UV-protective window films, blinds, or curtains to filter harsh sunlight during peak hours. Additionally, rotate furniture and rugs periodically to ensure the floor ages evenly – this prevents stark contrast lines where covered and uncovered areas meet. Some homeowners even apply UV-resistant finishes during re-coating to provide an extra layer of protection against sun damage.
Establish A No-Shoes Policy & Entry Protocol
High heels, cleats, and dirty outdoor shoes can wreak havoc on hardwood floors, particularly in high foot traffic areas of the home, with stilettos creating pressure points that can permanently dent softer woods. Consider implementing a no-shoes policy in your home, providing a designated area near entrances for shoe storage and offering guests slippers or socks. At minimum, place high-quality doormats both outside and inside every entrance to trap dirt and moisture before it reaches your floors. These mats should be cleaned regularly to maintain their effectiveness and prevent them from becoming sources of debris themselves.


