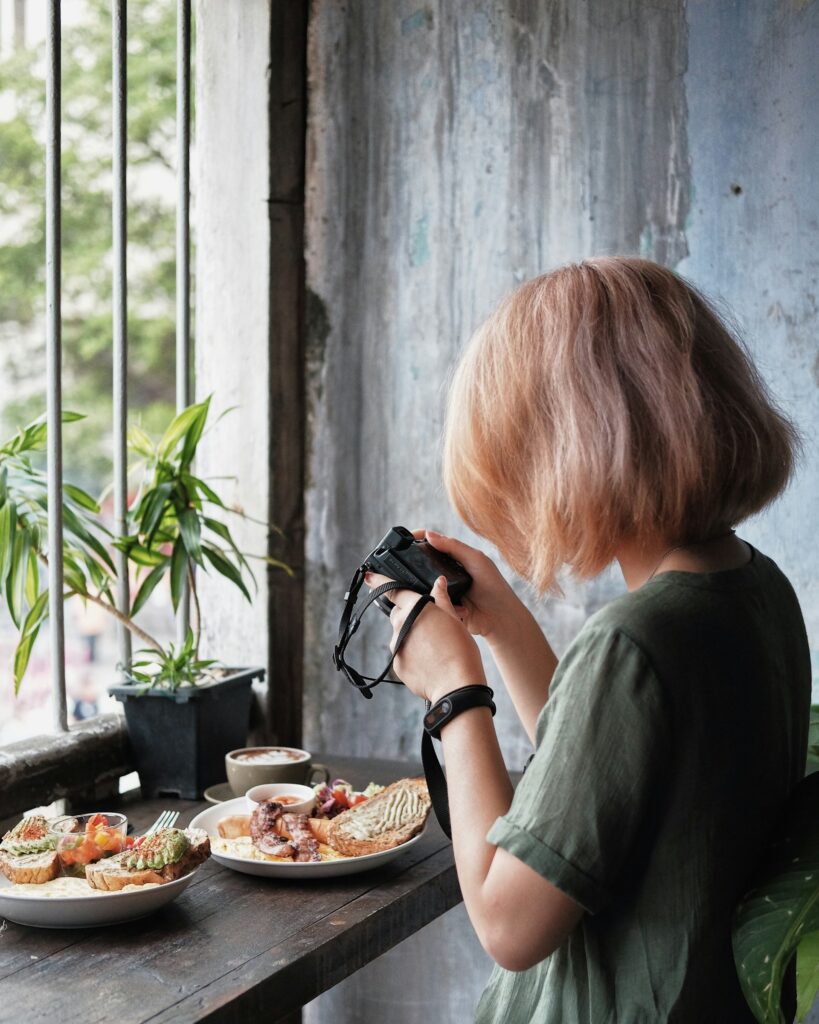
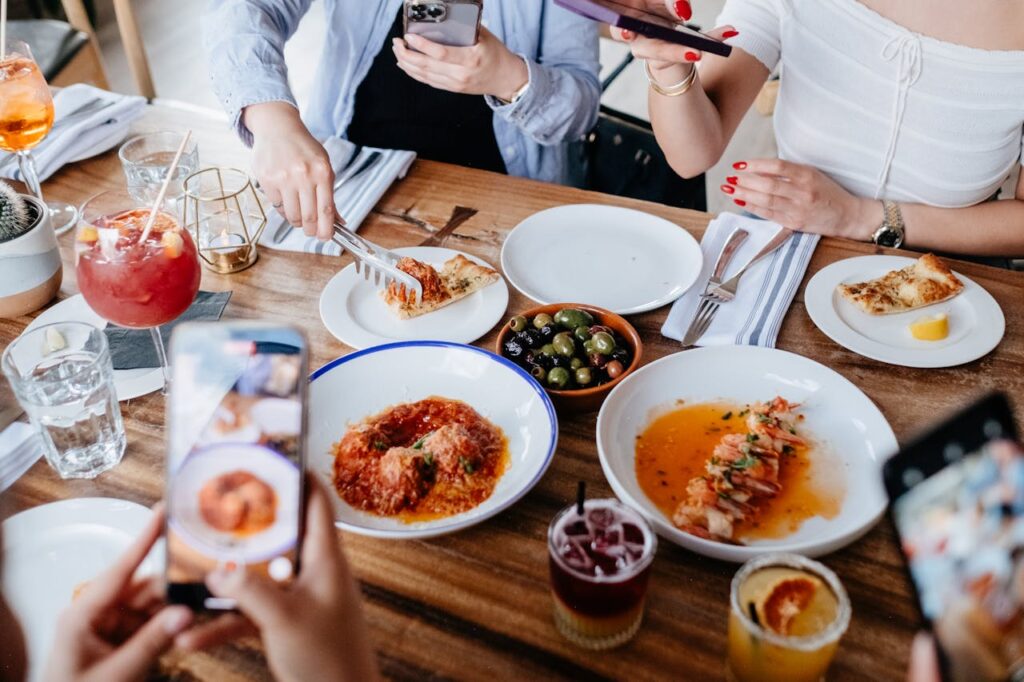
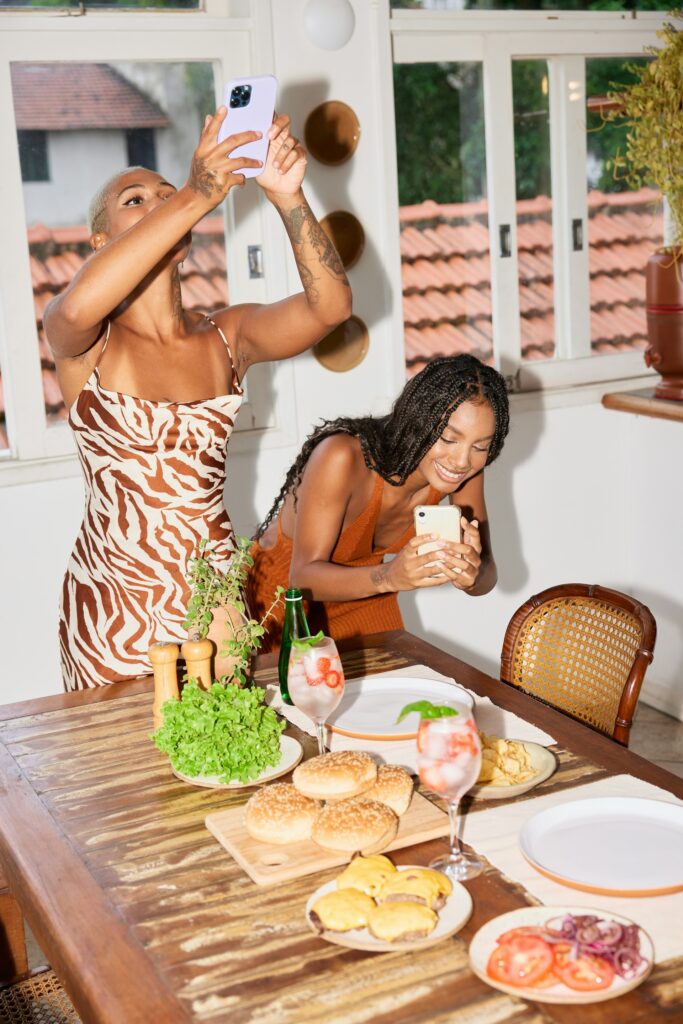
Ever wondered why your food photos don’t get the same love as those from your favourite restaurants on Instagram? It’s not just about having a fancy camera. Or, indeed, a Michelin-star worthy meal. Nor are your lack of followers to blame.
Instead, there might be a few rookie errors you’re making that are holding back your food photography, preventing that all important ‘pop’ from happening. You know, the one that leads to likes, engagement and perhaps even new followers.
With that in mind, here are some pro tips on how to up your food photography game on Instagram.
Master The Light
Lighting can make or break your food photos. Natural light is the gold standard, sure, but knowing how to manipulate it is key to achieving that professional look.
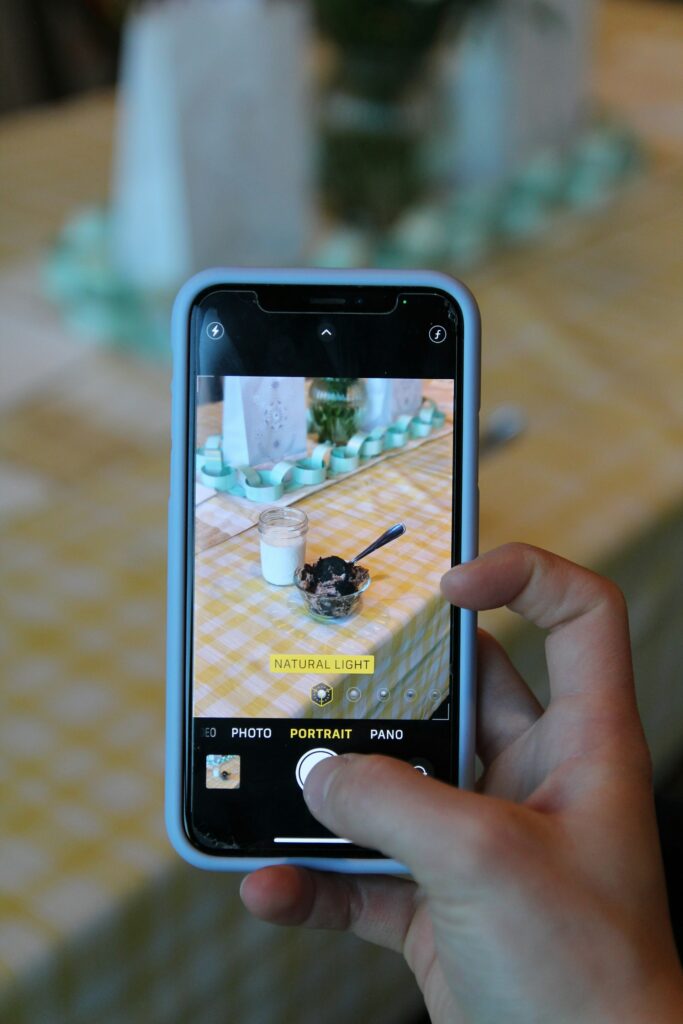
Use Natural Light
- What to Do: Position your dish near a window with indirect sunlight. Avoid direct sunlight as it can create harsh shadows.
- Pro Tip: Use a white napkin or a piece of white paper to reflect light back onto the food, reducing shadows and highlighting textures. If the light is too harsh, diffuse it with a sheer curtain or a piece of parchment paper. This softens the light and creates a more even illumination. If you do encounter any unwanted reflections, you can, of course, remove light glare from photos in post-production to ensure your images look polished.
Avoid Artificial Light
- What to Do: Turn off overhead lights and avoid using your phone’s flash.
- Pro Tip: If you must shoot at night, invest in a small, portable LED light with adjustable brightness and colour temperature. Use a softbox or a diffuser to soften the light and avoid harsh shadows. Position the light at a 45-degree angle to the food to create depth and dimension.
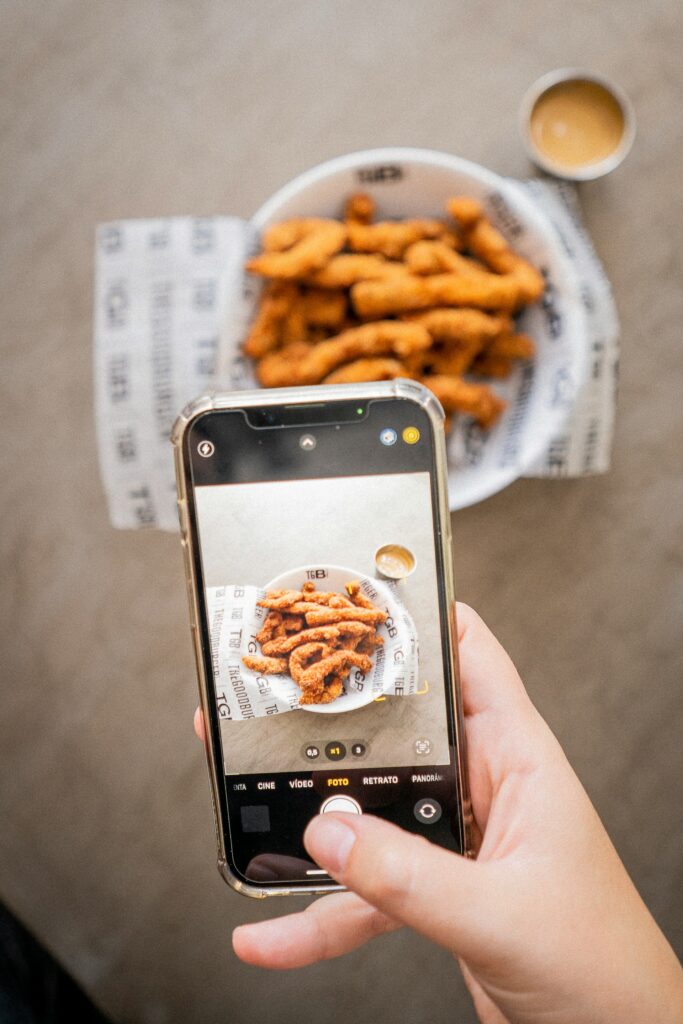
Nail The Composition
Composition is about arranging the elements in your photo to create a balanced and visually appealing image. It’s not just about the food; it’s about the entire scene.
Apply The Rule Of Thirds
- What to Do: Imagine your frame divided into nine equal parts. Place key elements along these lines or at their intersections.
- Pro Tip: Use gridlines on your phone’s camera settings to help with alignment. This helps in creating a balanced and engaging composition. Experiment with placing the main subject off-centre to add interest and draw the viewer’s eye through the image.
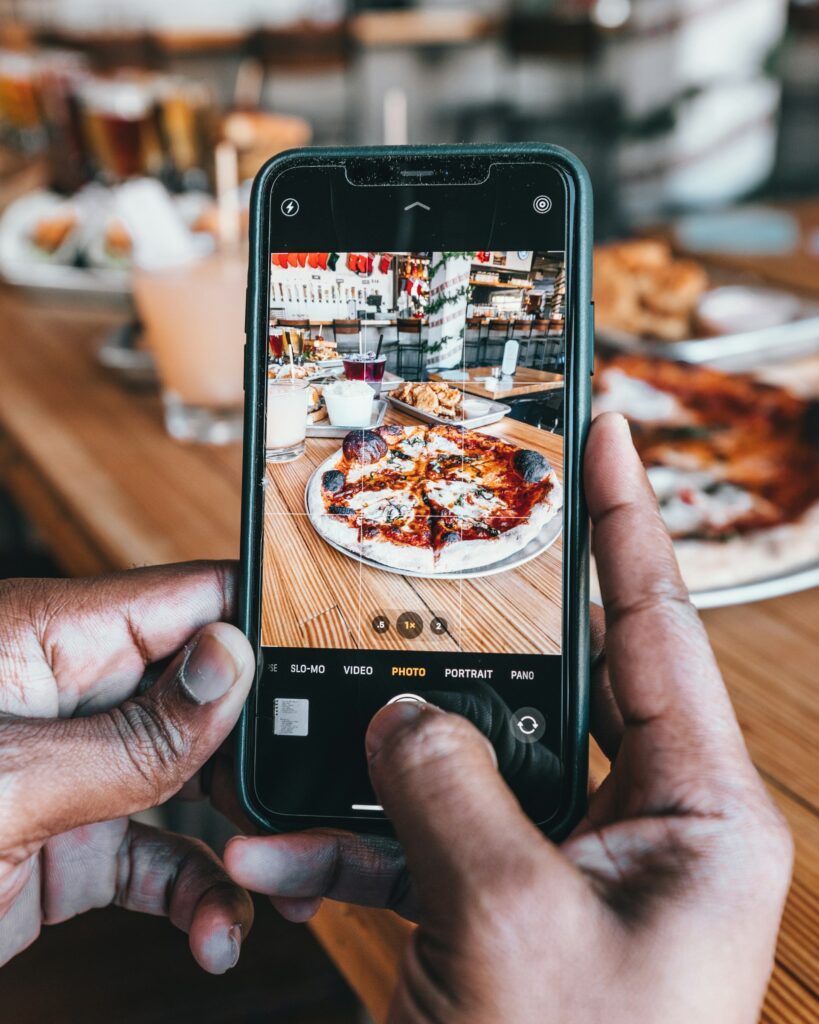
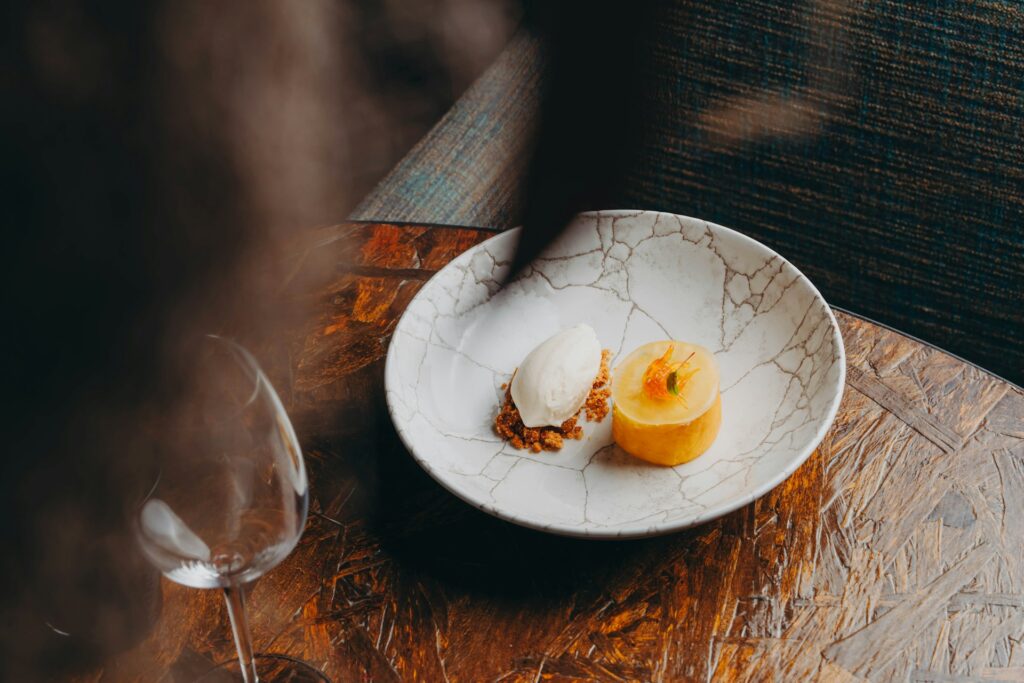
Create Depth & Layers
- What to Do: Add elements like cutlery, napkins, or ingredients around the main dish to create a story.
- Pro Tip: Use a shallow depth of field (portrait mode on your phone) to blur the background and make the dish pop. Layering elements at different distances from the camera can add depth and interest to your photo. For example, place a fork in the foreground and a glass of wine in the background to create a sense of space.
Edit Like A Pro
Editing can transform a good photo into a great one. It’s not about making the food look fake, but enhancing its natural beauty.
Use Editing Apps
- What to Do: Download photo editing apps like Lightroom Mobile, Snapseed, or VSCO.
- Pro Tip: Focus on adjusting brightness, contrast, and saturation. Avoid over-editing; aim for a natural look. Use the selective adjustment tool to brighten specific areas or enhance colours without affecting the entire image. For instance, you can make the greens in a salad more vibrant without altering the rest of the photo.
Consistent Aesthetic
- What to Do: Develop a consistent editing style for your feed.
- Pro Tip: Create and save presets in your editing app to apply the same adjustments to all your photos. This helps in maintaining a cohesive look across your Instagram feed. Consistency in editing can make your feed look more professional and visually appealing.
Upgrade Your Gear
While you can take great photos with a smartphone, a few additional tools can significantly improve your results.
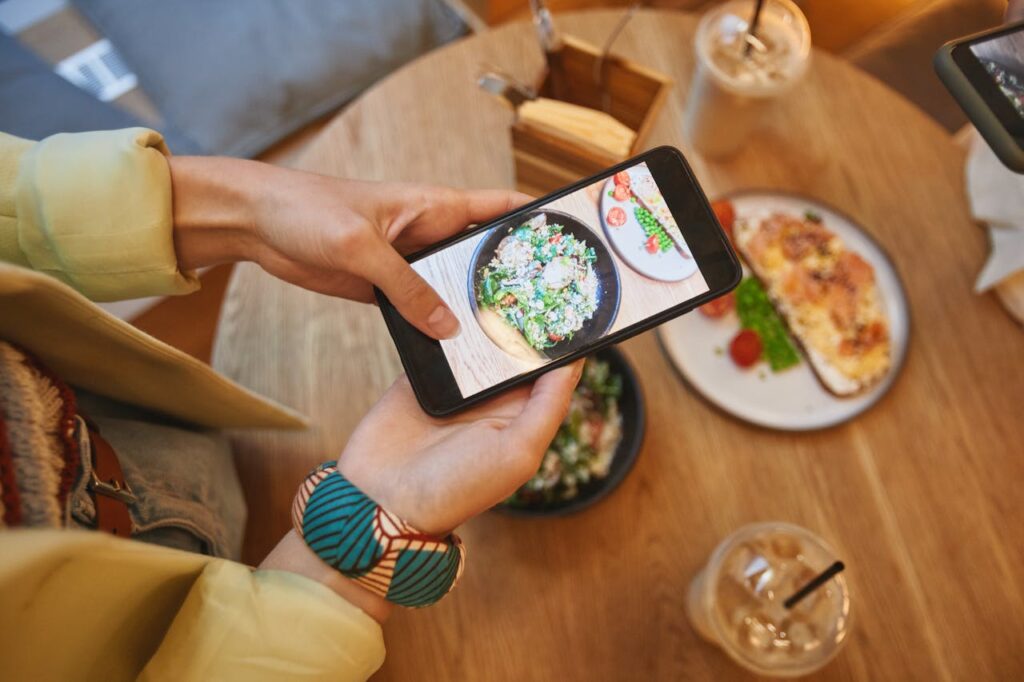
Use Your Phone’s Camera Features
- What to Do: Explore your phone’s camera settings. Use gridlines, adjust exposure, and try different modes like portrait or pro mode.
- Pro Tip: Invest in clip-on lenses for your smartphone to get macro shots or wide-angle views. These lenses can help you capture more detail and create more dynamic compositions. A macro lens is perfect for close-up shots of intricate details, like the texture of a cake or the bubbles in a drink.
Consider A Tripod
- What to Do: Maximise the potential of your smartphone camera by using a small, flexible tripod to stabilise your shots.
- Pro Tip: A tripod allows you to use slower shutter speeds in low light without blurring the image. It also frees up your hands to adjust the food or props while keeping the camera steady. Look for a tripod with flexible legs that can be wrapped around objects for unique angles.
Focus On The Details
Attention to detail can elevate your food photos from amateur to professional. Small adjustments can make a big difference.
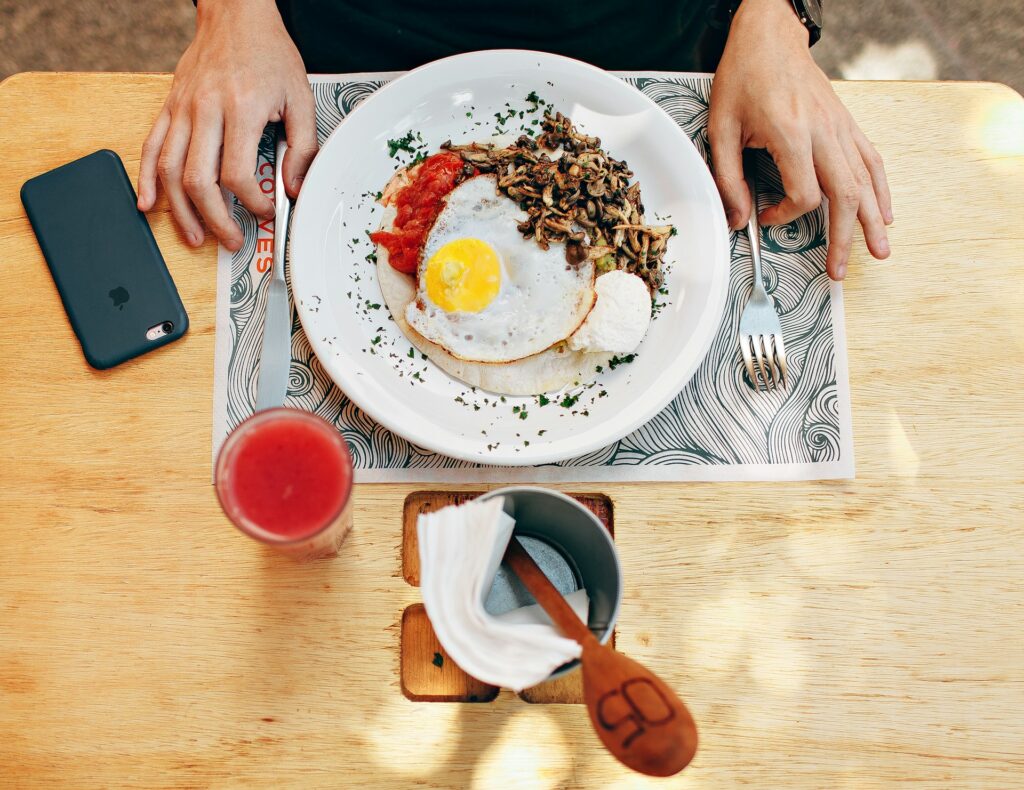
Clean & Arrange
- What to Do: Wipe the edges of the plate, arrange garnishes neatly, and ensure no crumbs or spills are visible.
- Pro Tip: Use tweezers for precise placement of small garnishes or ingredients. A clean, well-arranged plate looks more appetising and professional. Pay attention to the smallest details, like the alignment of cutlery or the placement of a napkin.
Highlight Textures
- What to Do: Capture the textures of your food by shooting from different angles.
- Pro Tip: Use a macro lens to get close-up shots that highlight the intricate details of your dish. Textures like the crispiness of fried food or the glossiness of a sauce can make your photos more engaging. Experiment with side lighting to enhance the texture and create shadows that add depth.
Perfect Timing
Timing is crucial in food photography. Freshness and the right moment can make your food look more appetising.
Shoot Fresh
- What to Do: Take photos as soon as the dish is ready to capture it at its freshest.
- Pro Tip: For hot dishes, capture the steam by backlighting the dish. Use a dark background to make the steam stand out. If the food starts to lose its appeal, have a spray bottle of water or oil to refresh it. For cold dishes, like salads, add a few drops of water to make them look fresher.
Work Quickly
- What to Do: Have your setup ready before the food is plated.
- Pro Tip: If you’re photographing ice cream or anything that melts, use a chilled plate to buy yourself more time. Pre-plan your shots and angles to minimise the time the food spends out of its optimal state. Have all your props and equipment ready so you can focus on capturing the perfect shot quickly.
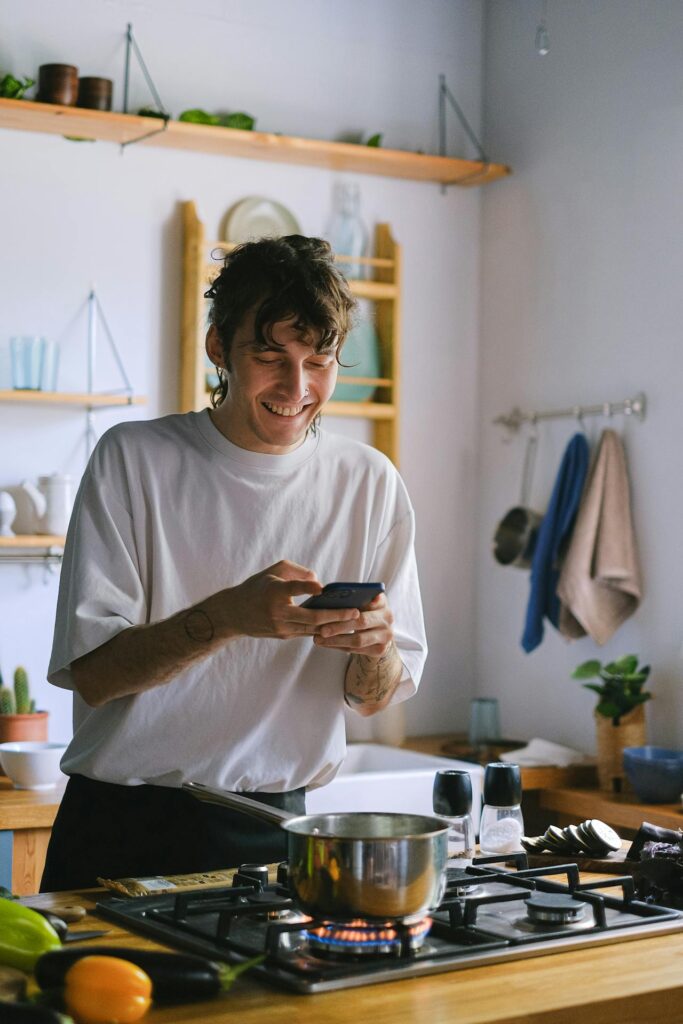
Capture The Process
- What to Do: Take photos of the cooking process, not just the final dish.
- Pro Tip: Action shots, like pouring sauce or sprinkling herbs, add dynamism and interest to your feed. These shots can convey the effort and love that went into making the dish. Show the ingredients, the preparation steps, and the final plating to create a complete story.
The Bottom Line
Improving your food photography isn’t about having the most expensive equipment; it’s about mastering the basics and paying attention to details. By focusing on lighting, composition, editing, equipment, details, timing, and storytelling, you can elevate your food photos to professional levels. So, next time you’re about to snap a pic of your meal, remember these tips and watch your Instagram likes soar.


