Let’s be honest, nobody scrolls past a photo of oozy burrata or golden chips without pausing. If your goal is to snap shots that make people feel hungry (or at least stop mid-scroll), you’re in the right place.
Today, we’re talking restaurant photography: how to shoot food (and everything around it) that looks as good on camera as it tastes in real life, plus the little tricks that make all the difference, even if all you’ve got is an iPhone and a steady hand.
Use Natural Light Whenever You Can
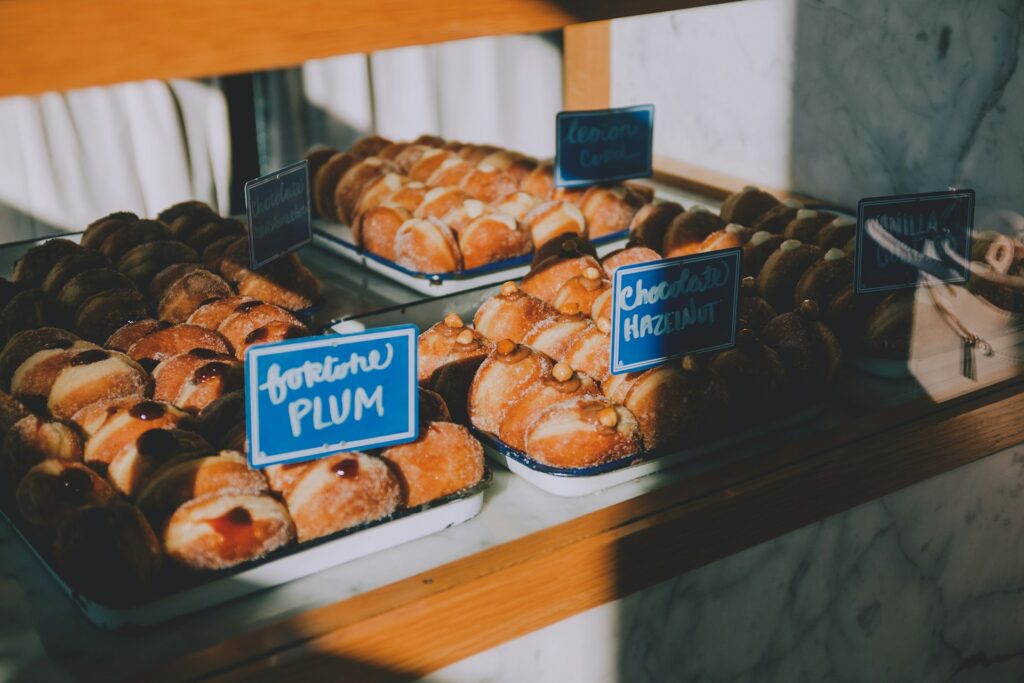
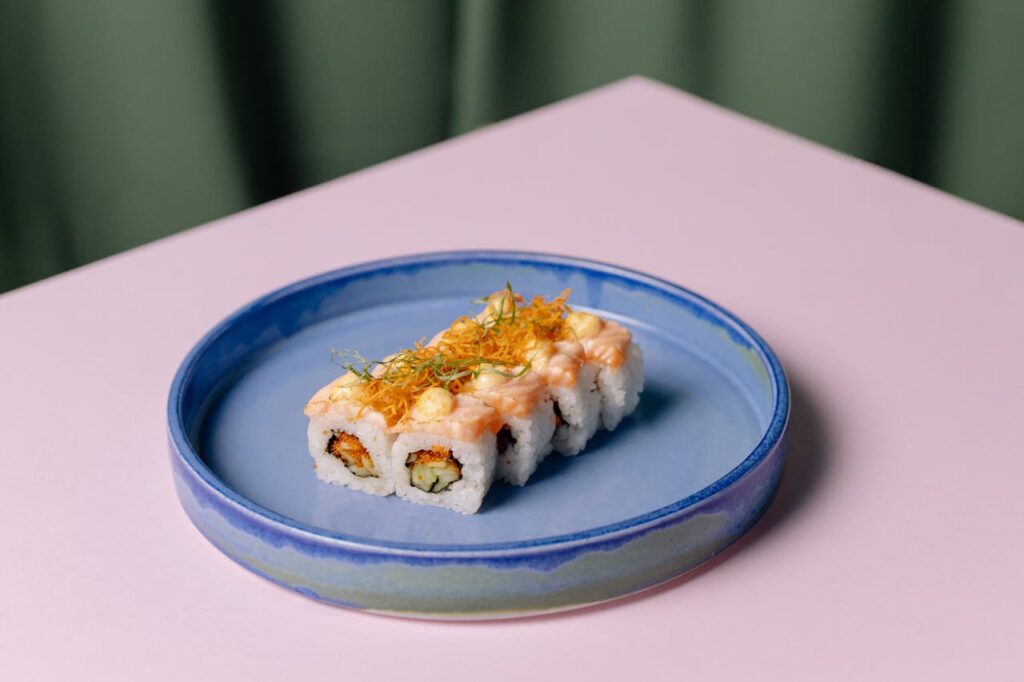
If there’s one thing that’ll instantly level up your food photos, it’s light. Not the harsh kind blasting from overhead bulbs – natural light. Soft, diffused daylight is your best friend. Park yourself near a window and let the light do its thing. Morning or late afternoon? Even better. That glow is a chef’s kiss.
Now, if you’re shooting in a dimly lit restaurant (which, let’s be honest, is most of them), resist the urge to use your phone’s flash. It’ll turn that gorgeous plate into something that looks like a crime scene. Instead, angle the plate so it catches the available light, or get creative: use a napkin as a diffuser or a menu to bounce light back onto the food.
Even your iPhone can handle this like a pro. Tap once to lock focus, then drag your finger up or down to fine-tune exposure, just a 10-20 % boost in brightness can lift a flat shot and make colours pop.
Shoot In Raw (Or Apple Proraw)
Here’s another important tip that a lot of people overlook – your photo isn’t finished when you hit the shutter. Not really. What you capture is just step one. If you want full control over how your shots look (especially when dealing with tricky lighting or weird colour casts), you’ll want to shoot in RAW.
On a DSLR or mirrorless camera, that means switching from JPEG to RAW in your settings. On newer iPhones, it’s called Apple ProRAW, and you’ll find it in the camera options under “Formats”. Either way, RAW saves all the unprocessed data straight from the sensor. It doesn’t squash the shadows or blur the detail like a compressed JPEG does. That means when you edit later, you’ve got far more to work with, better colour accuracy, smoother highlights, and the ability to fix blown areas or dark corners without the photo falling apart.
But there’s a catch: RAW files are big. Like really big. One ProRAW photo can easily hit 25 MB. Take a few dozen during a lunch service and your iPhone starts begging for space. So, before you get too snap-happy, make sure you’ve got enough space. It’s worth scrolling through some of your older shoots and clearing out the near-duplicates, the ones where the garnish slid off, or the lighting didn’t quite hit.
And if the thought of doing all that by hand makes your eyes glaze over, fair enough. There are plenty of apps that’ll sort it for you. Tools like Remo Duplicate Remover, or better yet, Clever Cleaner – a free app that uses AI to group similar shots (usually from the same photoshoot) and helps you clear them out automatically or with a quick once-over.
Some options are completely free, others offer a few extras if you upgrade, but honestly? Just having one of these from a list of cleaner apps on your phone makes a big difference. It keeps things tidy, frees up space, and lets you focus on what actually matters – the photoshoot.
Enable Gridlines & Follow The Rule Of Thirds
This one’s simple, but it changes everything. Gridlines. If you’ve never turned them on, now’s the time. Most cameras (and iPhones) have a built-in grid overlay that splits the screen into 9 boxes: 2 horizontal, 2 vertical lines. That’s your guide for the rule of thirds.
Instead of sticking your plate dead-centre, try placing it where those lines cross. It instantly makes the photo feel more balanced and natural, like your eye wants to look there.
- For iPhones, head to Settings > Camera and toggle Grid on.
- On a DSLR or mirrorless camera, it’s usually in the display or shooting menu. On Canon models, it’s usually called Viewfinder Display, and once “Grid display” is enabled, you’ll see those lines right in the frame.
You don’t have to follow it religiously, but once you start using the rule of thirds, you’ll notice your shots feel more deliberate. A dish on the left, cutlery on the right. A latte art close-up in the bottom third, steam rising into the top. It’s subtle, but it works.
Shoot From The Right Angle For Each Dish
Now, there’s no single “best” angle in food photography, but some are definitely better than others depending on what’s in front of you. It’s all about playing to the dish’s strengths.
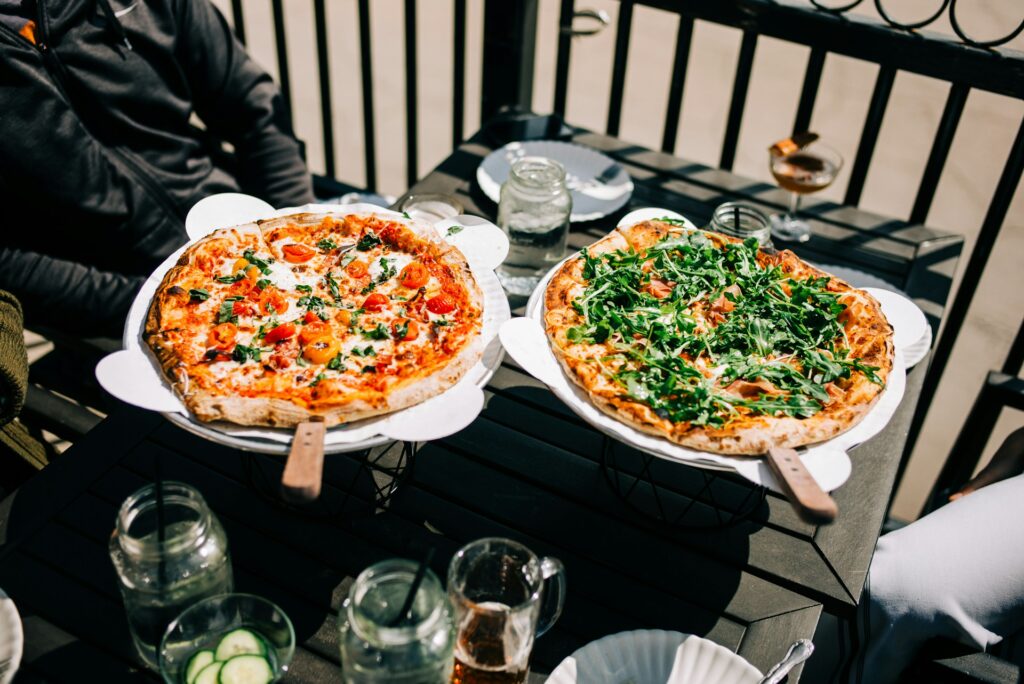
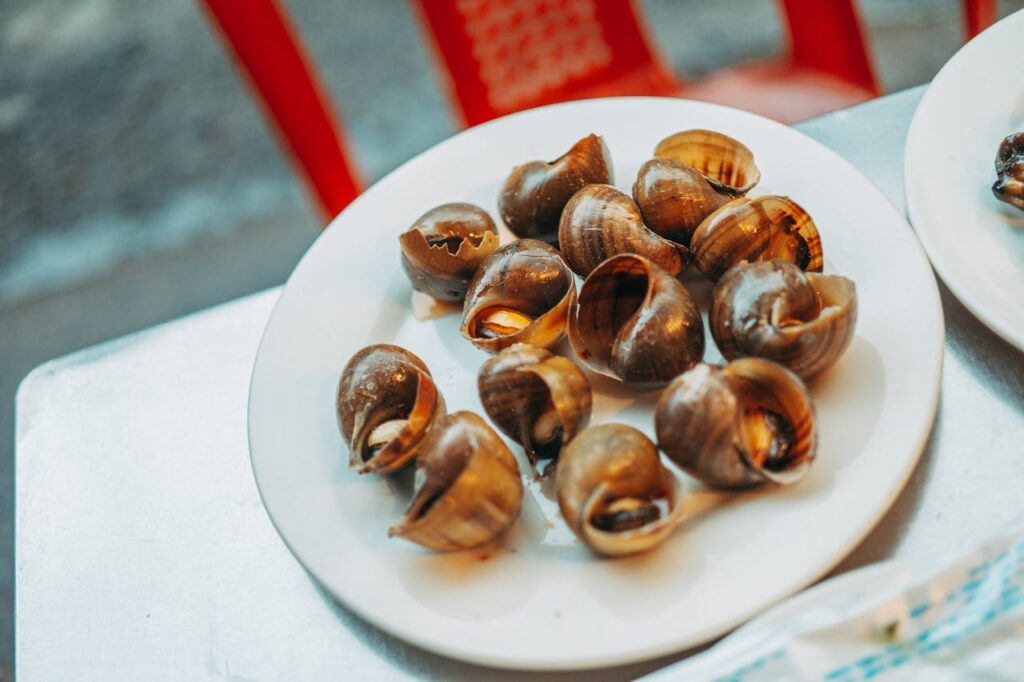
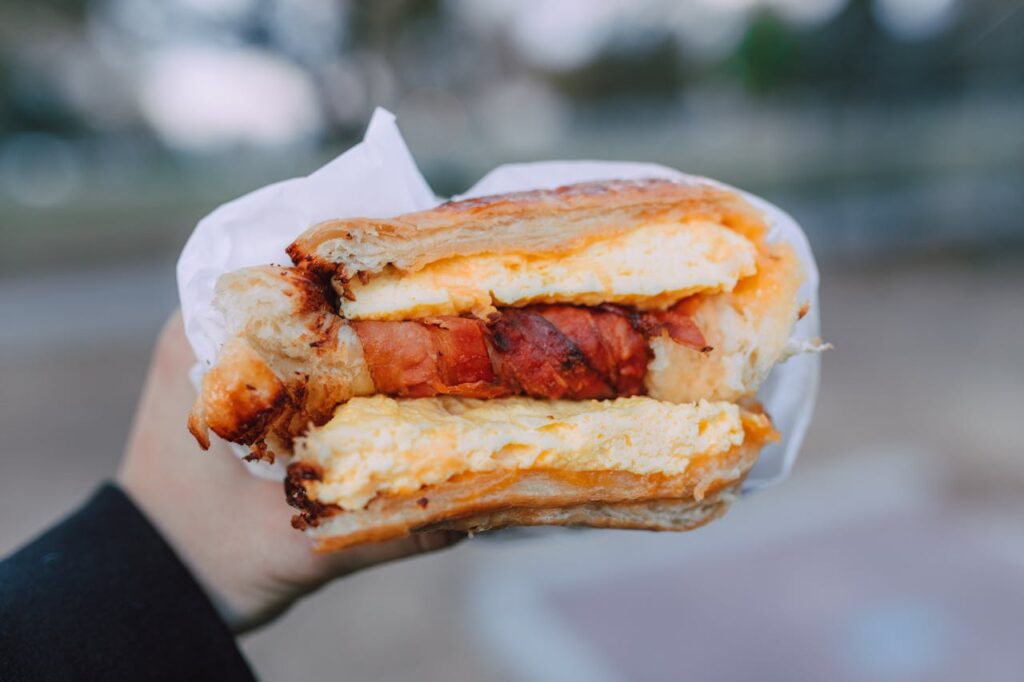
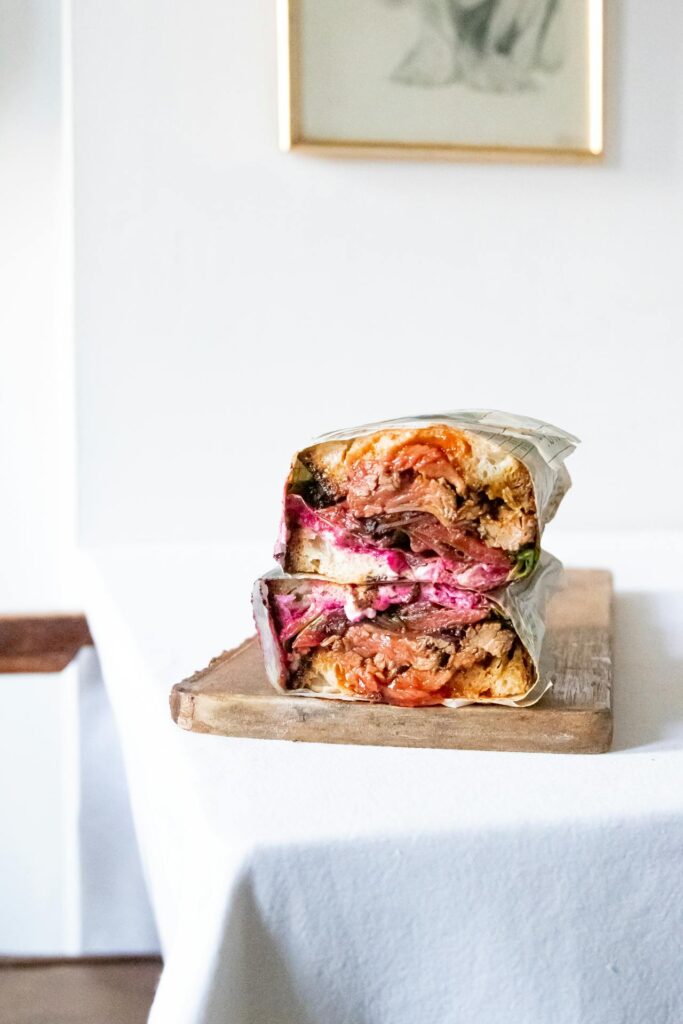
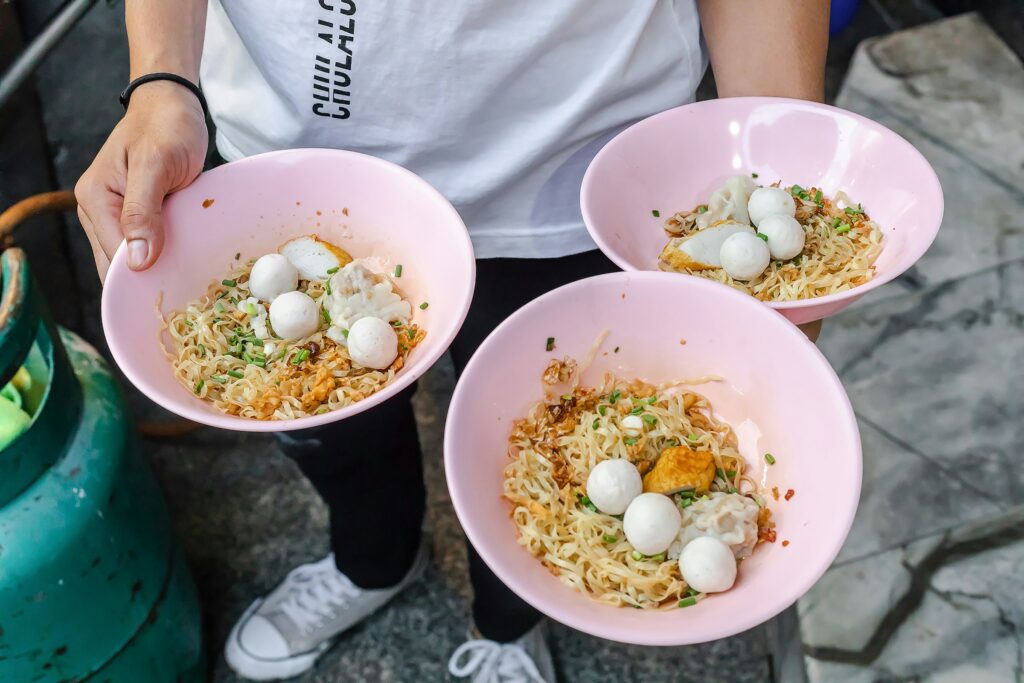
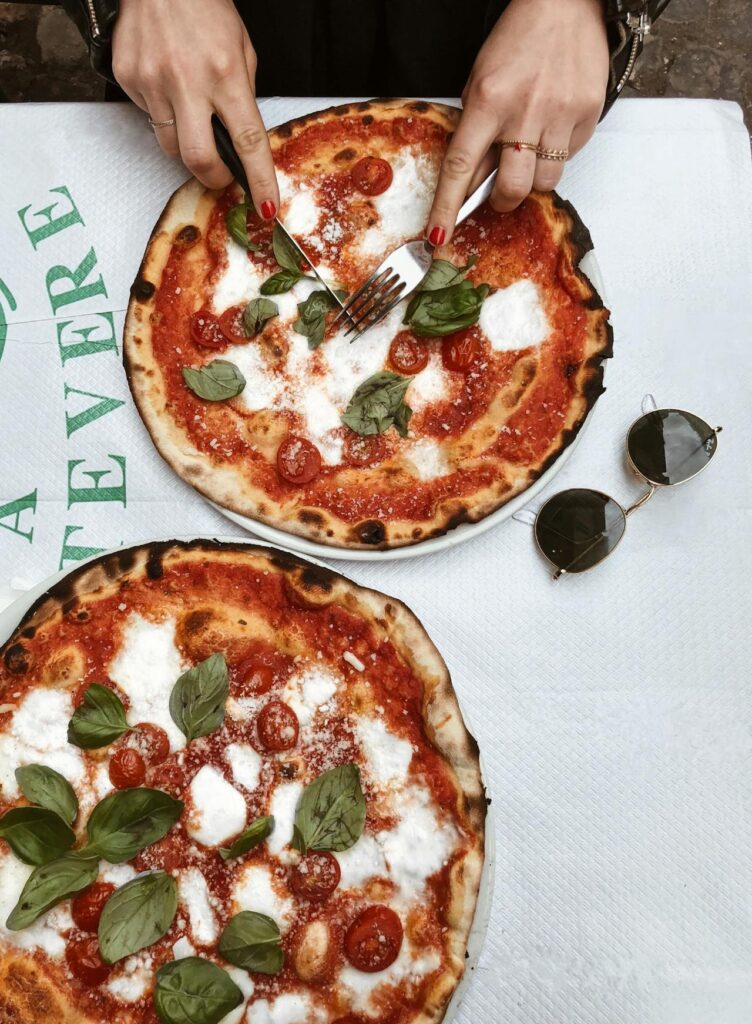
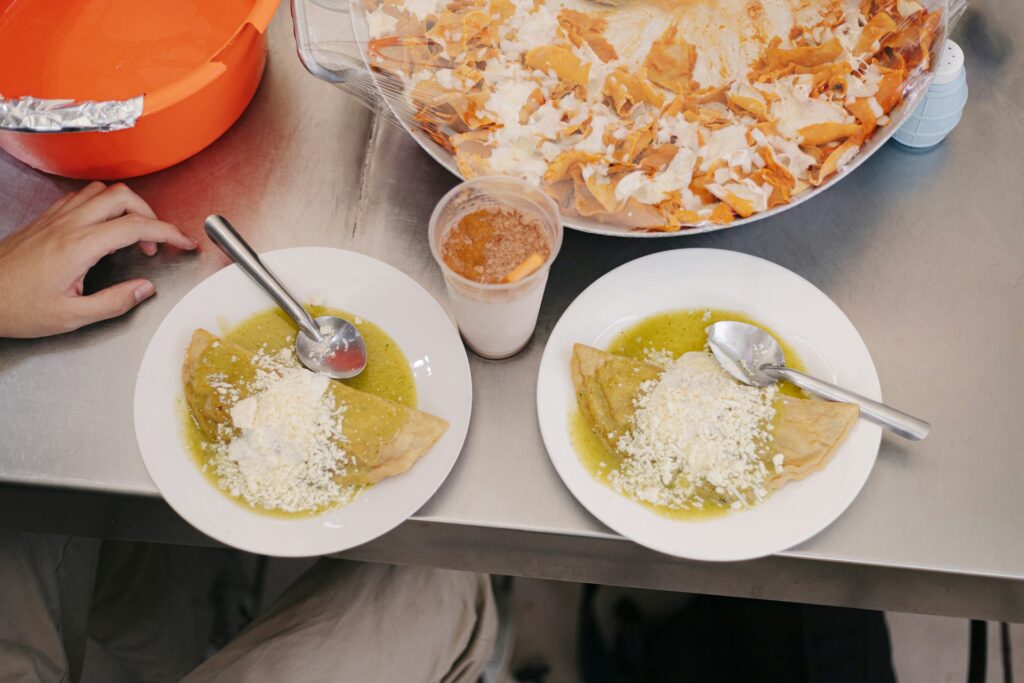
Flat-lays (shot directly overhead) work wonders for anything with lots of details spread out: think pizzas, poke bowls, or mezze platters. You’re showing the whole layout, top-down, clean and tidy. But go eye-level with a towering burger or a layered dessert, and suddenly it’s a whole different story. You’re capturing texture, height, drama. That’s the kind of shot you see in professional food photography campaigns, the ones that make you want to reach through the screen.
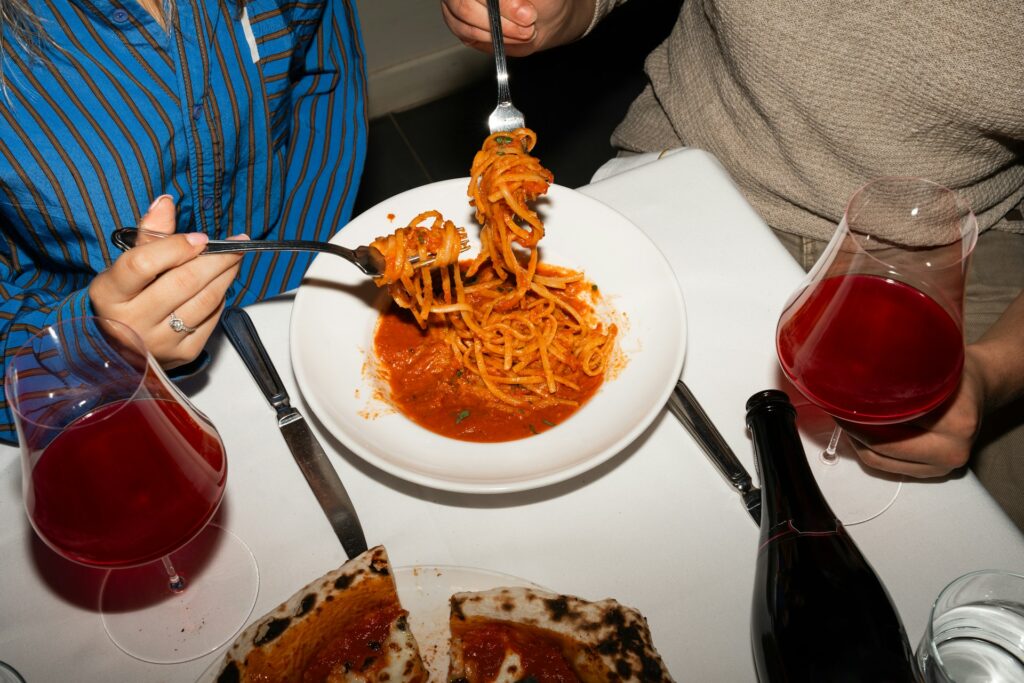
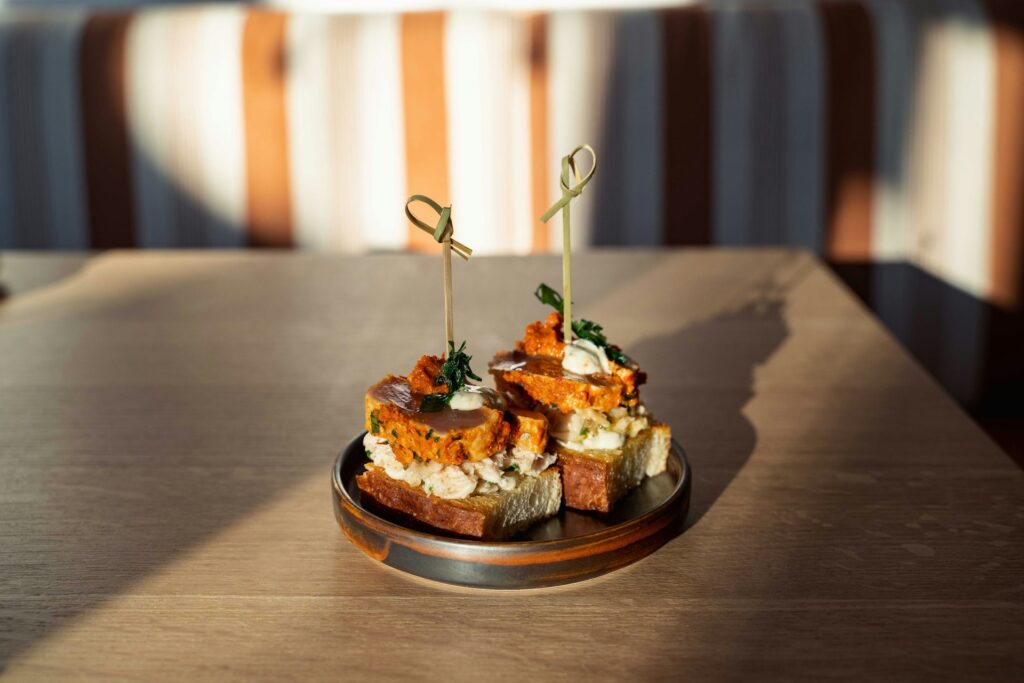
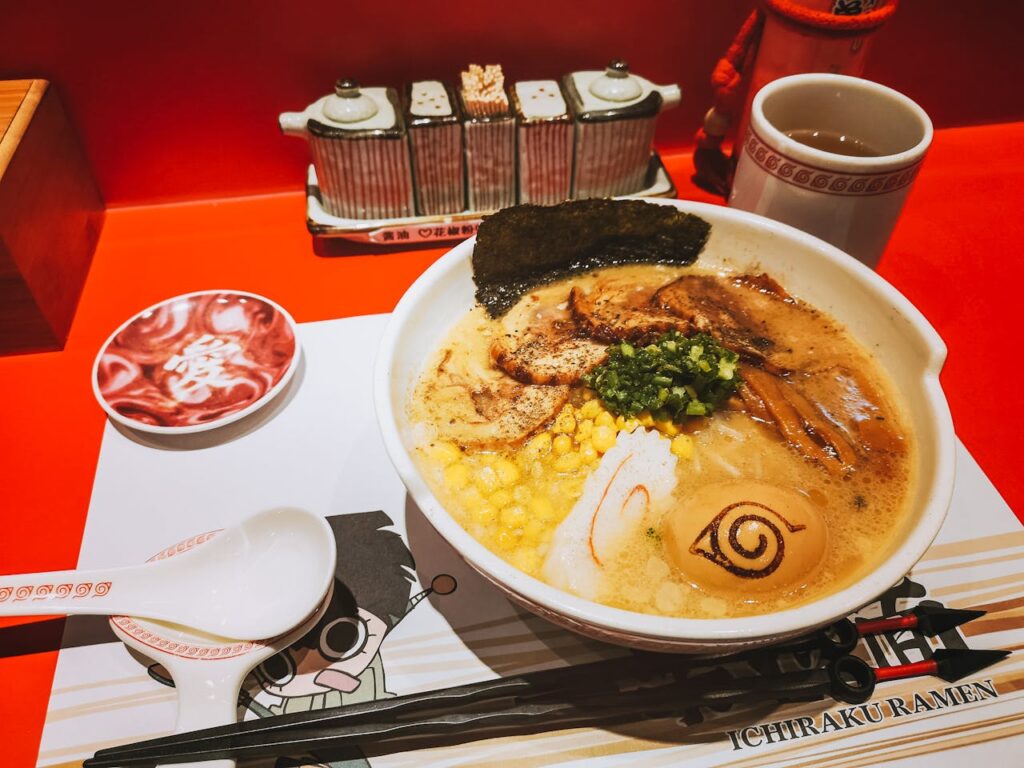
And if you’re not quite sure? Try a 45-degree angle. It’s how we naturally look at our food and tends to work well for most plates, especially pasta dishes, cocktails, or anything in a bowl. You can see loads of examples on Pinterest. There’s a reason so many food bloggers default to it, it just feels right.
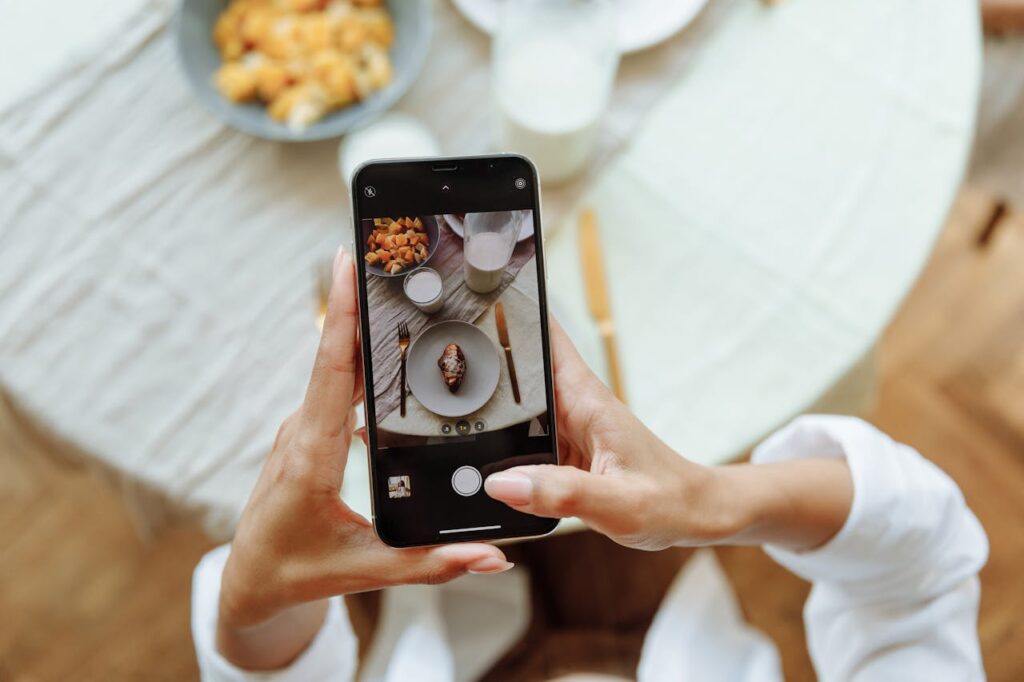
If you’re using an iPhone, you’ve actually got a little helper built right in. When you angle the phone overhead, keep an eye out for those two little crosshairs (one yellow, one white). When they overlap, you’re perfectly level. For 45-degree shots, steady hands are key (or prop your elbows on the table if you’re improvising). On cameras, use the electronic level or a tripod if you’re feeling precise. Either way, try a few angles, review the results, and trust what feels most appetising.

Lock In Your Exposure & Focus
One of the most common mistakes we see in restaurant photoshoots? The camera focusing on the wrong thing. You end up with a sharp fork handle, but the actual dish is blurry. Or the exposure’s all over the place – one shot too dark, the next one blown out like the plate’s glowing.
The fix is simple, and it makes a huge difference.
- On iPhone, tap and hold on the part of the image you want sharp (usually the centre of the dish) until AE/AF Lock appears. That means your focus and exposure are locked. No more shifting around as you reframe. From there, slide your finger up or down to fine-tune the brightness.
- If your autofocus keeps jumping on your DSLR/mirrorless camera, switch to manual focus or use back-button focus if your camera allows it. Set your exposure manually, or at least use exposure lock before you start.
It’s a small step, but it’s what turns a rushed snap into a photo that feels considered. Because when the main subject isn’t even in focus… people notice.
Clean The Scene, Not Just The Plate
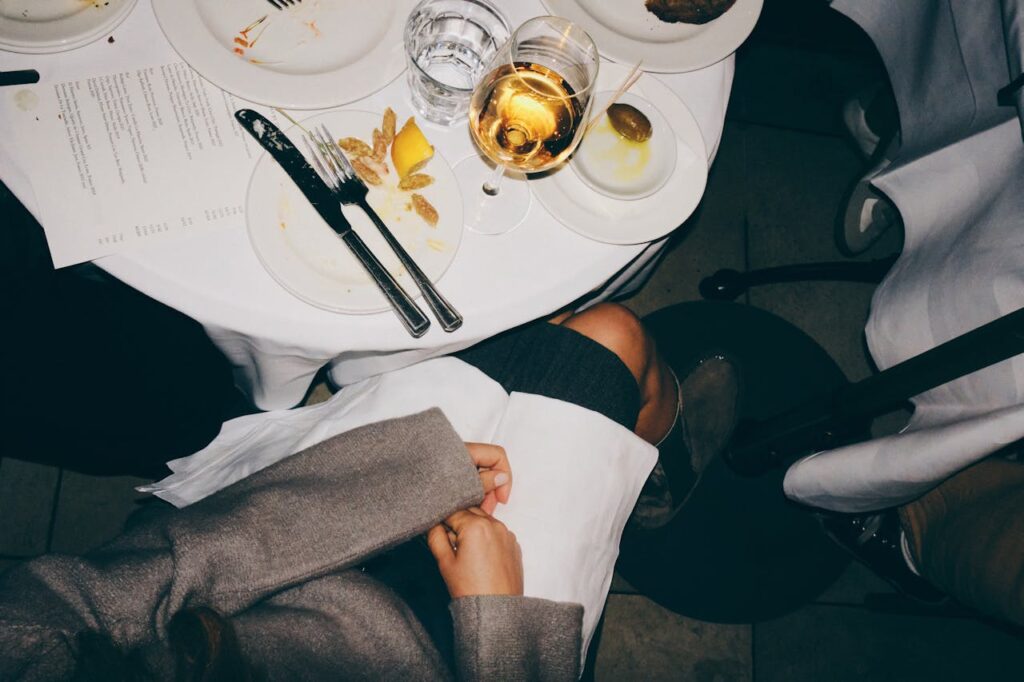
Next tip is this, you need to understand that everything that exists around the plate matters too. The dish might be the star, sure, but the setting? That’s the stage. And if the stage is cluttered, chaotic, or just plain boring, your star won’t shine like it should.
You could have the most beautifully plated risotto in the world, but if there’s a messy crumpled napkin in the shot, or a neon sauce bottle in the corner, it will work against you. Same goes for salt shakers, phone chargers, half-empty water glasses, anything that doesn’t add to the photo, takes away from it.
So before you hit the shutter, take a beat. Look at the full frame. Is the table clean? Is the background helping the photo or hijacking it? Sometimes it’s as easy as moving a chair, straightening a fork, or sliding the whole scene a few inches closer to the light.
This is one of those things that separates casual snaps from professional food photography.
Read: 12 must-have digital tools to help food enthusiasts craft engaging content
Tell A Story With Props & Ambience
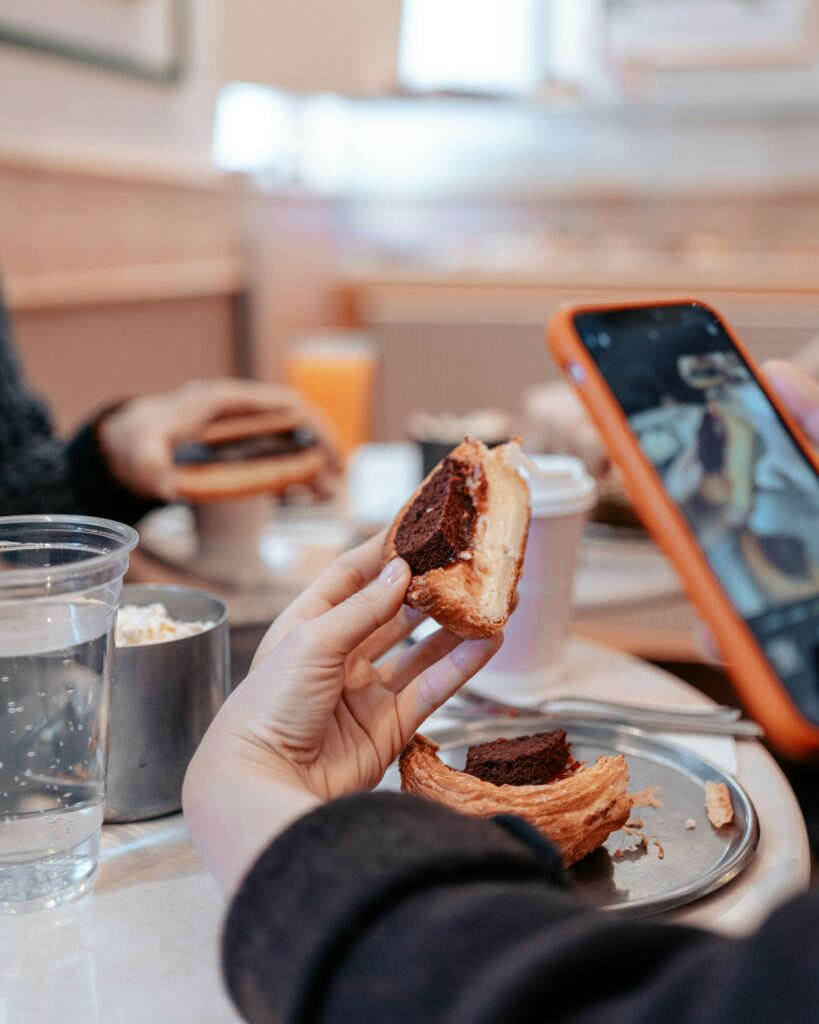
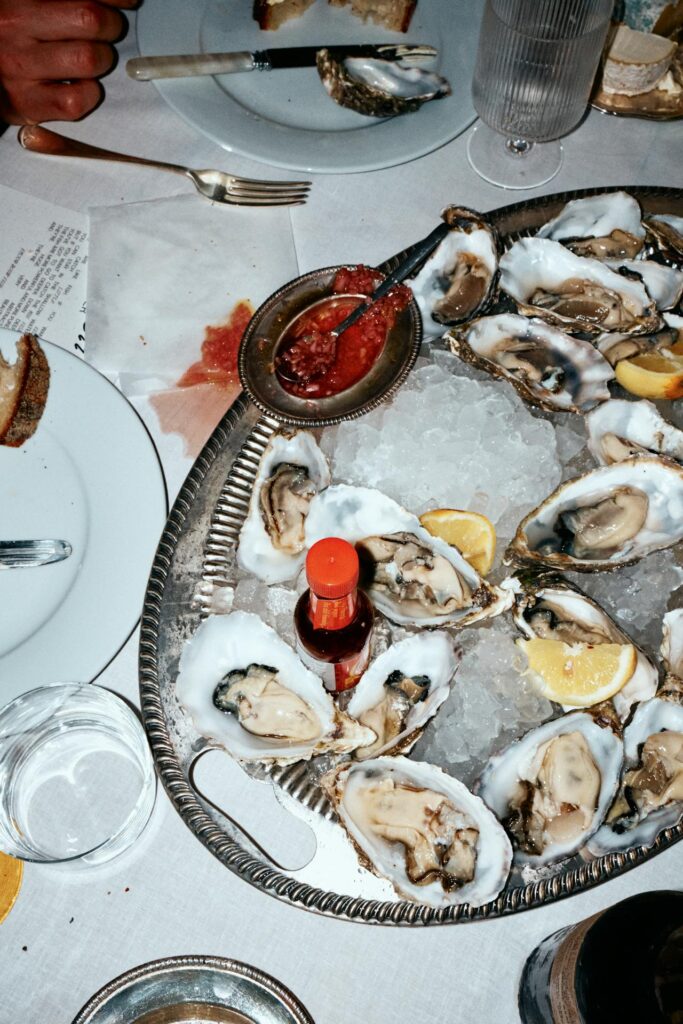
This one relates closely to the previous tip. Once you’ve cleaned the scene, think about what belongs in it. You’re not just clearing space, you’re curating it. The right props and background details can turn a nice food photo into something that actually feels like the restaurant.
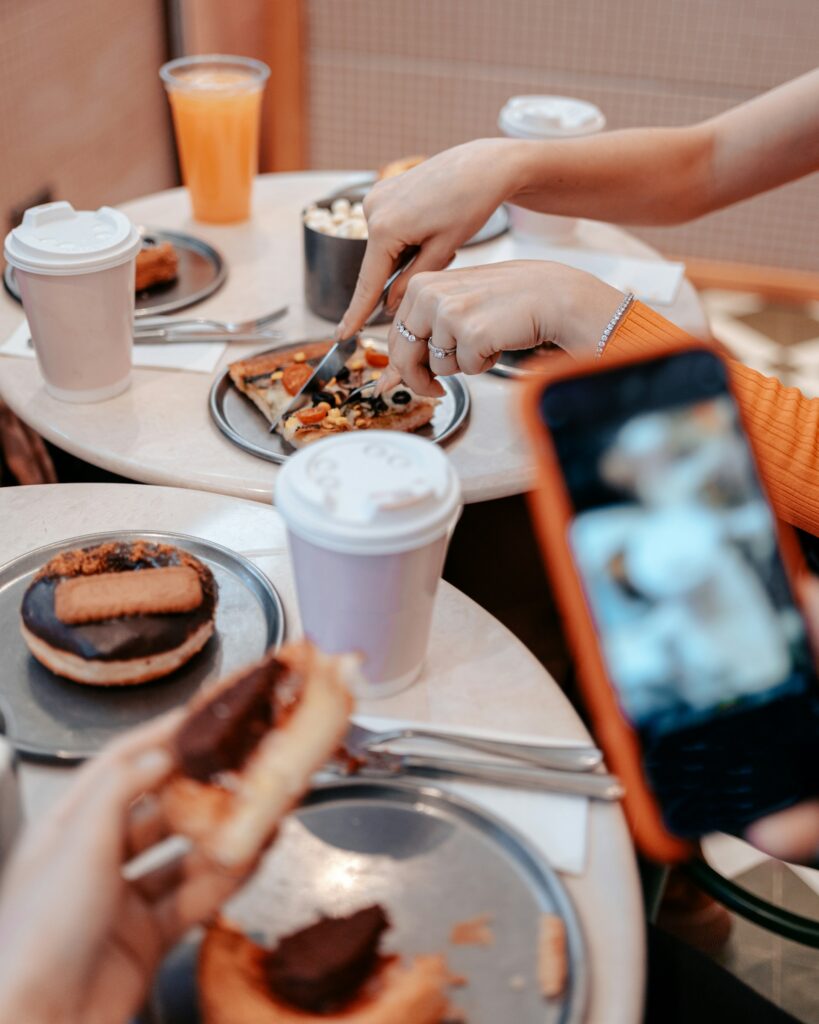
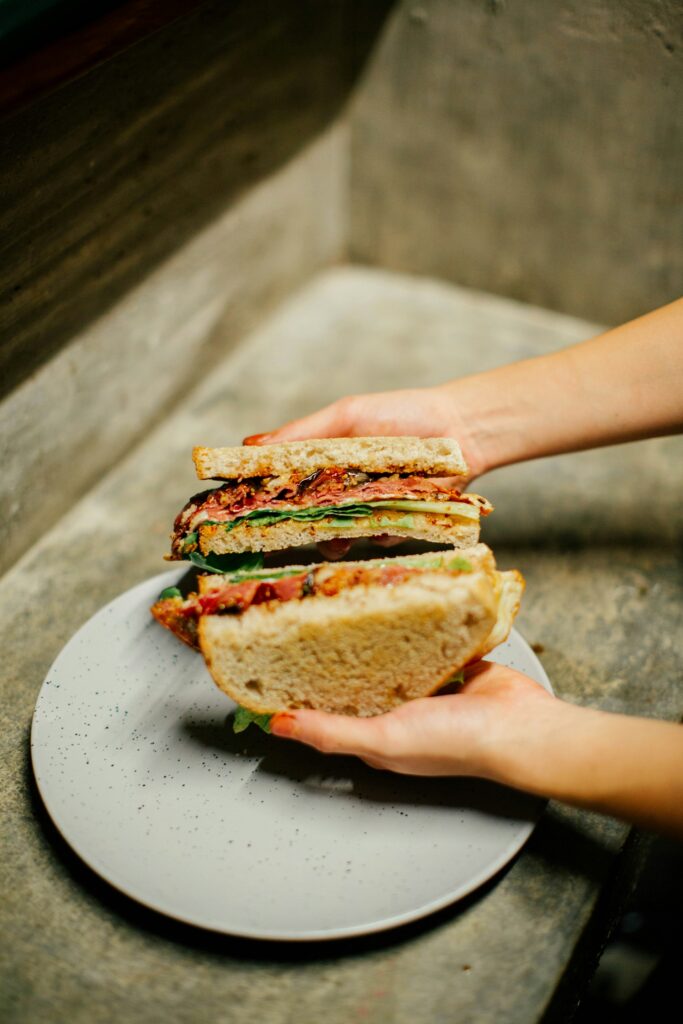
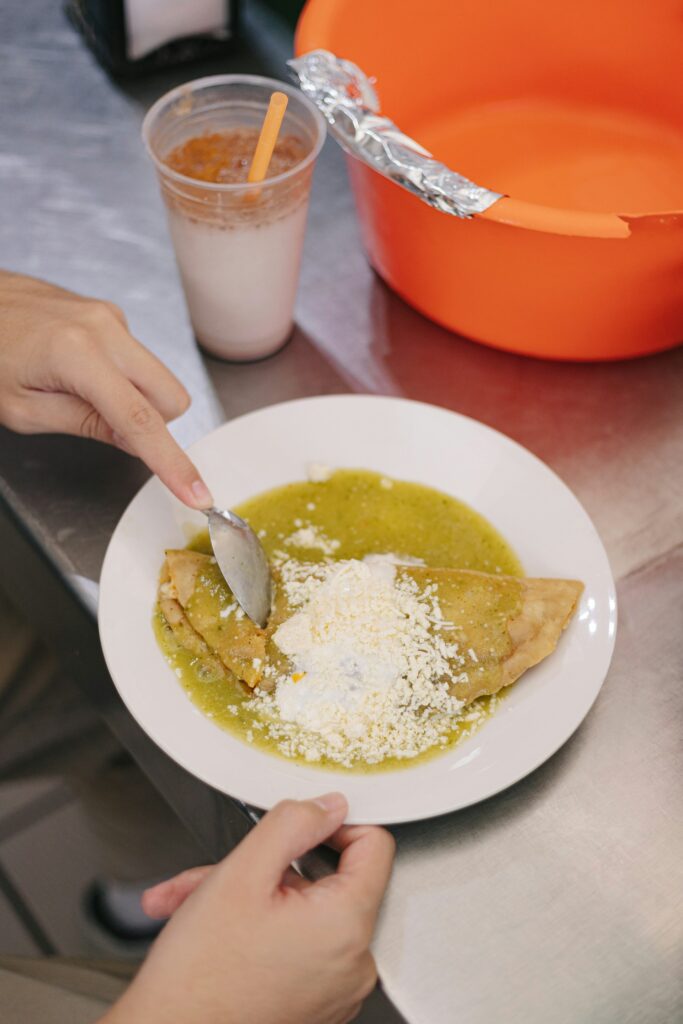
A fork resting on the edge, a scatter of herbs, or a dribble of sauce – these small things give the image texture and context. And if you can catch a hand reaching in, or the soft glow of a candle, even better. Suddenly, the photo tells a story.
Before you press the shutter, try to picture what that story actually is. What are you trying to convey? Is it a cosy, home-style restaurant with comfort food and warm lighting? Or something sleek and modern with sharp plating and minimalist vibes. Your photo should say all of that in a single frame. No caption needed. If it looks good, that’s great – but if it feels like the place, you’ve truly captured it.
Don’t Rely On One Shot (Try Several Perspectives)
This one’s very important: never rely too much on one perfect shot during a restaurant photoshoot (even if it looks spot-on at the time). Any professional photographer will tell you, it’s once you sit down to edit that you start questioning your judgement. Maybe the focus was off. Maybe the lighting was harsher than you realised. Maybe there’s a reflection you hadn’t spotted in the moment.
It happens to everyone.
That’s why the smart move is to keep shooting. Try a few different angles: top-down, 45 degrees, close-up, wide. Shift the plate slightly, move the glass. Take one with cutlery, one without. Even tiny changes can give you completely different results. Sometimes the best shot isn’t the one you thought it was, it’s the one you took right after, almost by accident.
Edit Lightly To Preserve Realism
Years ago, when applications like Photoshop and Lightroom first came about, editing food photography was seen by some as a bit of a cheat. But that sentiment didn’t last long. These days, most people agree that any good photo goes through some level of editing.
But here’s the thing: in commercial food photography, realism matters. You want the colours to pop, yes, but they still need to look like something you’d actually eat. If the burger bun is blindingly orange or the pasta’s gone neon, you’ve probably pushed things too far.
That’s something a lot of new photographers and editors need to hear. Just because a filter makes the shot look more dramatic doesn’t mean it’s doing the food any favours. Over-editing can take something delicious and make it feel artificial. And that’s the last thing you want when you’re trying to tempt someone to order.
Also, no matter what software you’re editing with, whether it’s Snapseed, Lightroom, or something else entirely, always check how your photos look on a mobile device. Why’s that important, you might ask? Well, according to Statista, mobile accounts for roughly half of all web traffic worldwide. In fact, during the last quarter of 2024, mobile devices (not including tablets) made up 62.54% of global website traffic. So, chances are the majority of people seeing your food photos will be seeing them on a phone. If your image only looks good on a big monitor but falls apart when viewed on a mobile, that’s a missed opportunity.
Keep Your Style Consistent
And the last tip we want to leave you with: keep your style consistent.
Trying out different looks is great, especially when you’re finding your voice or building your portfolio. Play with light, angles, throw in a moody black-and-white edit if you fancy. But when it comes to a single session, keep things consistent. One restaurant photoshoot shouldn’t feel like five different people took the photos.
Think of it like curating a playlist. You want each track to have its own moment, but the vibe should carry through. If you’ve got bright, airy shots of mains and then switch to dark, moody close-ups for dessert, it can feel disjointed. It doesn’t mean every photo needs to be identical, but they should clearly belong to the same set.
This goes hand in hand with what we said back in tip #7: your photoshoot should tell a story. And like any good story, it needs a clear tone. Consistency is what ties everything together.
It also gives the restaurant a stronger visual identity, especially if the images are going online or across socials. When in doubt, stick to a handful of restaurant photoshoot ideas that work with the space, and build your session around those.
The Bottom Line
At the end of the day, restaurant photography is all about showing how it feels to be there. The warmth of the lighting, the clink of glasses in the background, the way the sauce slowly drips down the side of the dish – all of it matters. That’s what turns a photo into an experience.
You don’t need the latest gear or a full crew to get it right. You need good light, a bit of patience, and an eye for detail. Whether you’re shooting with an iPhone or a professional camera, or, indeed, if you’re shooting drinks rather than food, the same principles apply: tell a story, keep it consistent, make it feel real.
The best restaurant photography invites people in. It makes them want to book a table, try the special, or scroll back up for another look. And that’s the goal, really – to capture something that feels as satisfying as the meal itself.


