The rise of social media platforms which place photo-sharing at the forefront of their business model has led to an adjacent rise in amateur photographers, always desperate to capture the next perfect snap. Or, simply, a selfie with both eyes wide open.
And though there has been much cultural criticism of how obsessive photo sharing can warp our perception of reality, photography can be a rewarding, creative hobby when it’s not bringing on FOMO or being done purely in the pursuit of likes. In fact, you might even find you’re a natural with the ol’ shutter and glass, and find a lucrative career can be forged from behind the lens.
Whether you’re a keen amateur with an eye for detail, an aspiring shutterbug who thinks they’ve got what it takes, or you’re an established photographer who realises that every day’s a school day, then here’s how to capture the IDEAL photo in just 8 crucial steps.
Don’t Get Weighed Down By Expectation & Equipment
Tell you something they don’t say; a photographer is only as good as their camera. And though a blurry, bad photo can sometimes be blamed on the tools used to capture it, taking standout snaps hinges on so much more than just equipment.
Even at amateur level, the cost of photography equipment can mount up. But let’s be honest, at beginner’s level, too much kit can impede rather than enhance your shots. Instead, it makes sense to invest wisely in the right equipment, instead of blowing loads on kit which might ultimately weigh you down, both physically and with expectation.
Indeed, letting your equipment distract from intuition and individuality would be a huge mistake. Great photography, at any level, is all about capturing the fleeting, once-in-a-lifetime moments, and while you’re fiddling with your infrared LED illuminator and full spectrum flash system, those moments will likely pass you by.
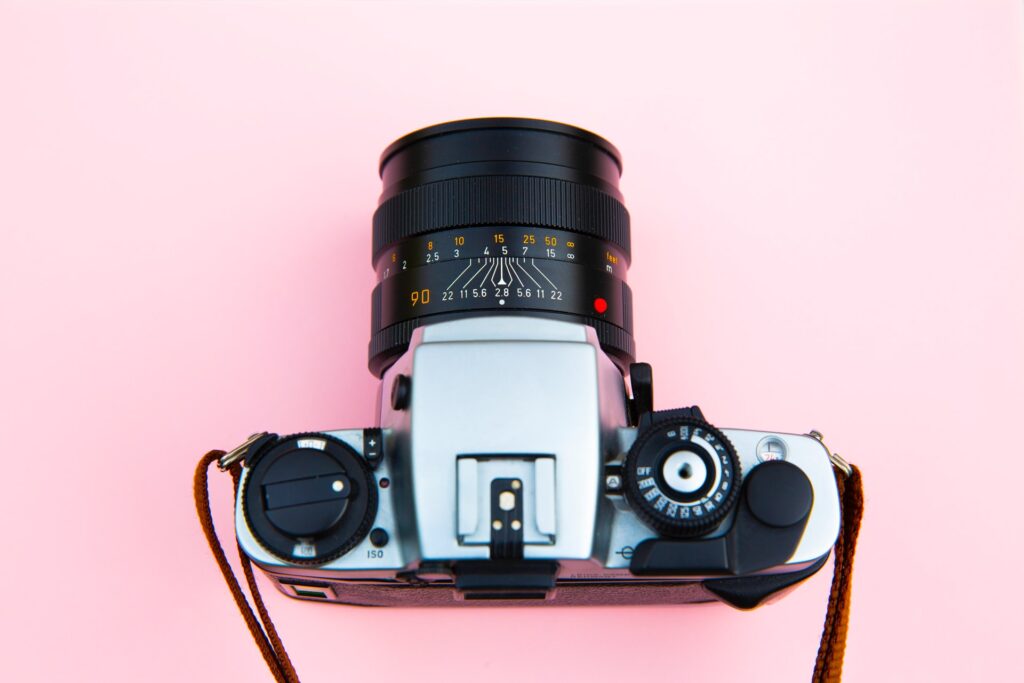
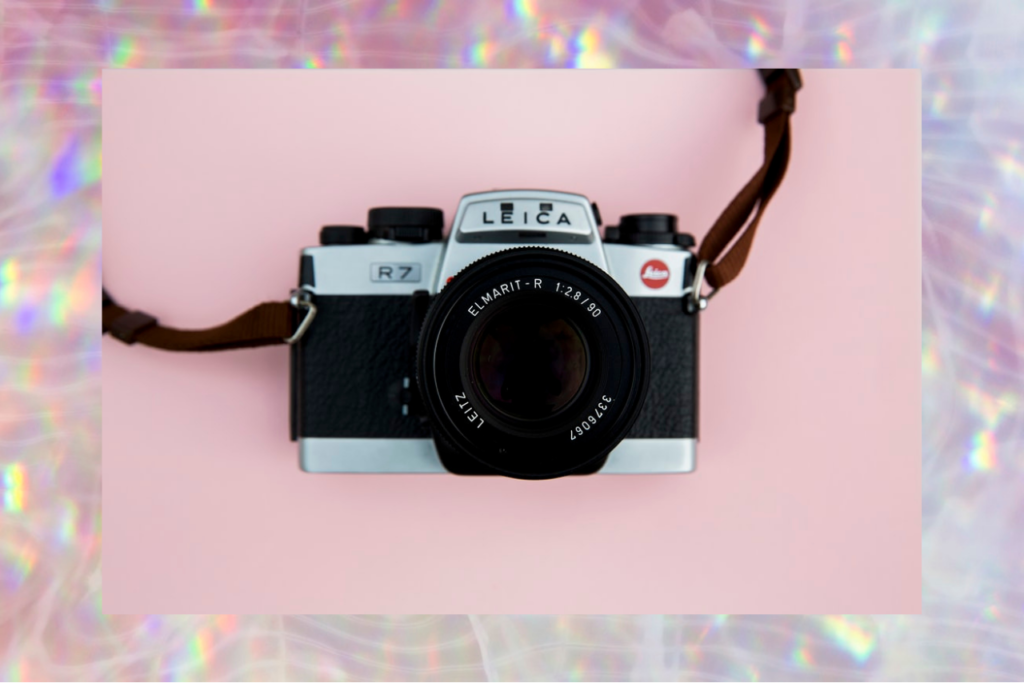
In all honesty, you’re best off travelling light, carrying an entry-level though well equipped DSLR. Hone your craft before you invest hugely in your camera. In fact, entry-level cameras like the Lumix G7 often produce the most creative results precisely because of their limitations. With simplified controls and fewer distractions, you can focus on what truly matters—composition, lighting, and capturing genuine moments rather than getting bogged down in technicalities. These cameras encourage photographers to develop innovative solutions and creative workarounds, leading to a distinctive style that might never emerge when relying on high-end equipment. Their portability also means you’ll actually carry them more often, allowing you to capture spontaneous moments that might otherwise be missed.
Remember, many iconic images throughout history were captured with basic equipment, proving it’s the vision behind the lens—not the price tag—that truly matters.
Software Smarts
In the modern age of photography, much of the heavy lifting occurs not on set or out in the wild, but rather, back in the studio, where editing software can be deployed to finesse the finer details of your photos.
However good your photography skills may be, there’s no shame in taking advantage of the miracles of modern technology to raise your photos to the next level.
Modern software isn’t only concerned with smoothing out the appearance of wrinkles or bringing in a waistline; these days, professional photographers use platforms like Adobe Lightroom, equipped with best presets, to set the initial mood and tone of their images. These presets seamlessly bridge the gap to Photoshop’s advanced tools, allowing photographers to weave captivating narratives through carefully crafted atmospheres.
Should you own or run a website and want a platform which allows for easy uploading, publishing, tagging, editing and organising, then Lightroom is ideal, and is used by many photographers – both amateur and professional – to build their portfolios.
Though Lightroom is generally considered the leader within its field, similar platforms do exist. Some of the most popular alternatives include Skylum Luminair, Capture One Pro and Exposure X6. You can also find free software, which whilst not as ambitious in scope, still does a job; check out Raw Therappe and Dark Table, in particular.
Portraits
So, you’ve got your equipment and your software lined up, now it’s time to develop your own voice and style within your snaps to really stand out. If you’re going to be focusing primarily on portraits, then there are some basics you need to follow before you start expressing yourself.
Firstly, set a wide aperture – between f/2.8 and f/5.6 – to make the background a little blurry and focus the attention of the photo primarily on the model. Though it may be blurry, never underestimate the importance of your background; make sure it fits the atmosphere and has no foreign objects like electrical wires or, worse, photo bombers, which would kill the shot flat in a second.
Secondly, always focus on the model’s eyes. You can set the perfect composition and lighting, sure, you can choose the best location and have the most striking subject, but if the eyes are out of focus, the photo’s je ne sais quoi will be lost. Ideally, you’ll be taking shots at eye level to best capture your subject’s essence.
When it comes to kids, you will have to stoop to their level. Now, it’s worth mentioning that just because you are taking a picture of someone, it doesn’t mean that he/she must always stare at your camera. The eye-level angle is enough to create a personal and deep meaning, even if they’re staring off into the middle distance enigmatically.

The Rule Of Thirds
This rule allows you to take out-of-this-world images by employing one of the most efficient, effective rules of composition.
How does the rule of thirds work, we hear you ask? Well, you simply divide the picture into nine equal squares by mentally drawing two vertical and two horizontal lines. Then, place your subject along these lines, ideally at the intersections rather than slap bang in the middle of a square, which, often inadvertently, looks too obvious and simplistic. This technique will help you focus the attention of an observer on the main subjects, whether that’s people, animals or architecture, clarifying the viewer’s gaze and creating a harmonious picture.
Alternatively, and a little more complicated in getting to grips with, you could consider the Golden Ratio (roughly 1.618 to 1) to position your shots in a historically eye-pleasing way.
Understanding Manual Mode
Many budding photographers might overlook the wonders of ‘manual mode’ following the purchase of their first, proper digital camera, with some relying on priority mode to smooth out the rough edges and essentially automate their way to a great photo.
According to the experts at Digital Photography School, sometimes a digital camera can overly fine-tune your photos, making assumptions about the type of shot you’re trying to capture. They say ‘’By shooting in Manual Mode you have full control of your shutter speed, ISO, and aperture, among an array of other settings that can further fine-tune your images…You may often find yourself in a tricky lighting situation where everything appears far too dark, too light, or very grainy. Unfortunately, automatic mode can’t always hack these extreme conditions and often activates your camera’s flash at the smallest hint of darkness (making some photos appear positively awful). This is where learning to shoot in Manual Mode can be a lifesaver.’’
Fascinating stuff, and a really useful emphasis on why a back-to-basics approach can sometimes yield the most natural looking results.
Light & Shade
If you want to make any photograph look professional, then it’s essential that you should always have lighting on your mind, as light creates contract, visual intrigue and emphasises elements of your picture which you hope the focus to fall on.
The best source of lighting is, of course, the sun. That said, do make sure not to shoot under bright lighting – this may result in unwanted shadows falling on your subject. To avoid this, you can use a reflector, which is a surface used to redirect light. If your budget is tight, you can make an improvised reflector using tin foil.
If you’re shooting indoors currently and cannot use the natural light, purchase an off-camera flash to redistribute the light and shoot your subject from a different angle to highlight their best features.
Another term well known to those with even a passing interest in photography should be the golden hour (sometimes also referred to as the ‘magic’ one). Indeed, to those in the know, these are the two windows of opportunity when most of the greatest shots are taken. These rose tinged 60 minutes just after sunrise and just before sunset, at dusk and dawn basically, are without fail the ones most bathed in that warm kind of glow which both evokes nostalgia and the sense that anything’s possible. Harness its power to capture the best shots possible!
Don’t Be Afraid To Daydream
As a photographer, your ideal shot occurs first in your mind’s eye, secondly through the lens, and finally on the page or in print. The best photographers never neglect the first step, and are always daydreaming about the perfect shot’s composition, structure and subject matter, visualising how it would look and the time and place in which it would be captured.
Allow yourself to daydream about your shot. Pre-visualise how you want your pictures to look and what steps you must take to accomplish that. Since patience is such a virtue in the photography game, it pays to get a head start this way!
Seek Constructive Criticism & Join A Community
One of the most valuable ways to improve your photography is to seek honest, constructive feedback from others. When we look at our own images, we’re often either overly critical or too attached to see them objectively. Finding a photography community—whether online or in person—can dramatically accelerate your development.
Photography clubs, social media groups, and dedicated platforms like Flickr or 500px offer opportunities to share your work and receive insights from both amateurs and professionals alike. These communities also provide endless inspiration as you observe different approaches and techniques from photographers around the world.
Don’t be precious about your work; instead, embrace critique as a pathway to improvement. Ask specific questions about your images rather than fishing for compliments, such as “Is the composition balanced?” or “Does the lighting convey the mood I was aiming for?” The most valuable feedback often comes from those who can articulate why something works or doesn’t, rather than simply stating whether they like it.
Additionally, many online retailers where you can buy quality equipment offer photography forums where enthusiasts gather to discuss techniques and equipment. These communities often organise photo walks or challenges that push you creatively and provide real-world practice with immediate feedback. Remember, photography is as much about the journey and connections you make as it is about the final images you produce.
If you’re planning a photography holiday, do check out these 4 IDEAL tips for flying with camera gear before you set off.


