Here at IDEAL, we’re getting excited about British Pie Week (3rd – 9th March), and while savoury pies often steal the spotlight, we think it’s high time to give sweet pastry its moment in the sun. After all, what’s better than a perfectly crisp, buttery case filled with seasonal fruits or silky custard? Indeed, our copy of ‘Pastry: Sweet and Savoury’ by the one and only Michel Roux Jnr is well worn and butter-stained, just as it should be.
The great thing about sweet pastry is that is can be made in advance and then kept tightly wrapped in the fridge for several days. Moreover, sweet pastry freezes very well. When making a tart, you can even bake the tart shell in advance, wrap it in cling film and store it in sealed, airtight container for a day or two, ready to fill as and when your heart desires. You can even freeze sweet pastry after shaping it into a tin. So, before you say you don’t have time to make sweet pastry and reach for that ready-made stuff, let’s walk through the steps to creating the perfect sweet pastry…
8 Ideal Steps To Sweet Pastry Success
Cool Hands, Cool Head
The golden rule of pastry making is to keep everything cool – especially your hands. If you’re blessed with naturally warm hands, take heart; a few minutes holding a cold glass of water before you start can work wonders. The reasoning is simple: warm hands mean melting butter, and melting butter means tough pastry because you start to lose some of the butters water content. Nobody wants that.
Quality Counts
When it comes to sweet pastry, your ingredients list isn’t long, so make each component count. Premium butter with a high fat content will give you that melt-in-the-mouth texture that we’re all after. As Ravneet Gill explains in her book The Pastry Chef’s Guide, “all butter contains a percentage of water: the higher the the percentage of fat, the drier the butter and the lower the percentage of fat, the higher the water content.” She recommends using bitter with at least 82% fat.
As for flour, opt for plain rather than self-raising – we’re aiming for crisp and short, not fluffy and risen. A pinch of fine salt might seem counterintuitive in sweet pastry, but trust us, it enhances all those lovely flavours.
Perfect Proportions
While baking is a science, sweet pastry is forgiving enough to follow a simple ratio rule: think 2:1:1. That’s two parts flour to one part butter to one part sugar. Godfather of baking Paul Hollywood advises using unsalted butter and chopping it into small cubes before adding it to the dry ingredients. An egg yolk for richness and just enough ice-cold water to bring it together, and you’re set. Precision matters here – too much water and you’ll end up with tough pastry, too little and it won’t come together at all.
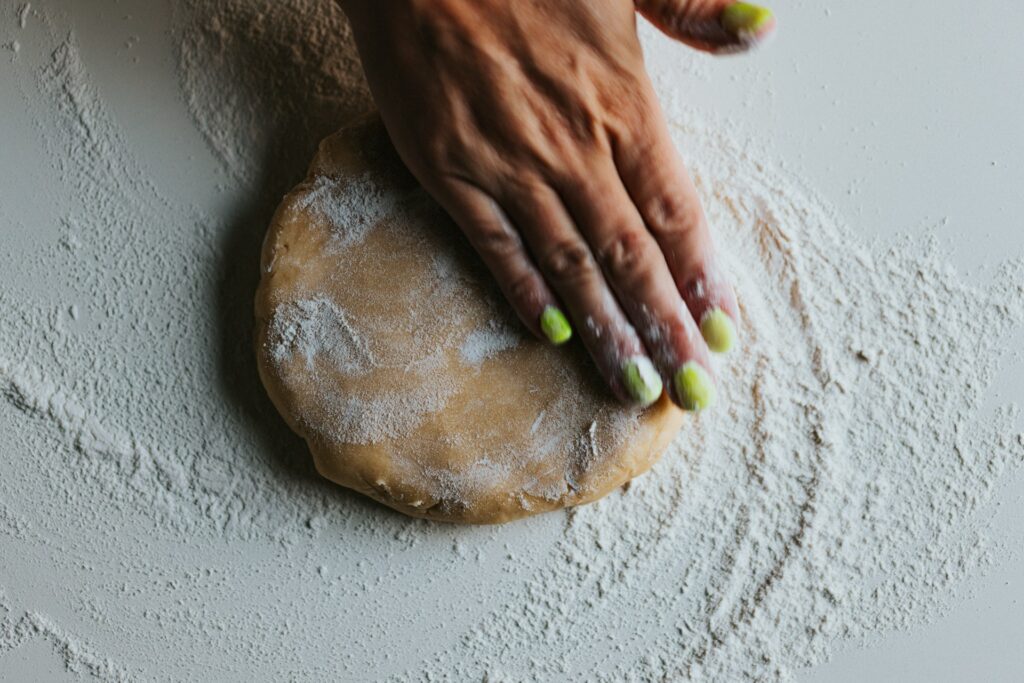
The Light Touch
Channel your inner feather when handling pastry dough. Overworking leads to tough results, as you’ll develop the gluten in the flour – great for bread, terrible for pastry. Bring your ingredients together swiftly and gently, wrap in cling film, and give it a rest in the fridge.
Patience is a Virtue
Resting your pastry isn’t just chef’s folklore – it’s essential chemistry. Thirty minutes minimum in the fridge allows the gluten to relax and the butter to firm up again. Better still, make your pastry the day before. The longer rest will make it easier to handle and give you better results.
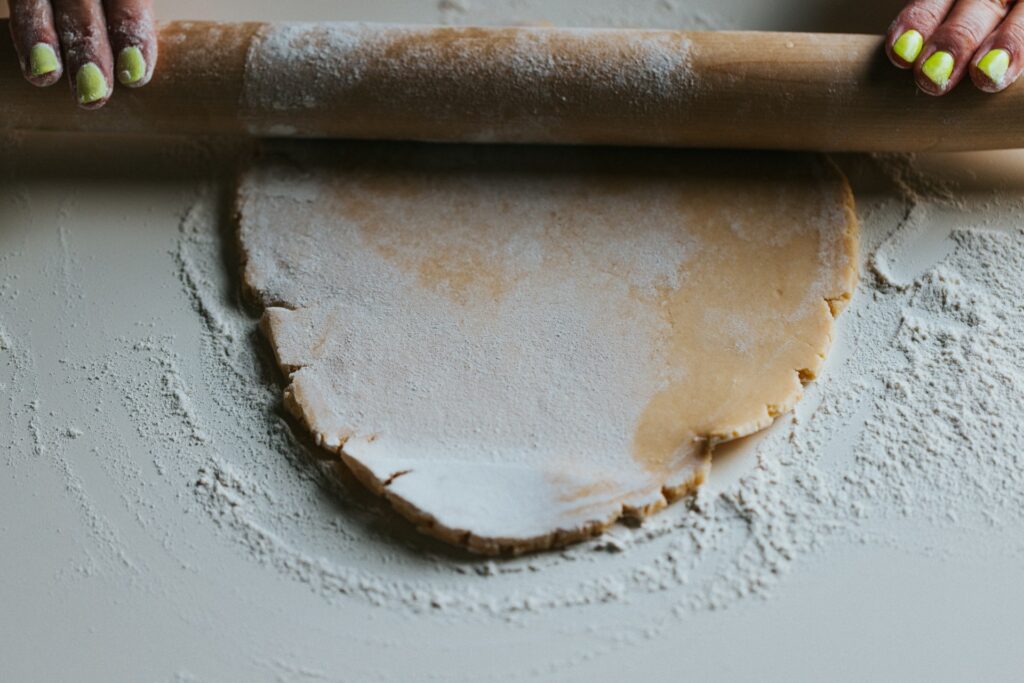
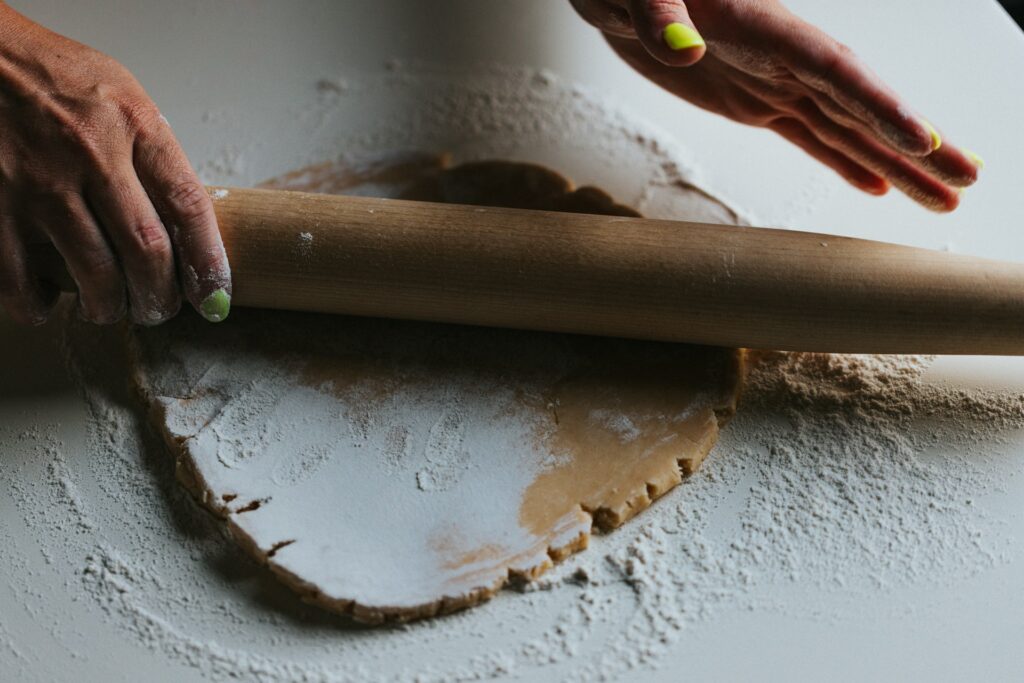
Rolling Rights
A chilled dough on a lightly floured surface is your starting point. Roll from the centre outwards, rotating the dough between rolls to maintain an even thickness. Keep checking it’s not sticking, but don’t go overboard with the flour – too much will make your pastry tough. Think of it like ballroom dancing – smooth, controlled movements get the best results.
Blind Faith
Blind baking isn’t just a fancy term to impress your friends – it’s crucial for a crisp base. Line your chilled pastry case with parchment and fill with baking beans (or rice if you’re in a pinch). A hot oven – around 180°C (fan) – is your friend here. Those first 15 minutes with the beans in are crucial, followed by another 5-10 minutes uncovered to get that golden finish on the base.
The Final Flourish
Before filling your pastry case, brush the inside with lightly beaten egg white and pop it back in the oven for a couple of minutes. This creates a waterproof seal between your pastry and filling, ensuring you avoid the dreaded soggy bottom. Just remember to let it cool completely before adding any wet fillings.
The Ideal Recipe
We’re using the measurements from Michel Roux Jr’s Sweet Pastry recipe here. It’s never failed us. Not once.
Michel Roux Jr’s Method
Ingredients
- 250g flour
- 100g butter, cubed and slightly softened
- 100g icing sugar, sifted
- A pinch of salt
- 2 eggs, room temperature
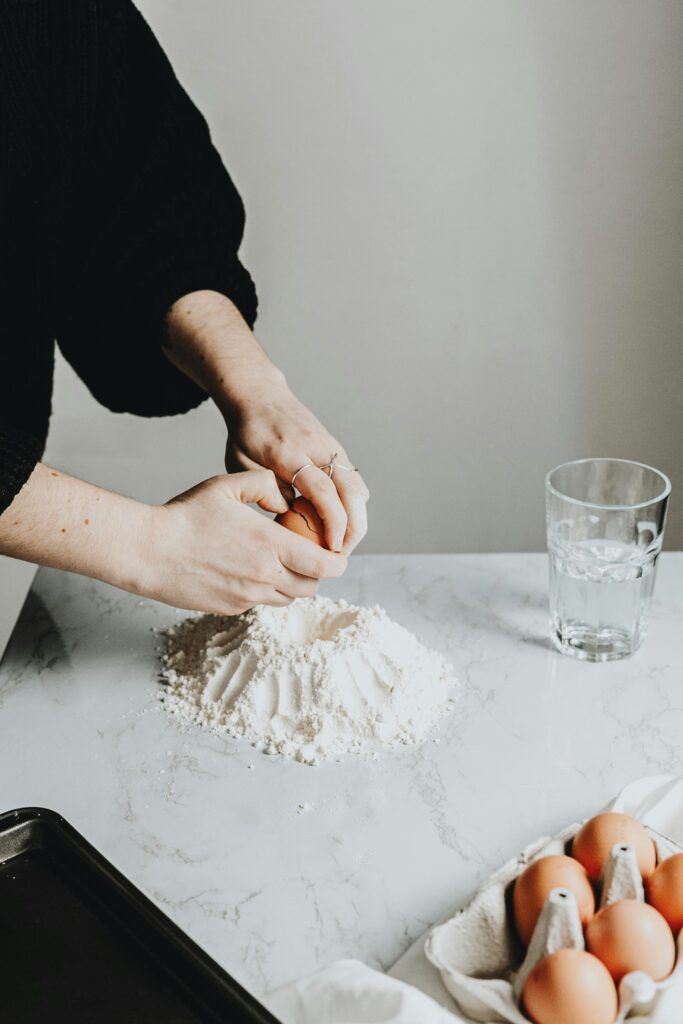
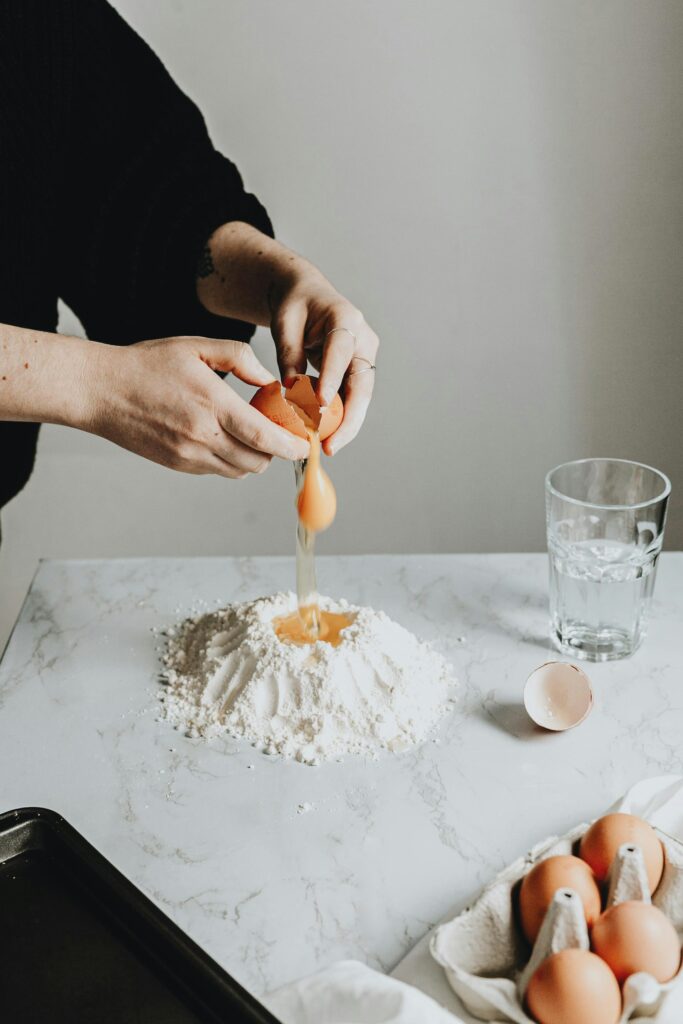
1. On a smooth work surface (ideally marble), form the flour into a mound and make a well in the centre. Place in the butter, icing sugar and salt, mixing everything together with your fingertips. Slowly work the flour into the centre, incorporating it gradually, and mix with your fingertips until the dough takes on a slightly grainy texture.
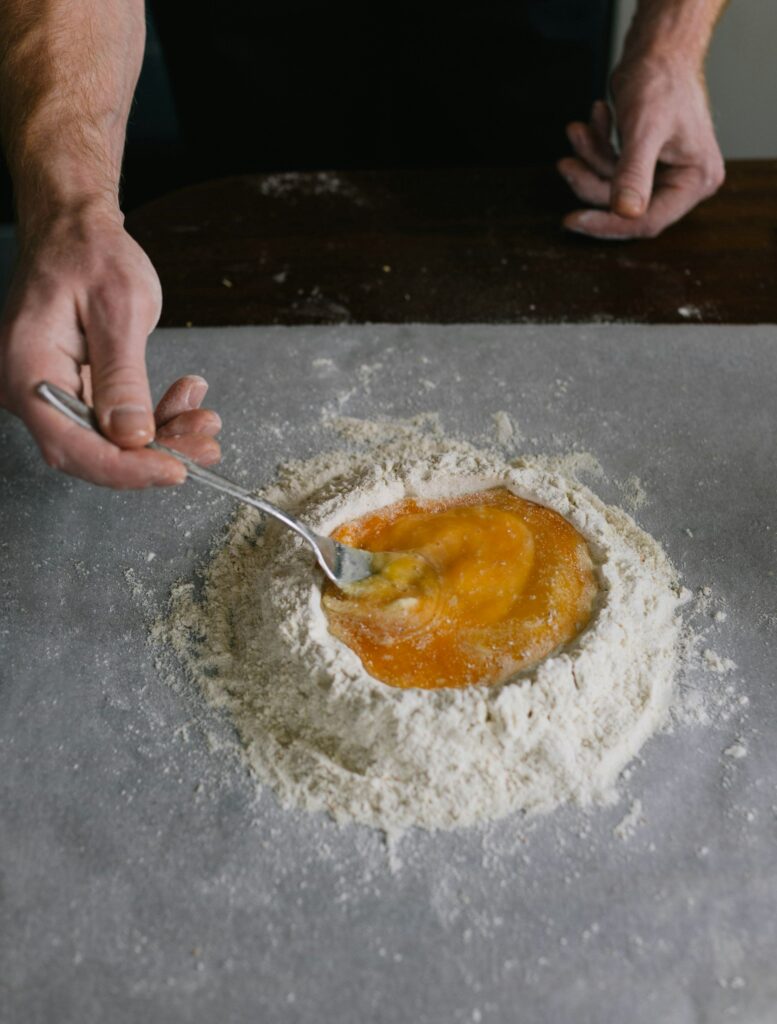
2. Make a well once again in the flour mixture, then place in the eggs. Use your fingertips to work the eggs into the flour, kneading until the dough begins to come together.
3. Knead the dough with the palm of your hand until smooth, then form into a ball and cover with plastic wrap. Chill the dough in the refrigerator for at least 1 hour before using.
An Alternative Method
While we love Michel’s method, here’s an alternative method which calls for rubbing the cold butter into the dry ingredients so you get the consistency of breadcrumbs. As Ravneet Gill explains in her pastry book “what you’re aiming to do here is break it down into tiny pieces so it disperses through the dough”. She suggests that you can grate frozen butter. bonus here is that the water content creates steam in the oven which gives you a flakey texture.
Ingredients
- 250g plain flour, plus extra for dusting
- 125g cold unsalted butter, cubed
- 125g icing sugar, sifted
- 1/4 teaspoon fine sea salt
- 1 large egg yolk
- 2-3 tablespoons ice-cold water
- 1 egg white (for sealing)
Method
Step 1: Creating the Base Mix
- Sift the flour into a large bowl with the salt.
- Add the cold butter cubes and rub into the flour using your fingertips until the mixture resembles fine breadcrumbs. Keep your movements light and swift – remember what we said about warm hands!
- Stir in the sifted icing sugar.
Step 2: Bringing It Together
- Make a well in the center of your mixture.
- Add the egg yolk and 2 tablespoons of ice-cold water.
- Using a table knife, start to bring the mixture together, cutting through it rather than stirring.
- If it seems too dry, add the remaining water a teaspoon at a time. You want the dough to just come together – it shouldn’t be sticky.
Step 3: Final Touches
- Very gently knead the dough on a lightly floured surface – just 2-3 times to bring it together into a smooth ball.
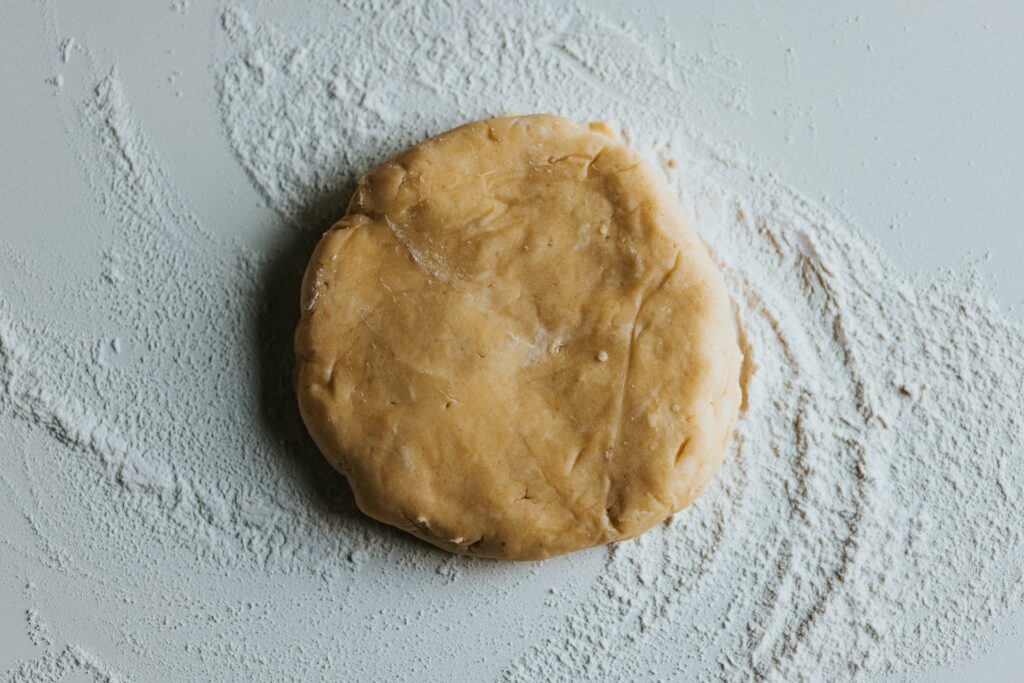
- Pat into a disc shape (this makes it easier to roll later).
- Wrap in cling film or reusable wrap.
- Chill for at least 30 minutes, or ideally overnight.
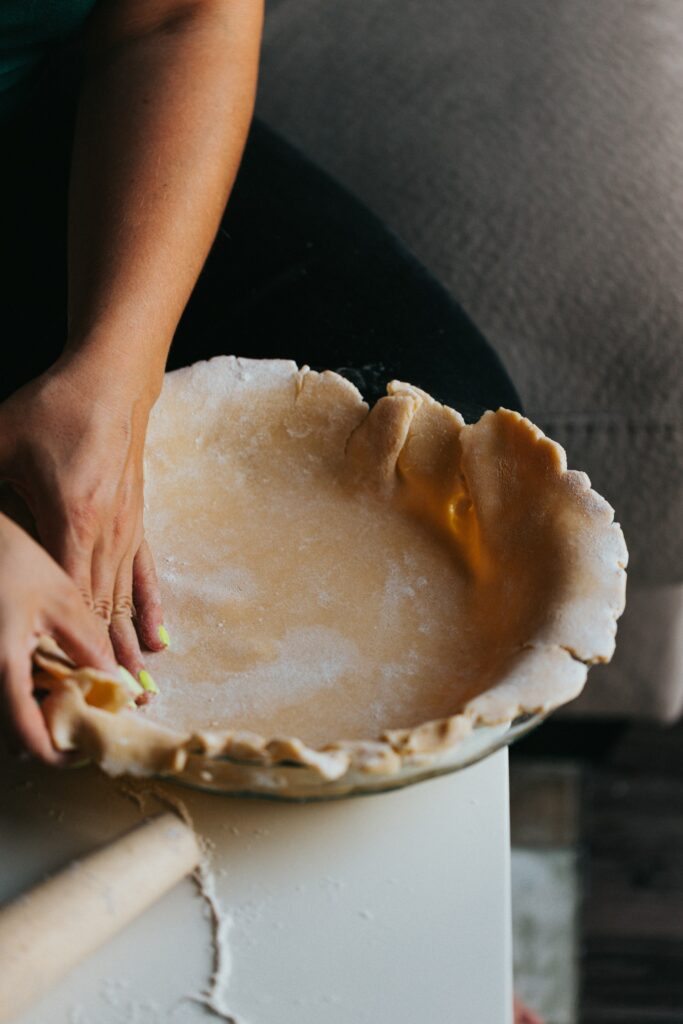
Step 4: Rolling and Lining
- Remove from fridge 10 minutes before rolling.
- Roll on a lightly floured surface to about 3mm thickness.
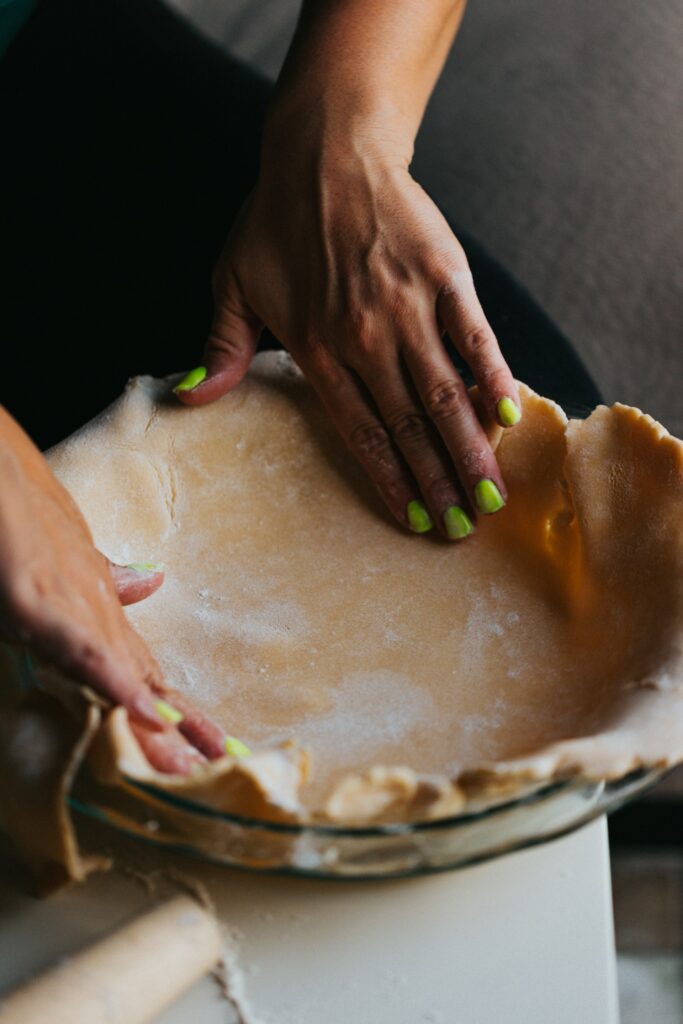
- Line your chosen tin, leaving a slight overhang.
- Prick base with a fork.
- Return to fridge for 20 minutes while your oven preheats to 180°C (fan)/200°C/Gas 6.
Step 5: Blind Baking
- Line chilled pastry with parchment paper.
- Fill with baking beans or rice.
- Bake for 15 minutes.
- Remove beans and paper.
- Bake for another 5-10 minutes until golden.
- Brush with beaten egg white and return to oven for 2 minutes.
- Cool completely before filling.
Troubleshooting Your Sweet Pastry
Cracks & Tears
Even the most experienced bakers occasionally face a cracked crust – it’s not the end of the world. If you spot cracks while rolling, simply pinch them together with cold fingers. For tears during lining, use excess pastry to patch them up. Think of it like fixing a wall – you want to press the new piece firmly against the edges of the tear, then smooth it out. And remember, most fillings will hide minor imperfections anyway.
The Dreaded Soggy Bottom
Paul Hollywood’s favorite criticism has kept many a baker awake at night. Here’s how to avoid it…
- Double seal your base – first with egg white as mentioned earlier, then with a layer of melted white chocolate for extra insurance when using wet fillings
- For fruit fillings, try sprinkling some ground almonds or amaretti crumbs on the base before adding your fruit – they’ll absorb excess moisture
- Always let your filling cool completely before adding it to the case
Shrinking Pastry
If your pastry’s doing the disappearing act during baking, here’s what might be going wrong…
- The pastry was stretched rather than rolled during lining – always lift and drop rather than stretch
- It wasn’t properly chilled before baking – aim for at least 20 minutes in the fridge
- The oven wasn’t hot enough – start with a proper pre-heat
Now, Let’s Talk Fillings…
Creamy Fillings
For silky custards, crème pâtissière, or chocolate ganache…
- Always cook custard-based fillings until they’re thick enough to hold their shape
- Let them cool completely before filling your case
- For chocolate ganache, a 2:1 ratio of chocolate to cream gives the perfect texture
- Consider adding a thin layer of jam before your cream filling – it adds flavor and helps prevent sogginess
Fruit Fillings, Fresh & Cooked
Fruit can be tricky due to its high water content…
- For fresh berries, arrange them in your case then glaze with warmed, sieved apricot jam
- For cooked fruit fillings, cook them down until jammy before adding to your case
- Apples and pears benefit from pre-cooking – raw fruit rarely cooks properly in the time it takes to bake the filling
- Consider using a frangipane base under your fruit – it adds flavor and helps absorb juices
Chocolate & Caramel
These can be particularly challenging…
- For salted caramel, always let it cool until thick but still pourable
- With chocolate tarts, temper your chocolate or add cream to make a ganache – plain melted chocolate will be too hard when set
- A thin layer of chocolate spread on the base can act as a moisture barrier and add extra indulgence
A Pro Tips To Finish With
- Always fill your pastry case on the serving plate or board – moving a filled tart is asking for trouble
- Leave a small gap at the top of your filling to allow for settling
- For neat slices, freeze your tart for 20 minutes before cutting
- Use a hot knife (dipped in hot water and dried) for clean cuts through creamy fillings
- A dusting of icing sugar hides a multitude of sins
- Fresh fruit should be added at the last possible moment to prevent wilting
- Edible flowers make stunning decorations but add them just before serving
- A drizzle of contrasting sauce on the plate can elevate a simple tart to restaurant quality
And remember, if all else fails, whipped cream covers many mistakes!


