The rise (and rise, and rise) of social media has transformed self-portraiture from an occasional indulgence into a cornerstone of modern self-expression. Whether capturing a moment at a special event, documenting your fitness journey, or updating your professional profile, mastering the art of the selfie has become an essential skill. Beyond mere vanity, it’s certainly true that how we present ourselves in photos can significantly impact our personal and professional relationships.
The Mathematics Of Your Best Angle
The most flattering angle for facial photography typically sits at 30 degrees above eye level. This positioning helps define the jawline, reduces the appearance of a double chin, and creates subtle shadows that enhance facial structure. Professional photographers have long used this technique, which explains why fashion shoots often feature models photographed from an elevated position.
Mastering Light
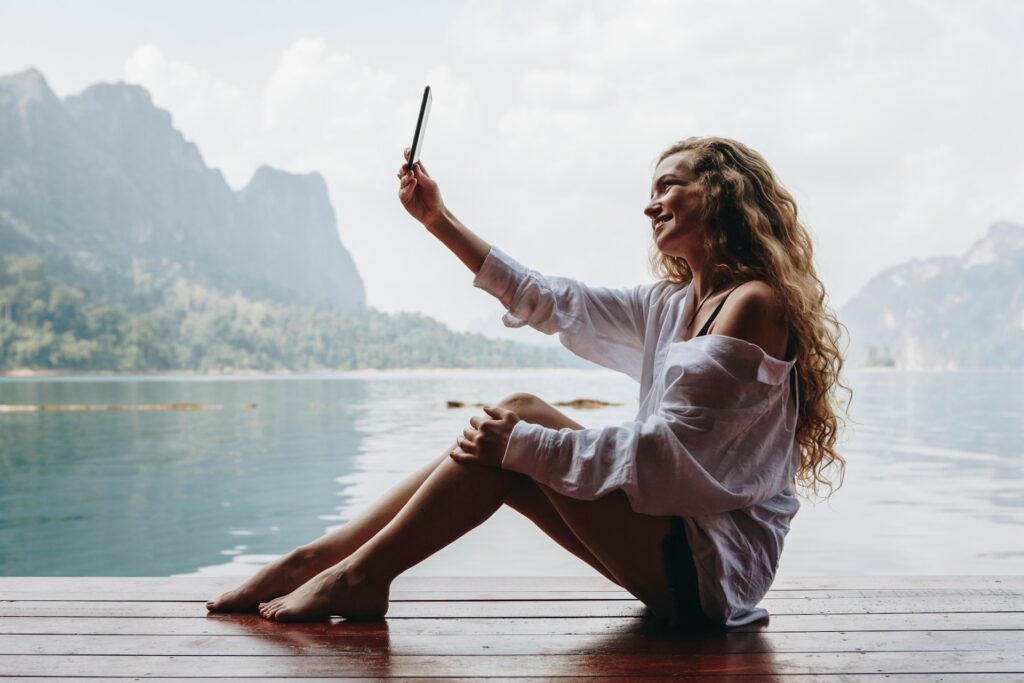
Natural light remains unmatched for selfie photography. Position yourself near windows during the golden hour (shortly after sunrise or before sunset) when sunlight travels through more atmosphere, creating softer, more diffused illumination.
For indoor shots, face a window and slightly angle your body – this creates gentle shadows that define your features without harsh contrasts. If using artificial light, position it at a 45-degree angle to reduce unflattering shadows.

The Psychology Of Expression
Facial expression research reveals that authentic smiles activate specific muscles around the eyes (orbicularis oculi) that artificial smiles don’t engage. The ‘squinch’ technique – gently squeezing your lower eyelid while keeping your upper lid relaxed – mimics these genuine smile indicators.
Digital smile design, a technique borrowed from cosmetic dentistry, suggests that the most appealing smiles show around 75-85% of your upper teeth and 50% of your lower teeth.
Face Mapping
Understanding your facial symmetry helps optimise your angles. Map your features by taking straight-on photos and dividing your face into thirds both horizontally and vertically. Note where your features sit within these sections – this awareness helps you angle your face to highlight your best features. Most people’s faces aren’t perfectly symmetrical, so experiment with both sides.

Classic Posing Techniques
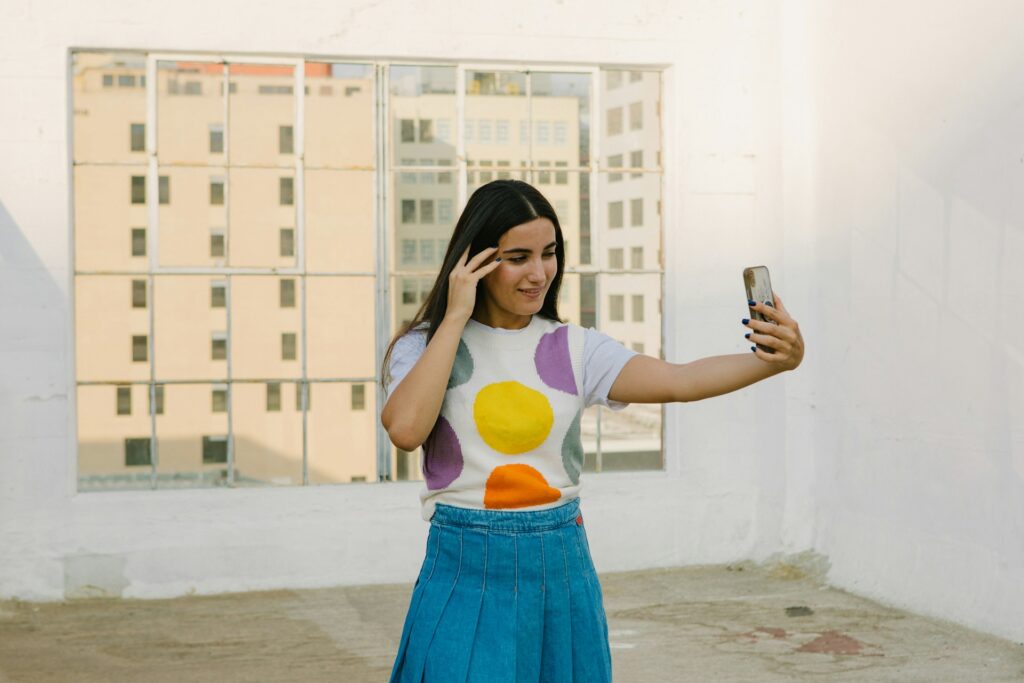
As the model photography team at Depositphotos tell us, posture creates visual interest through triangles and curves. Create a triangle with your arms by placing one hand on your hip and angling your body. This classic pose elongates your figure and creates dynamic lines.
For close-ups, extend your neck slightly forward and down to sharpen your jawline – what seems exaggerated in person often photographs perfectly.
Technical Precision
Camera distance significantly affects how your features appear in photos. Close-up selfies tend to create lens distortion that can make central facial features appear larger than they are in reality – which is why a selfie taken at arm’s length usually looks more natural than one taken up close. If you want even more accurate facial proportions, try placing your phone slightly further away and cropping the image afterward, rather than getting too close to the lens.

Composition Rules
Apply the rule of thirds to position your eyes. They should typically fall along the upper horizontal third line of your frame. For environmental selfies, position yourself off-centre and use the background to create visual interest. Leading lines (like railings or horizons) can draw attention to your face when properly aligned.
Advanced Lighting Techniques
Master the bounce light technique by positioning yourself near a white wall that can reflect natural light onto your face. This creates soft, even illumination that minimises texture and shadows. For evening shots, experiment with ‘cutting’ artificial light by positioning yourself partially in shadow to create dramatic contrast.
The Foundation Of Skin Prep
Good skin texture provides the canvas for great selfies. Understand how different moisturisers interact with light – dewy finishes can create unwanted shine in photos, while matte products may appear flat. If wearing makeup, be aware that SPF products can create flashback in photos, appearing as white cast under certain lighting conditions.

Motion & Timing
Rather than taking static shots, try subtle movement – slowly turning your head or shifting position while taking multiple photos. This technique, common in professional photography, helps capture micro-expressions and natural moments that often prove more flattering than staged poses.
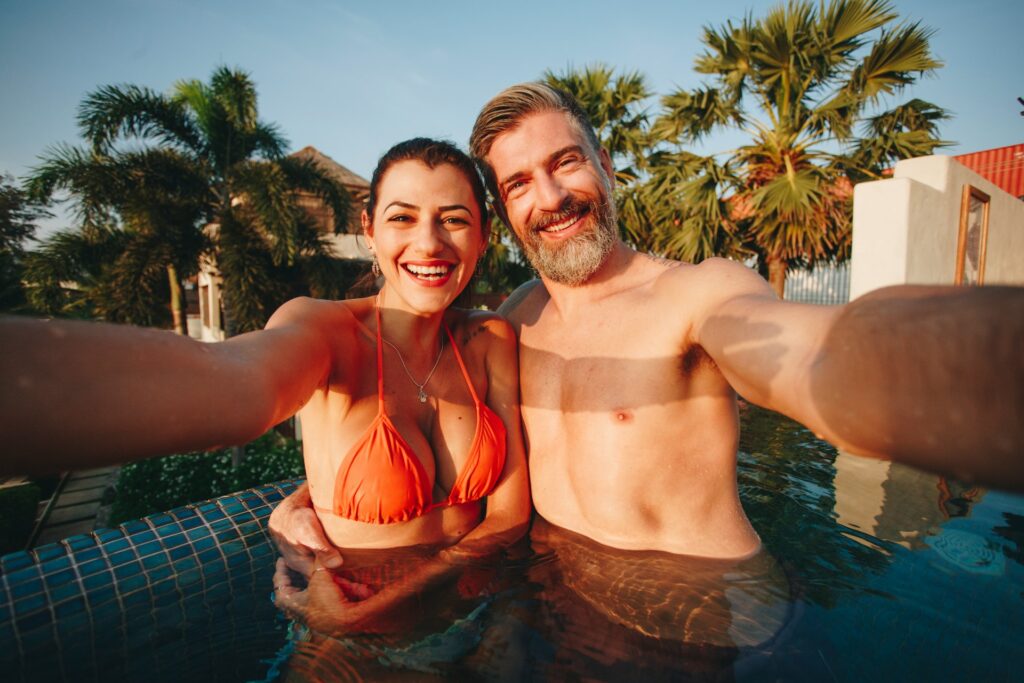
The Bottom Line
These photographic principles are just the beginning. The most captivating selfies emerge when technical skill meets genuine expression – those fleeting moments when you’re feeling confident, happy, or simply yourself. Understanding the science helps, but don’t let it overshadow the spontaneity that makes a photo truly memorable. After all, some of history’s most iconic self-portraits broke every rule in the book.


