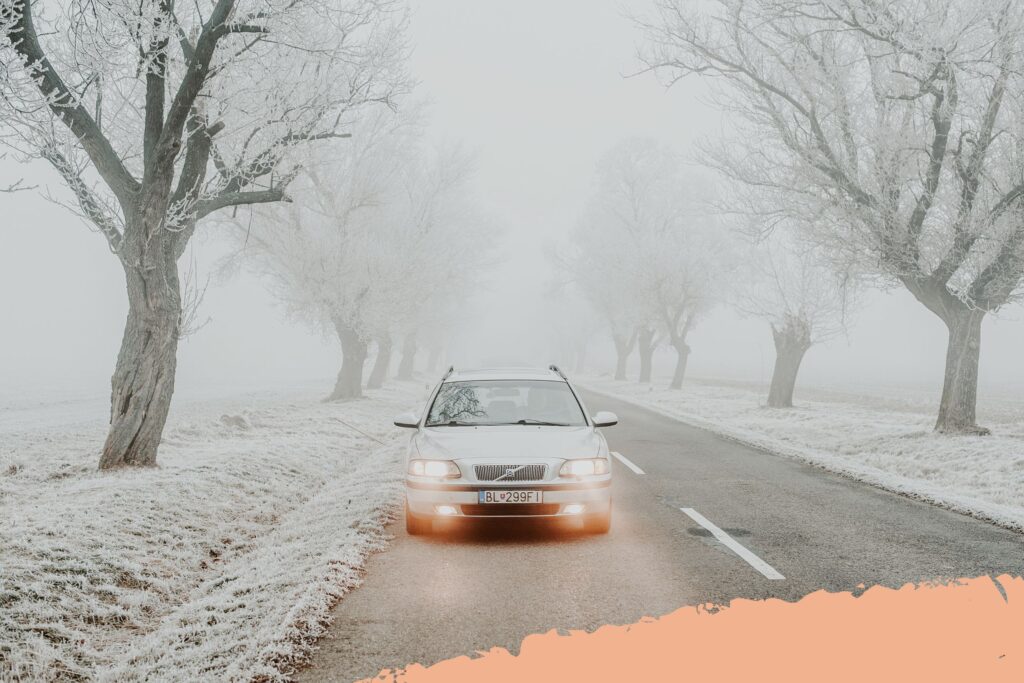
Fog lights are an essential part of your vehicle’s safety features, designed to improve visibility in adverse weather conditions. In the UK, the Highway Code (Rule 226) states that you must use headlights when visibility is seriously reduced, generally when you cannot see for more than 100 metres (328 feet). Fog lights can be a valuable addition to your car’s lighting system during these times.
However, like any other component of your vehicle, fog lights can become damaged or wear out over time. Today, we’re shining a gently flickering light on the signs of damaged fog lights and offering a step-by-step guide on how to change them safely. So, let’s fire up the engine and dive in…
Firstly, Is It Illegal To Drive With Damaged Fog Lights?
In the UK, fog lights are generally not considered part of the essential or mandatory lighting requirements in the same way that headlights, brake lights, and indicators are. However, if a vehicle’s fog lights are damaged in a way that they emit the incorrect colour, pattern, or brightness, or if they are causing unnecessary glare or visibility issues for other drivers, they could potentially result in a violation or, worse, a road traffic accident.
Although it may not be explicitly illegal to have damaged fog lights, it is important to maintain your vehicle’s lighting properly for your safety and the safety of others on the road.

On the flipside, you are legally obligated to use your headlights in foggy conditions.
Fog lights must be either white or bright yellow in the UK, and other colours are prohibited. They should only be used when visibility is considerably impaired, along with dipped beams or parking lights. Unlawful use of fog lights can result in a £50 fine (although no penalty points are added). It is important to note that LED bulbs used in brake, sidelights, or fog lights are not road legal in the UK.
According to The Highway Code (Rule 236), you must not use front or rear fog lights unless visibility is seriously reduced, as they can dazzle other road users and obscure your brake lights. You must switch them off when visibility improves. Failure to do so can result in a £30 fine for incorrect use of fog lights.
To ensure safety while driving in foggy conditions, it is essential to keep your vehicle well-maintained, including checking mirrors, demisting front and rear windscreens, and filling up your windscreen wash. Additionally, carrying a high-vis jacket and warning triangle can help make you more visible in case of an accident or breakdown in poor visibility condition
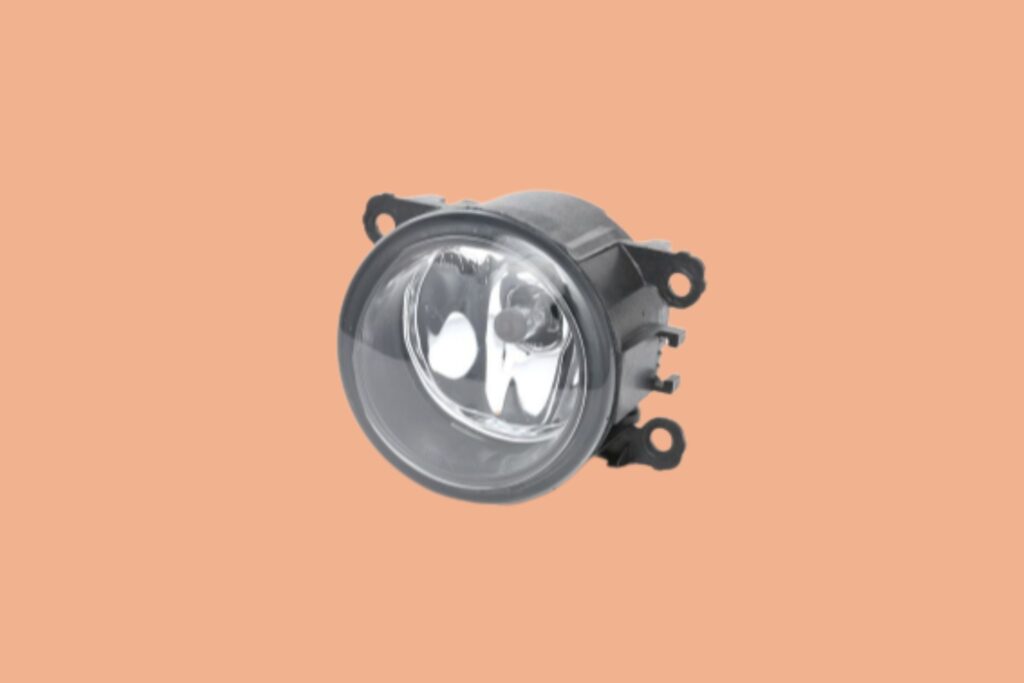
Image of fog lights from buycarparts.co.uk
Signs Of Damaged Fog Lights
To always remain safe on the road, common sense car care is essential. Knowing how to identify underlying issues with your vehicle is a key component of this. Here are some of the key signs of damaged fog lights to look out for:
Dim or Flickering Lights: If your fog lights appear dimmer than usual or flicker while in use, it could indicate a problem with the bulb, wiring, or connection. This may require a simple bulb replacement or further investigation into the electrical system.
A Cracked or Broken Lens: A cracked or broken lens can allow moisture to enter the light assembly, leading to reduced visibility and potential electrical issues. If you notice any damage to the lens, it’s essential to replace it as soon as possible.
Non-Functional Lights: If your fog lights do not turn on at all, there could be several underlying issues, such as a blown fuse, faulty wiring, or a dead bulb. In this case, you’ll need to identify the root cause and address it accordingly.
Changing Fog Lights Safely: A Step-By-Step Guide
Before starting, ensure that you have the correct replacement bulb or fog light assembly for your vehicle. You can find this information in your owner’s manual or by consulting a professional mechanic. Always remember to follow the manufacturer’s guidelines and safety precautions when working on your vehicle.
Step 1: Park your car on a flat, level surface and turn off the engine. Engage the handbrake and put on protective gloves and eyewear.
Step 2: Locate the fog light assembly. This is typically found in the lower part of your vehicle’s front bumper or grille. In some cases, you may need to remove additional panels or parts to access the fog light assembly.
Step 3: Disconnect the wiring harness from the back of the fog light assembly by gently pulling it away. If it’s difficult to reach, you may need to use a pair of needle-nose pliers.
Step 4: Remove the old bulb by twisting it counterclockwise and pulling it out of the socket. If you’re replacing the entire fog light assembly, unscrew or unclip the mounting hardware and remove the damaged unit.
Step 5: Insert the new bulb into the socket, ensuring that it’s securely in place. If you’re installing a new fog light assembly, attach it using the provided mounting hardware and ensure it’s properly aligned.
Step 6: Reconnect the wiring harness to the back of the fog light assembly. Test the new fog light to ensure it’s functioning correctly before reassembling any removed panels or parts.
Step 7: Clean up your workspace and dispose of the old bulb or fog light assembly responsibly.
The Bottom Line
Regularly inspecting and maintaining your fog lights is crucial for ensuring optimal visibility and safety during poor weather conditions. By familiarising yourself with the signs of damaged fog lights and learning how to change them safely, you can keep your vehicle in top shape and adhere to UK law and the Highway Code.
Remember, if you’re unsure about any aspect of the process or need assistance, it’s always best to consult a professional mechanic. Safe driving!


