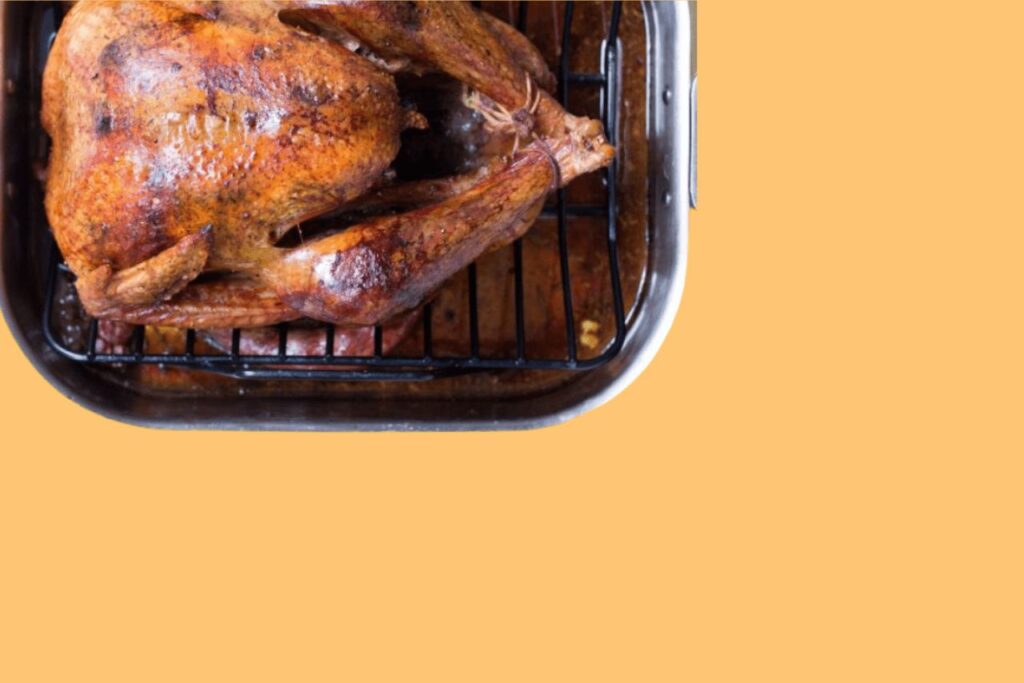
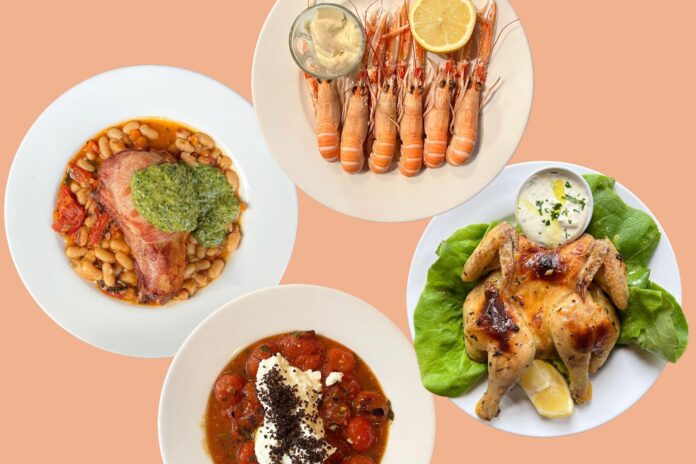
‘What’s your big four favourite then?’….a conversation piece deployed by almost anyone in the course of discussing Sunday lunch. And while beef certainly has its merits, pork its fans and lamb a devoted following, roast chicken rarely gets a look in at the top table of esteemed meat mainstays. The reason? We think it’s because the humble bird is so often done so wrong. If you want to start doing it right, right now, then here are 7 tips for the IDEAL roast chicken.
NOT ALL BIRDS WERE BORN EQUAL
We’ve all heard foolish folk on Come Dine With Me wheel out the tired old line about chicken that’s been given hourly massages and music to listen to; hell, we’ve probably made the claim ourselves at a dinner party we’re hosting. Whilst that level of poultry based pampering might be an exaggeration, if you want to eat well, you’ll want your chicken to have lived well, too.
TIME TO BRINE
Once you’ve forked out on something your fork will truly appreciate, it’s time to give the bird a salt water bath. Brining (in a 5 – 8% salt and water solution) tenderises the meat through the salt breaking down muscle fibres. Your chicken will also absorb some of the liquid, making for a juicy end product. You’ll want to boil the brine briefly to help the salt (and sometimes sugar) dissolve, then allow it to cool completely before immersing the bird in the liquid, placing in the fridge and leaving to work its magic overnight.

TRUSS, TUCK & DUNK
Trussing is another important step in the pre-cooking process, as tying the bird up prevents it taking flight and escaping from the oven. Jokes, aside, it’s believed to help the breast and leg cook evenly and in harmony. Tucking the wings under the chicken prevents them from burning. Many chefs swear by dunking the trussed chicken briefly in a large pan of boiling water a couple of times, to tighten up the skin. It works for us, but obviously you should skip whatever steps you wish if time isn’t on your side.
DILIGENT DRYING
With all the brining and dunking going on, your bird is going to be a little wet. That’s all well and good, but we need the skin to be dry if it’s going to crisp up nicely and go that lovely golden colour of a pornographic Marks & Spencers ad. Placing on a wire rack, over a tray, at the foot of the fridge for an extended period seems the best way to go.
ADD FAT, AND ADD IT AGAIN
The choice of fat you use is up to you (and your waistline) but a decent smothering of goose fat, butter or olive oil – applied all over the bird’s exterior – is a must. The fat will help the skin to crisp and give it a wonderful rich flavour. Of course, season liberally with salt and pepper too, inside and out. During the cooking process, basting the bird at fairly regular intervals with the schmaltz that has accumulated in the roasting tray will add even more flavour. Stuffing, fresh herbs, flavours, trivets….it’s all in the preferences of the chef.
Read: 7 Of The Best Places For A Roast in South London
ROAST TO THE RIGHT TEMPERATURE
Low and slow or hot and fast, the choice is yours. What matters is that the internal temperature reaches (and this is a matter of debate) somewhere in the 63°C region. You’re cooking at home, not to over cautious government food safety guidelines, so it’s best not to decimate your bird by trying to reach 75°C. If you opt for slow cooked (extremes suggest 4-6 hours on as low as a 60°C oven temperature) you’ll want to either turn your oven up high at the end of the cook to initiate a goldening of the skin, or alternatively take the chicken out, insert some tongs up its rear, and brown the bird on all sides in a frying pan. If this sounds a faff, traditional roasting dictates about an hour and ten minutes on 190ish, and a final fifteen on 250, again, ish.
REST WELL
The final step is perhaps the most often neglected; your carefully shopped for, brined, trussed, tucked, dunked, slathered, salted, seasoned, roasted chicken needs a rest. It’s been a lot of hard work up to here, and the juices need redistributing. If not, when you cut to the carving, moisture otherwise destined for your tongue will escape all over the chopping board, never to be reintegrated. Rest under foil to retain even more moisture, or rest uncovered to keep the skin at its crispest. Again, the choice is yours.
Now, here’s 7 IDEAL steps to the perfect, medium rare rack of lamb


