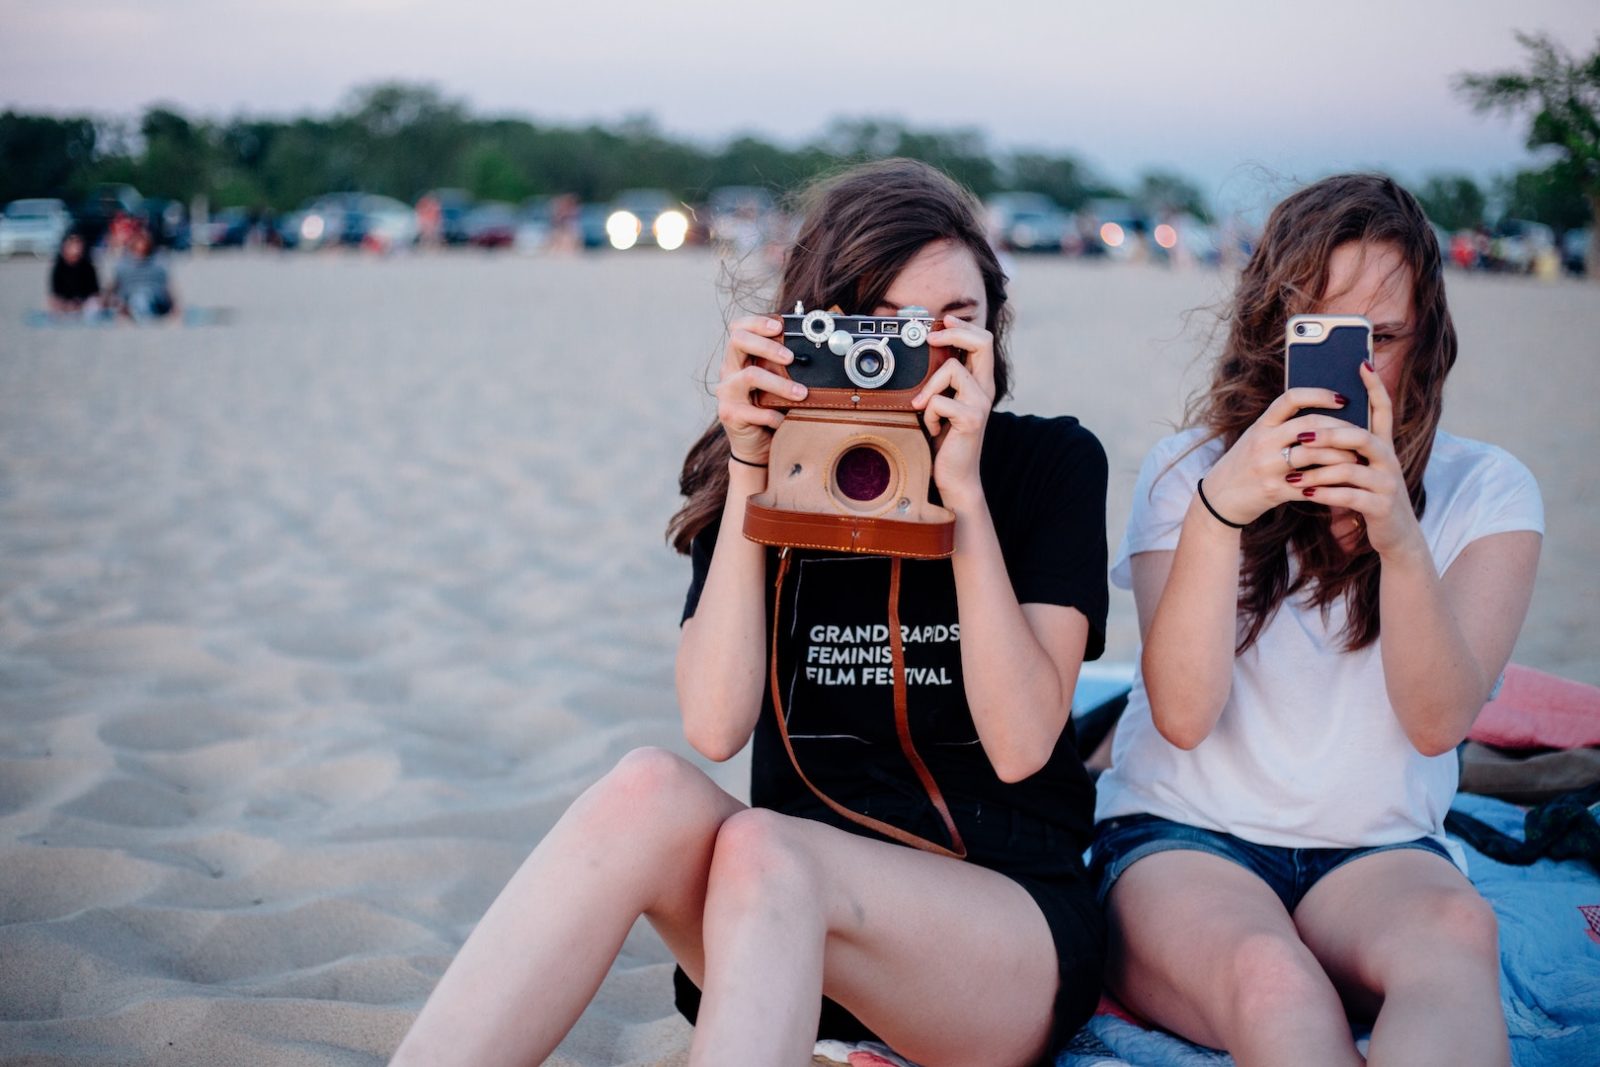
Sometimes it can truly feel as though we are all looking at life through a lens. We stare enviously at friend’s holiday snaps, we tweak our own to look brighter and sunnier, we take selfies daily for a boost of self-esteem and comment on stranger’s to boost theirs.
But even though everyone seems to be a budding amateur photographer or photograph curator these days, isn’t it a drag when you return from holiday to find nearly all of your photos don’t do the trip justice?
According to a research published by Metro, the average Brit takes on average 21 photos a day on holiday. Moreover, “some people will try to take the same photo up to 13 times to try to get the perfect picture before spending another five-and-a-half minutes editing the photo and thinking up a caption”.
Cut down the time spent spent taking and editing your vacay snaps with these; our 8 photography tips for improving your holiday photos.
Experiment With The Light
Experimenting with the light doesn’t only mean being aware of your camera’s flash and different settings. Nope, it’s a more all encompassing piece of advice; observe the place and the light at different times of the day (and night) to really capture a mood succinctly.
Be dexterous; the light can impact the story you’re telling through your images. Experiment with different times of day; try taking photos of the same location at different times and notice the variety in tone snd mood. Warm and bright sunrise, pinky – almost bloody – sunset, a crisp and clear day or a night in full moon; these can completely change the landscape and feel of your photos.
If you don’t have the luxury of time at a location to capture all of those different times of day, then there’s no need to worry; you can always change the settings!
That said, you should wait until you get home to fiddle around with any filters. Cosmopolitan reports that the average Brit spends 79 minutes a day on holiday editing photos for Instagram, time better spent enjoying yourself we think.
Rule Of Thirds
One of the most basic photography rules that should be known to anyone who wants to take interesting and more balanced photos. In order to do just that, you can turn on your camera’s grid feature or simply use a little logic and break down what you see into nine equal sections (thirds horizontally and vertically).
Then, you need to view the focal point of the photo with reference to the whole composition; for example, if you’re taking a photo of a person but it’s not a portrait, consider placing them in the left section instead of the centre, or when you’re doing landscape photography, it’s better to make sure that the horizon is on the bottom third, not in the middle. Remember the rule of thirds to bring proper proportions to your work.
Channel The Power Of The Golden Hour
Another term well known to those with even a passing interest in photography should be the golden hour (sometimes also referred to as the ‘magic’ one). Indeed, to those in the know, these are the two windows of opportunity when most of the greatest shots are taken. These rose tinted 60 minutes just after sunrise and just before sunset, at dusk and dawn basically, are without fail the ones most bathed in that warm kind of glow which both evokes nostalgia and the sense that anything’s possible.
So, while it might mean setting your alarm clock a little earlier and viewing impossibly beautiful sunsets through your lens rather than your actual eyes, the sacrifice is worth it for the best shots possible. While we’re on the subject, the blue hour (just before sunrise and just after sunset) is also an intriguing time to capture some interesting snaps, but requires a little more skill to pull it off. You got this.

Don’t Forget To Be In The Photos
We’ve all been there, flicking through a friend’s holiday snaps quickly and cursorily when it’s all landscapes and monuments, only to pause, zoom in and scrutinise in great deal as soon as a familiar face appears. So, remember that, while vistas and views may be incredibly stimulating to the naked eye, they can appear a little tepid when captured on film. Pepper your holiday snaps with shots of people (particularly you) to make them more interesting. Simples.
Make Sure You Tell A Story
When you’re the camera guy on a trip, it’s more than likely that you nominated yourself for the role. Indeed, it shouldn’t be a burden to assume this responsibility if you truly love the lens. But remember, It’s not only about taking photos of tourist sites and sunsets – photograph everything.
Are you waiting for the plane at the airport? Catch a glimpse of your tired friends reclining at the gate. Are you enjoying a bowl of hot, spicy and delicious street food? Capture the cooks who made it, in action. Tell the story, present a sense of life occurring around you, and you’ll capture the attention of those looking at your photos, too.
Capture Candid Moments
While posed photos have their place, some of the most memorable and evocative images come from candid moments. These are the unplanned, spontaneous shots that capture genuine emotions and interactions. Whether it’s a laugh shared between friends, a child’s wonder at a new sight, or a quiet moment of reflection, candid photos often tell a more authentic story.
To capture these moments, keep your camera ready and be observant. Sometimes, the best photos happen when people are unaware they are being photographed. This approach can add a layer of depth and realism to your holiday album, making it feel more like a true reflection of your experiences rather than a series of staged events. So, stay alert and be ready to snap those fleeting, beautiful moments that might otherwise go unnoticed.
Don’t Give Up On Imperfect Shots
Not every photo you take on holiday will be perfect, and that’s okay! Sometimes the most meaningful moments are captured in less-than-ideal conditions – maybe the lighting was poor, someone blinked, or an unexpected object photobombed your shot. Before you hit delete, consider that many of these photos can be salvaged with modern editing technology.
For minor issues like exposure problems or colour correction, basic photo editing apps on your phone can work wonders. However, for more complex problems like blurry images, unwanted objects, or even damaged old holiday photos you want to digitise and restore, an online photo repair tool can be incredibly helpful. These AI-powered tools can sharpen blurry images, remove unwanted elements, restore faded colours, and even reconstruct missing parts of damaged photos.
The beauty of these tools is that they’re accessible from anywhere – perfect for when you’re still on holiday and want to quickly fix a shot before sharing it with friends and family back home. Just remember that while technology can enhance your photos, the real magic lies in capturing authentic moments. Sometimes a slightly imperfect photo that tells a great story is worth more than a technically perfect but soulless image.
Fixing Mistakes
Even the best photographers make mistakes. Here are some common issues and how to fix them:
How can I avoid blurry photos? Blurry photos are often the result of camera shake or moving subjects. To avoid this, ensure you have a steady hand or use a tripod. If you’re shooting in low light, increase your camera’s ISO setting or use a faster shutter speed. Additionally, many cameras and smartphones have image stabilisation features—make sure these are enabled.
What are orbs in pictures and how do I get rid of them? Orbs are usually caused by dust particles, water droplets, or other small particles reflecting the camera’s flash. To minimise orbs, clean your camera lens regularly and avoid using the flash in dusty or misty environments. If you must use the flash, try to angle it away from the particles or use a diffuser to soften the light.
How do I correct overexposed or underexposed photos? Overexposed photos are too bright, while underexposed photos are too dark. To correct exposure issues, use your camera’s exposure compensation feature. For overexposed images, decrease the exposure value; for underexposed images, increase it. If you’re editing photos afterwards, most photo editing software has tools to adjust brightness and contrast to help balance the exposure.
Why do my photos have a yellow or blue tint? A yellow or blue tint is often due to incorrect white balance settings. Different light sources (like sunlight, fluorescent lights, or incandescent bulbs) have different colour temperatures. Adjust your camera’s white balance setting to match the lighting conditions. If you’re editing photos, use the white balance tool to correct the colour cast.
How can I fix red-eye in my photos? Red-eye occurs when the camera flash reflects off the retina at the back of the subject’s eyes. To prevent red-eye, ask your subjects to look slightly away from the camera or use the red-eye reduction feature on your camera. If red-eye still appears, most photo editing software includes a red-eye removal tool that can easily correct this issue.
What should I do if my photos are too noisy or grainy? Noise or graininess is often a result of shooting in low light with a high ISO setting. To reduce noise, use a lower ISO setting and ensure your camera is stable to allow for a longer exposure time. If noise is still an issue, many photo editing programs have noise reduction tools that can help smooth out the graininess without losing too much detail.
Speaking of delicious street food, if you’re looking for inspiration on where to go for your next holiday, check out our 10 IDEAL foodie destinations in Southeast Asia.


