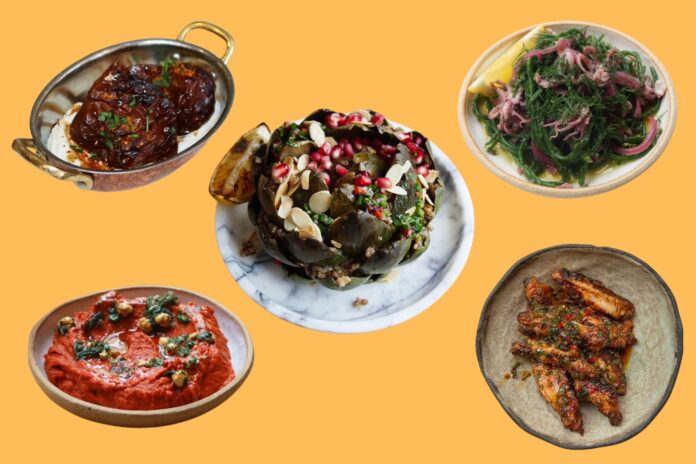
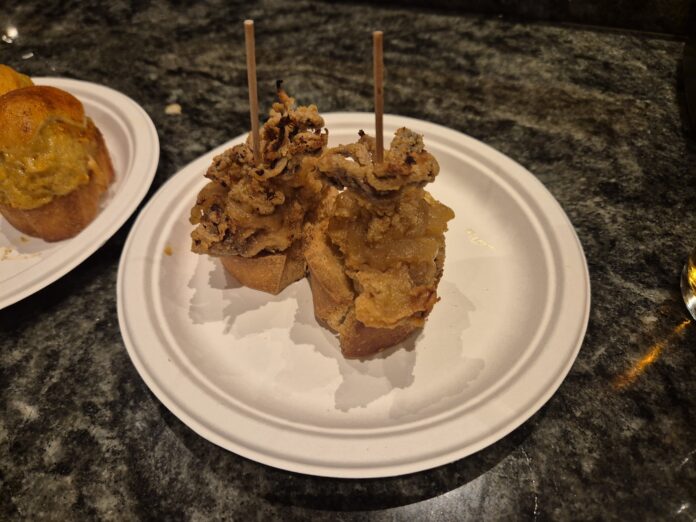
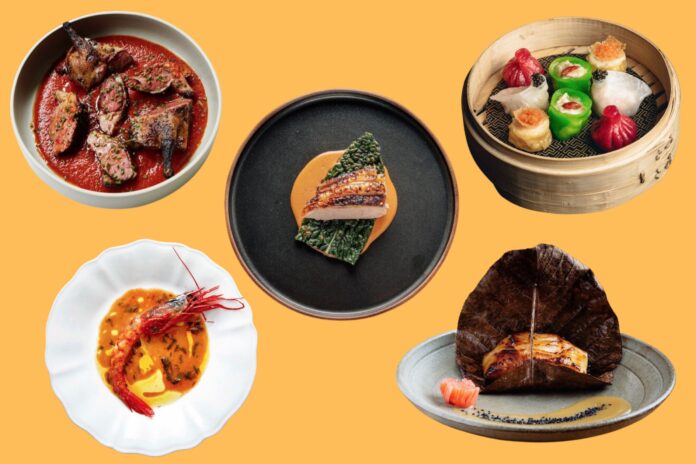
In the world of culinary art, it’s often said that people “eat with their eyes first”. This adage underscores the significant role visual aesthetics play in our relationship with food. It’s no wonder then, that food photography has become an instrumental aspect of the culinary world, from cookbooks and restaurant menus to food blogs and social media posts.
Food photography is an art that goes beyond simply clicking pictures. It’s a blend of creativity, technique, and a true understanding of ingredients, dishes and food culture. Today, we’re in search of that perfect picture, you know; the one that makes your taste buds tingle with just a single image. With that in mind, here are the 8 key tenets of fantastic food photography.
Lighting Is Everything
Whether you are shooting a lavish Christmas dinner or a simple slice of watermelon, lighting can break or make your food photography.
Proper lighting can emphasise the shine of a drizzle, illuminate the steam from a freshly cooked dish, or accentuate the colours in a vibrant salad. Whether you’re working with natural sunlight streaming in through a window or a set of studio lights, understanding the direction and quality of the light source is essential.
Natural lighting often provides a soft, diffused look that is perfect for most food shots. However, the time of day can drastically affect the hue and intensity. For best results, aim for early morning or late afternoon when the sunlight isn’t too harsh.
On the other hand, artificial lights give you more control, allowing you to adjust brightness and direction, which can be especially beneficial when shooting in low-light conditions or during nighttime – which, of course, is often when the most intimate of dinners go down.

The Art Of Composition
Composition concerns itself with how the elements of a photo are arranged. Use the Rule of thirds, leading lines, or symmetry to make your food the star of the show. Avoid cluttering the frame; sometimes, less is more.
In food photography, the allure is often in the details. The composition revolves around the dance of the dish, its plating, the backdrop, and the subtle garnishes that enhance its story. Before clicking, set a clear theme: perhaps a rustic ambiance with worn boards and vintage silverware or a minimalist, modern touch with crisp lines. This theme will guide how you position and layer each element in the frame.
Styling further enriches this tableau. Thoughtfully chosen props, like contrasting napkins, a carefully positioned spoon, or a sprinkle of fresh herbs, add depth and guide the viewer’s gaze. Each detail, meticulously curated, should entice the viewer as much as the dish itself would.
Read: Capturing the IDEAL photo in just 7 crucial steps
Proximity & Angle
The distance and perspective from which you shoot can greatly affect the outcome. Closer, detailed shots create intimacy, making viewers feel like they could reach out and take a bite. Different angles can also emphasise different aspects of the food. For instance, a straight-down, or ‘bird’s eye’ view, can showcase the symmetry and design of a dish, making it perfect for flat-lays where components are spread out. On the contrary, a side angle can highlight the layers of a burger or the depth of a beverage, revealing texture and depth.
But continue beyond the familiar angles. Challenge yourself. Get close to capture the garnish details, or pull back to show the dish in its environment. An oblique angle would lend an edgy look to a traditional dish, making it pop unexpectedly. The key is to experiment and find that perfect perspective that does justice to the food you’re portraying.

Colour & Contrast
Colour and contrast in food photography aren’t simply elements of style or aesthetics – they are the very heart and soul of an enticing visual feast!
Imagine you’re scrolling through your social media feed. A post from your favourite food blog catches your eye – a decadent chocolate pudding, bathed in warm hues of caramel, against a stark white rustic table. Why did it hook your attention? Because it’s not just a picture, but an immersive, sensory experience – it’s the power of colour and contrast in food photography.
Colour and contrast help to bring dishes to life, adding depth and dimension, making them tantalisingly real and incredibly appetising. They aren’t just about making food look good; they’re about stirring emotions and evoking that “must-have” craving in your audience.
Consider colour. It’s an essential part of our visual perception and impacts our mood substantially. Bold, vibrant colours often stimulate the senses and create feelings of happiness, excitement, and appetite. Cool, soothing palettes can communicate freshness, comfort or sophistication.
In food photography, it’s crucial to use colour purposefully. It might be enhancing the natural hues and textures of a dish or strategically using props and backgrounds to play up or balance the hero – your food!
Contrast, on the other hand, is the difference in luminance or colour that makes an object distinguishable. In food photography, it’s about blending and offsetting the elements of your scene to create a riveting visual journey.
It can be the subtle play of light and shadow bringing texture and depth to a bowl of salad, highlighting every crinkled leaf and shiny tomato. Or, the dramatic starkness between a vibrant plate of strawberries and a dark background, making the reds pop irresistibly.
So, how can you harness the power of colour and contrast effectively in your food photography?
- Understand Colour Theory: Identifying complementary, analogous, or monochromatic colours will help you create visually striking and harmonious images.
- Use Natural Light: Natural light brings out the true colours of food, adds depth, and reduces unwanted shadows. Remember, the direction of your light source impacts the contrast and texture in your images.
- Play with Backgrounds and Props: Use backgrounds that complement or contrast your food but don’t steal the spotlight. Props can help enhance the colours or introduce needed contrast.
- Edit Mindfully: Post-processing software can enhance colours and adjust contrast, but avoid oversaturation or unnatural hues. The goal is to depict the food as delectable yet real.
- Experiment: Artistic rules are meant to be broken creatively. Don’t be afraid to experiment with different colour combinations and levels of contrast to create your unique style.
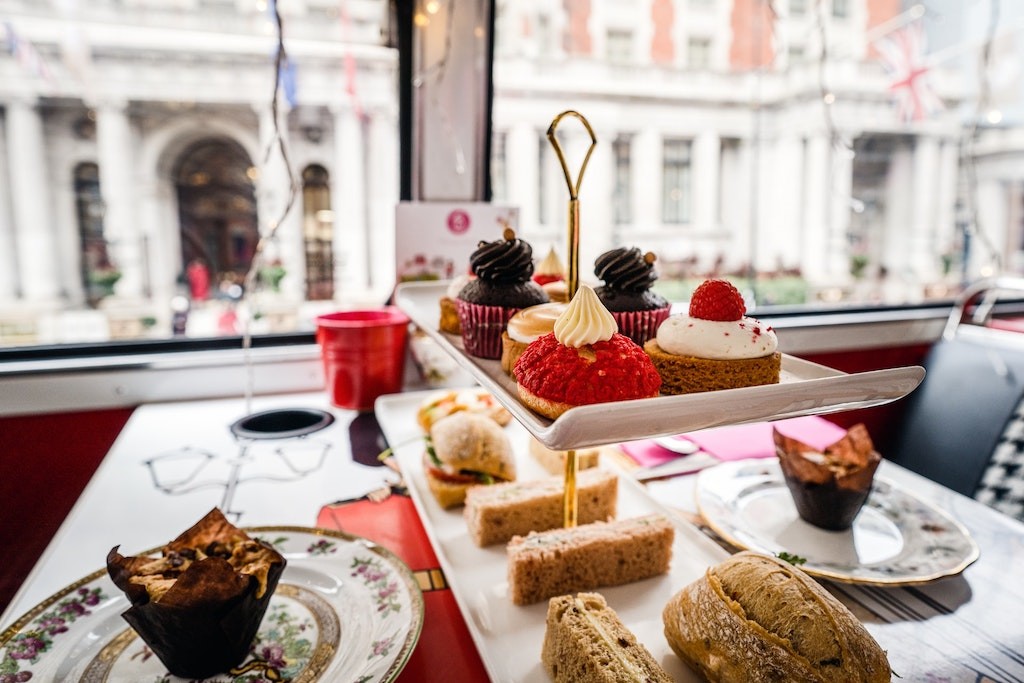
Movement
Emphasising movement in food photography might sound like an oxymoron, but it’s actually a pivotal element, as it injects life and dynamism into the image. The always popular choice for food photographers, DSLR cameras, with their high-speed shutter capabilities, are perfect for capturing these fleeting moments with clarity.
We’ve all seen a shot of a fork piercing the yolk of a fried egg or someone dusting their bench with flour ready for kneading. In the frequently static field of food photography, portraying this kind of motion brings an enticing sense of reality, bridging the gap between the viewer and the culinary experience. It triggers a sensory response, evoking the taste, smell, and texture of the food, thereby stimulating a viewer’s appetite.
The technique of capturing this transitory moment demands a combination of keen observation, precise timing, and proficient light manipulation, thereby showcasing the photographer’s skill. Furthermore, it encourages narrative storytelling, inviting the viewer to engage with the process behind the dish, rather than merely its final presentation.
Texture & Details
Crispy, creamy, crunchy, or soft – the texture of food can be as mouthwatering as the taste itself. Focus on minute details; the sheen of a buttered roll or the steam rising off a hot chocolate can truly bring your photographs to life.
Styling & Props
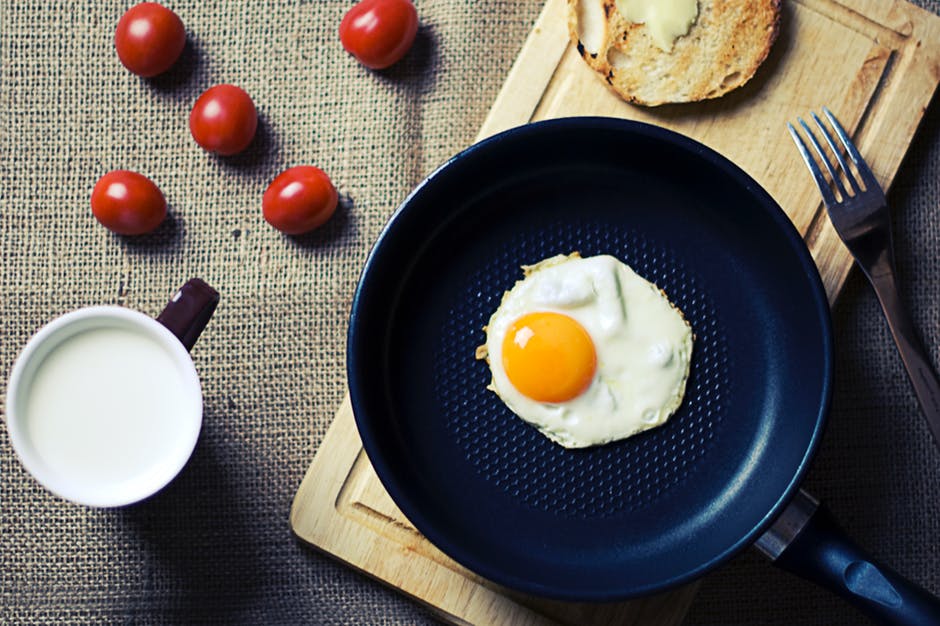
Using props helps in storytelling and setting the mood. Be it a rustic wooden table for that homemade apple pie, a frying pan still holding that oozy egg from earlier, or a chic white marble base for a modern vegan salad, choose props that enhance rather than distract from the food. Remember, the food is the hero.
Post-Production Magic
Last but not least, a well-edited image can be the cherry on top of your food photography sundae. However, with editing, the motto should always be ‘enhance, not change’. Over-edited images can look artificial and unappetising.
Post-processing plays a crucial role in food photography in emphasising the dish’s best aspects. Here are specific editing tools and techniques tailored for food photography:
- Crop and Composition: Reframe to focus on the dish’s most tantalising parts. Cropping can also help achieve the golden ratio or rule of thirds for a more balanced image.
- Brightness/Contrast: Adjust to accentuate the juiciness of meats, the gloss of sauces, or the freshness of vegetables. A good balance ensures the food remains appetising and not washed out or overly dark.
- Image Masking: Ideal for emphasising specific food details. For instance, if you want to brighten the syrup drizzling down pancakes without affecting the surrounding areas.
- Colour Enhancements: Food is all about colours. Boosting saturation or vibrance can make dishes pop, but moderation is key. You want a fresh salad to look vibrant, not neon.
- White Balance: Ensure the food’s colours are authentic. A creamy pasta should not appear with a blue tint, nor should a grilled steak look too yellow.
- Sharpening: Highlight the textures, from a fried dish’s crispness to the softness of desserts. But avoid oversharpening, which can make food look gritty.
- Spot Healing/Clone Tool: Remove minor imperfections, like crumbs or splatters, that might distract from the main dish.
The Bottom Line
The realm of food photography is a playground for your creativity. Remember, your aim is to make your audience’s eyes savour the food before they’ve even tasted it. Happy shooting (and even happier eating afterwards!).


