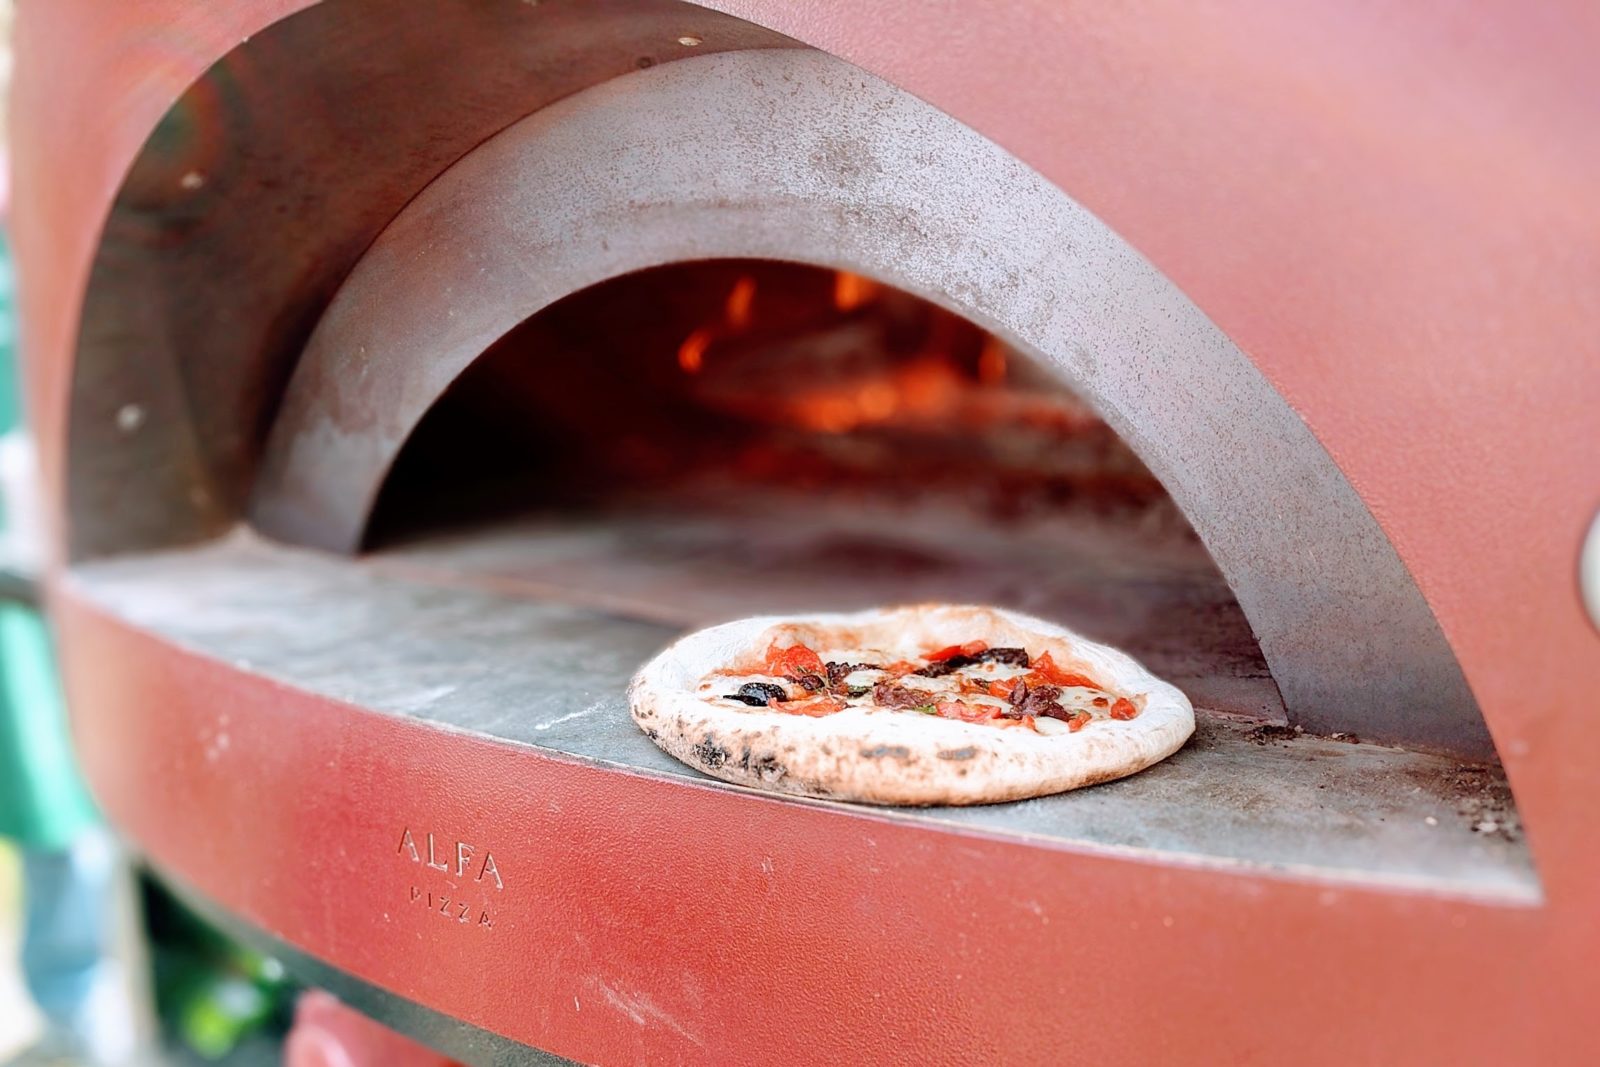
…IDEAL for those who love the flavour of something wood-fired.
A dome oven. An arched vault and a rip roaring temperature. But let’s face it; a pizza oven is so much more than that. It’s your ticket to flavourtown, and that wood fired taste which works so incredibly well, not only on pizzas but also for breads, meat and fish.
Its actual form differs depending on regions or users’ preferences. The best example for this is the positioning of the chimney. In southern Italian regions, they tend to place it at the front, just above the mouth of the oven, whilst in northern parts, it’s most often located in the back.
Sometimes pizza ovens don’t even have a chimney — it minimises heat loss and allows for keeping high temperature contained inside for longer. The material used is consistent however; traditional pizza ovens are made of clay or bricks and cement because of their heat retention. Lit in the morning, they can often keep burning all day.
Anyway, the good news if you’d like the luxury of one at home is this; you can build them yourself or buy already manufactured and easy to assemble wood-fired ovens made of high-quality refractory materials. We’re here today to talk about the former; here’s how to build your own pizza oven in your garden in 5 simple steps, IDEAL for those who love the flavour of something wood-fired.
But First, How Does A Wood-Fired Pizza Oven Work?
No matter how it’s built, the main cooking principles stay the same. Firstly, a fire is made in the back end of the oven and allowed to heat up. The shape and material of the dome allows it to store heat and later radiate it back (the base does it too). When the oven reaches the desired temperature, embers and ashes are removed so we can put our dough on a cleaned surface.
& What Kind Of Fuel Should Be Used?
The type of fuel used is vital as it greatly affects the taste of the final product. The first choice should obviously be wood (clue’s in the name), but it can’t be just any type. The wood of conifer trees (softwood) should be avoided, as it burns too fast and contains a lot of resin and essential oils which can alter the taste great and produce a lot of soot.
The most preferable wood comes from beech, cherry or gean (Prunus avium). Alternatively, charcoal made from hornbeam, ash or birch can be substituted. As a last resort, although not recommended, wood briquette could be used but it can’t have even the slightest addition of softwood, if you want your pizza to taste deliciously, authentically wood fired.
Of course, if fuel is a concern and you’re keen to for something potentially more environmentally-conscious, consider a propane pizza oven out back. The guys are quick, efficient and easy to clean, using a greener fuel source than wood or charcoal, which means less smoke and fewer pollutants released into the air while cooking outdoors.
As the guys at Sabra Pizza tell us, ”With a propane pizza oven, you don’t have to worry about preheating, waiting for the temperature to stabilize, or dealing with hot spots and cold spots like you do with other types of ovens. This makes it easy to get your pizzas made quickly and consistently every time.”
A hugely efficient alternative to all this building and burning lark, perhaps?
Anyway, back to the building and burning…
Step 1 – Place & Base
There are two very important rules regarding wood-fired oven placements: it mustn’t be set near storage places for flammable materials and it shouldn’t be exposed to strong winds.
Once you’ve chosen its place, you need to make the foundations of your oven. The easiest way to do this is by digging a hole and pouring a slab of cement into it. After it solidifies, you can assemble the walls of the base.
Again, you can use cement slabs or small lintels as flagstones, especially if you plan to store some wood under the oven while cooking. In that case, you should leave two open walls, ensuring better airflow and keeping the wood dryer. It’s recommended that you make an outline of the floor before going forward, as it gives an idea of space needed for all the layers.

Step 2 – Bottom Insulation
When the base is ready, it’s time for some bricklaying. For the bottom layer (under the oven floor) walls you can use normal red bricks and cement. After completing the outline, the next step is making the insulation layer. This step is essential, as proper insulation is key to the pizza oven’s effectiveness.
You can use professional products for this or in true DIY fashion use the wine bottle insulation method. The what now? Just lay wine bottles evenly and fill the gaps between them with clay (you can mix in some sawdust), leaving a little room for their thermal expansion. The clay should be soaked overnight and then mixed to ‘double cream’ consistency.
Step 3 – Oven Floor
After the insulation layer is set and ready, the floor takes priority. But before you start laying fire bricks, firstly you have to put a layer of build soil mix under them. This provides a firm base without the need of clay or cement. You should start with the best fitting bricks in the middle and work your way outward.
Step 4 – Dome
Next up, you should draw an outline of your dome on the floor bricks, using a marker pen since this will be visible even if the bricks get wet. You’ll need a lot of clay; at least 10-13 litre (about 3 gallons) buckets. And yet even more sand will be required for the mixture and for the form (the model, if you will). When making the sand form, use a stick to measure height in the middle so you’ll know how high you’ll need go. The sand form should be compacted down and shaped into a perfect dome. After you complete the form, put a layer of dampened newspapers onto it; this will help when emptying the finished dome.
You still with us? After that, you need to make the clay-sand mix. The first layer of the dome should be 10 cm (about 4″) thick. Just grab a handful of the mixture, make it into a solid ball and add one by one from the bottom until the top is reached. When it’s ready, you can even out the surface with a plastering trowel.


Step 5 – Drying & Finishing Touches
Before you can finish your oven and cook something delicious, you’re going to have to wait for the dome to dry to the point that it won’t collapse. Depending on weather conditions, it may take from a few days to as long as 3 weeks (if it’s really wet weather). If it’s raining, you should keep the whole oven under a tarpaulin.
Once it’s sufficiently dry, the time has come for cutting out the mouth hole (and one for the chimney, if you so fancy) and removing the inner sand form. While cutting the mouth, you should keep in mind that the door should at least 63% of the total dome height.
All is left after that is to add two layers of sand and clay mixed with some straw to properly insulate the dome — the first one 10 cm (about 4″) thick and the second 2,5 cm (1″). As a finishing touch, you can add a thin layer of clay to even out the surface.
Now, the difficult decisions commence; what topping are you having? Check out our beginner’s tips for making the IDEAL homemade pizza!


