During the course of the lockdown and beyond, many of us have felt the pressing need to freshen our look without stepping foot in a salon. No surprise, then, that folk were attempting DIY haircuts at home in their millions.
Interestingly, this trend has continued even as the world has opened up, with many going solo in the hope of achieving a flawless fringe and maintaining luscious locks. The results, shall we say, have been mixed.
But in reality, executing a successful DIY haircut at home is not as arduous as it may seem; all you need is a little courage, a steady hand, the right tools, and of course, proper technique.
Though the outcome may be less slick, there are certainly perks; you save money, time and perhaps even nurture a new skill. For first-timers, there are a few essential pieces of advice to bear in mind before you begin. These are those; our top tips on how to give yourself a successful DIY haircut at home.
Assemble Your Tools
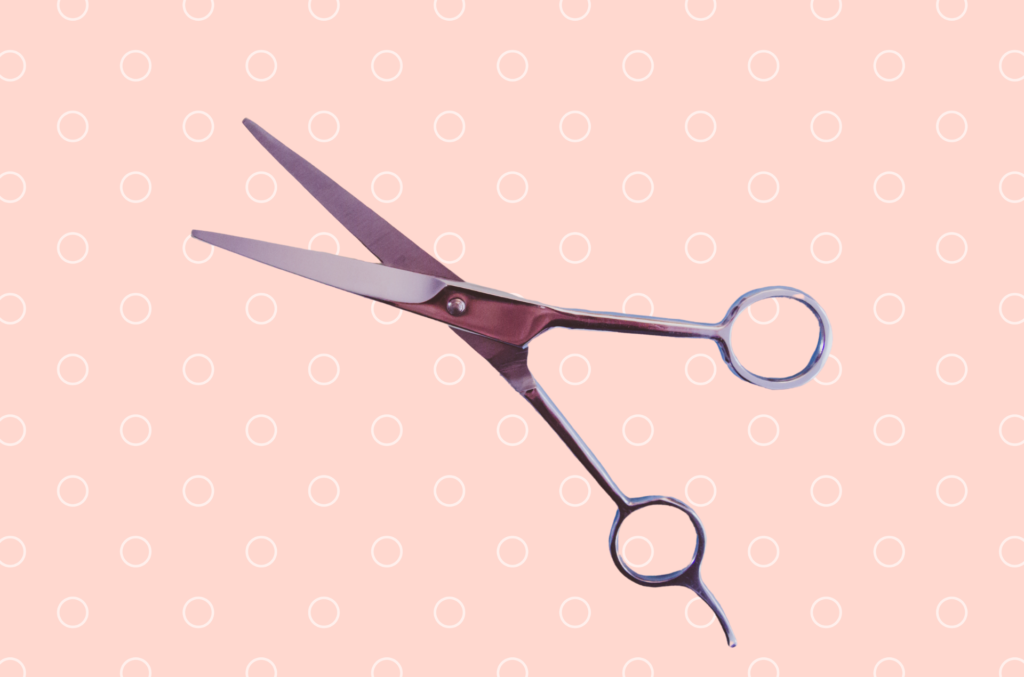
Your first step towards a successful DIY haircut starts with the correct tools. An investment in a sharp pair of hairdressing scissors is essential. Kitchen scissors won’t make the cut (pun intended) as they can result in a choppy, uneven look.
Nope, this thing can’t be done with nail scissors or worse, kitchen scissors or worst, garden shears! That is how you lose an ear.
Scissors and razors are the tools that will be doing the hard work in your home DIY hairdressers, so it’s worth the investment. For the ideal home haircut which doesn’t require dexterity and contortion to get the job done, you will ideally require different types of scissors depending on your preferred hairstyle and length. Prioritise those with a ratio of long blade to small handle that leans towards the former.
You’ll also need a couple of combs with both wide and fine teeth for moving the hair around while you or a helpful housemate is cutting and styling. A water spray bottle (to dampen your hair before cutting) will be beneficial as well, and clips to section your hair are also necessary. Finally, a handheld mirror for that all-important post-cut check, is essential.
Enlist Help
Yep, we casually threw in mention of a helpful housemate in that previous paragraph for good reason. What, you thought you doing this thing alone? Let’s be honest, a safe, successful DIY home haircut is better achieved with a friend, partner or family member holding the scissors. There are hard-to-reach spots which even the most flexible of folk can’t reach. Instead, ask for assistance to avoid mishap, injury or simply ending up with an ill advised looking do.
Understand Your Hair
Recognise the texture, thickness and curl pattern of your hair. Different hair types demand different types of haircuts. For instance, curly hair can be snipped dry, as it contracts when dry and expands when wet. However, straight or wavy hair is better cut damp as it allows for more precision.
Preparation
Wash your hair thoroughly and condition it to ensure there are no knots or tangles. Dry it lightly before spraying water to make it damp. Comb through carefully to remove any knots. It’s always best to start with a clean slate!
Section Your Hair
Sectioning is very important for a well-balanced haircut. It gives you neat areas to work with and ensures you don’t miss any spots. Start by dividing your hair into four sections – two at the front and two at the back. Pin them up with your clips for control and manageability.
Go Slow
You can always add but you can’t take away. Hang on, that’s not about hair cutting. What we mean is; you should approach this home haircut thing gradually, tentatively even, as you can’t add hair back onto your head which you’ve already cut off. Well, you could, but it would be a very expensive process.
Wash & Condition Prior To Cutting
It’s always recommended that you work with squeaky clean hair for flawless DIY home haircutting. Grease and dirt can act as an impediment to gliding combs and agile strokes of the scissor blades, resulting in a cut that may not be as full and health-looking as you’d like.
So, prior to getting down to business, make sure you wash the hair with shampoo and conditioner. Dry your hair with a towel and comb to untangle any knots.
The Haircut Itself
Before anything, it’s good to make sure that those scissors are clean and sharp. If they aren’t, you may need to use a sharpener to prevent damaging your ends. One can easily test the sharpness of their scissors by taking a piece of thread, doubling it up and running the scissors through the thread without closing the scissors. A sufficiently sharp pair should cut the thread easily and cleanly.
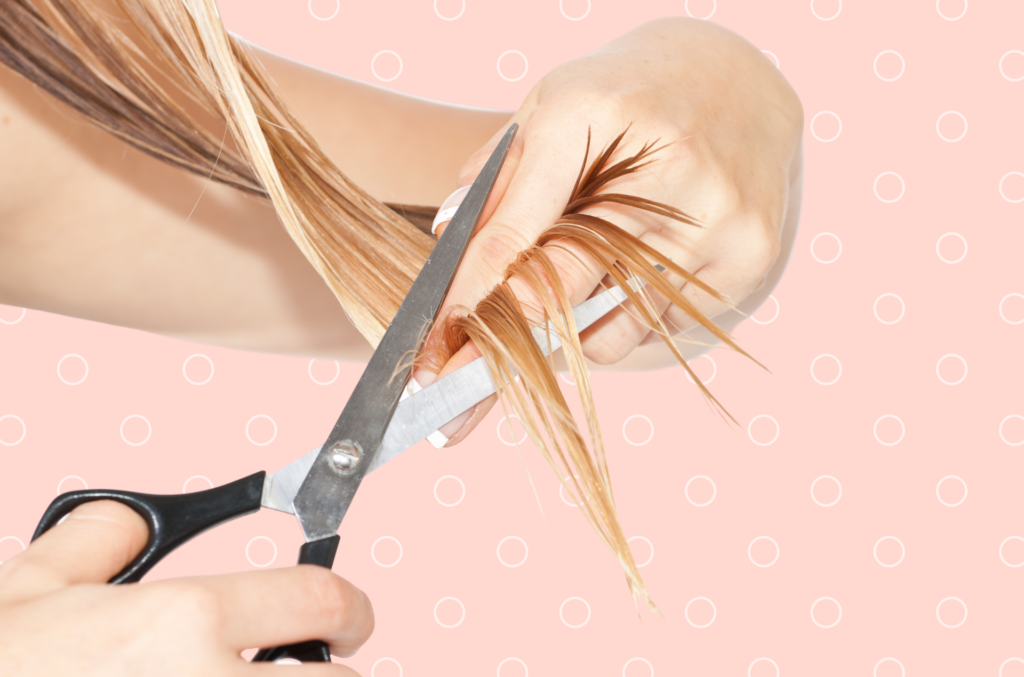
If you’re a DIY haircut novice, it’s recommended to start with a small trim. Remember, it’s always safer to cut less, because you can always cut more, but you can’t stick the hair back once it’s been chopped!
Begin with the front sections. Comb down a small subsection, hold it between your index and middle fingers, and cautiously start cutting. Always cut vertically into the hair (known as point cutting) for a more natural look instead of a straight horizontal cut which can look overly blunt. An adventurous haircut is fine; one which got overly creative is, perhaps, not.
Next, proceed to the back which is, without a doubt, the trickiest part of a DIY haircut. Use two mirrors to have a clear view of what you’re doing. You could invite a family member to assist or use the ponytail method – a technique which involves creating low ponytails and then cutting across for an evenly layered look.
Post Cut Styling
After the cut, it’s recommended to blow-dry your new hairdo using a round brush to flip the ends to make sure the cut is even. Be scrupulous here as a few rogue spots and uneven finishes are all but guaranteed in the amateur haircut. Apply a good hairspray to hold the style in place.


