Ideal for keeping things cosy and comfortable in the colder months ahead.
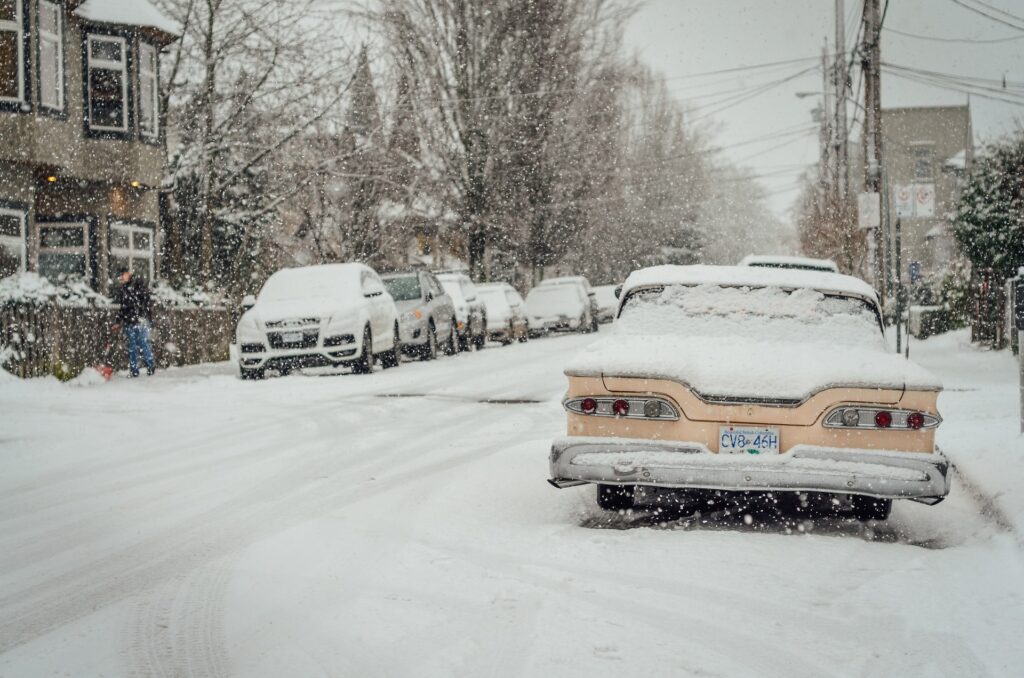
‘Winter is coming’. Weather reports suggest that by the end of the week, temperatures are set to drop by as much as 7 degrees, with snow even predicted for some regions in the UK. Once upon a time, preparing for the onset of the colder months meant heading to the high street to treat yourself to a new winter coat.
But 2020 is a very different beast, and this year, preparation for the thermometer dropping is going to be a distanced, domestic affair. It’s never been more pressing to get your home in good shape for winter – we’re all going to be spending an awful lot of time there, after all.
With that in mind, here’s 5 tips and tricks for preparing your home for winter, IDEAL for keeping things cosy and comfortable in the colder months ahead.
THINK OUTSIDE THE BOX
Naturally, when it comes to the topic of winter, most people start by considering the central heating. But let’s start today’s article by going off on a slightly different tangent and heading outside. After all, it feels like a more natural progression, right? Begin outdoors and work your way in…
One of the most common external problems involves the drains. Winter prompts leaves, mud and all sorts of other debris to build up in and around the drains and over time, they can become blocked. The repercussions can be frustrating, to say the least, so it’s worth taking a little time to clear them of clutter, cut back any overgrown hedges and trees which may be contributing to falling debris, and analyse the other external areas of your property before winter gets in full flow to reduce these risks somewhat.
A few key external maintenance checks and procedures include:
– Make sure you treat any wooden windows so they can guard against rot during the damper months.
– Add some lagging to your outside tap to ensure that it does not freeze when the temperatures drop.
– If you have any outdoor lights, now is the time to get them working. The days are shorter, and they will be used more than ever before.
– Put any outdoor furniture out of sight. If you’re struggling for space, self storage prices are relatively low over winter and can protect your furniture from any weather-related damage.

INSULATION STATIONS
Brrr, it’s a little chilly out here. Let’s head indoors where few would disagree that insulation is one of the most cost-efficient methods to secure your home for winter.
The loft is where you should start, although if this has already been carried out, then consider your walls, too, helping you keep warm whilst saving money.
Insulating your house needn’t mean massive investments and months of building work; in fact, it will likely save you on heating bills in the long run. Rest assured, this is one you can do yourself, too.
Proper insulation simply means preventing cold air from getting in through cracks and crevices, in turn preventing cherished warmer air escaping. Buy sealant strips from your local B&Q (other stores are available) and shore up any areas around doors and windows liable to be leaking air. Floor sealant can be applied around skirting boards; a common source of draughts.
Draught-proofing is an excellent way to seal up all the gaps without closing off your house ventilation entirely – simply add some draught-proofing to letterboxes, pet doors, at the bottom of doors and around your windows.
GIVE YOUR BOILER A DRY RUN
If we were to pick just one method to prepare your home for winter, it would revolve around the nemesis of so many homeowners and renters; your boiler.
The best advice here is to give it a dry run before winter fully sets in. If you leave it until the temperatures reach those dreaded minuses, only to discover things are amiss, then you’ll be at the back of the queue when it comes to getting it fixed. Indeed, every plumber and heating engineer will attest that demand for their services shoots up as the colder months arrive.
As such, test things yourself and even if everything is working, get it serviced to ensure that this is going to remain the case. The boiler experts at *checks notes* IDEAL Magazine have written a really useful guide about when to know when your boiler needs servicing. Do check it out.
PRIME THOSE PIPES
On a similar note, it’s not just your boiler which needs readying for the harsher elements.
When the temperature drops, it’s easy for your pipes to freeze and break. And the last thing you want to be doing in winter is fiddling around in the cold, trying to fix something you’re not qualified to understand.
To get all scientific, pipes burst due to a build-up of pressure within them caused by water molecules expanding. But we’re not worried about the cause here, more how to avoid it. Prevention is clearly preferable to cure here, and the best way to pre-empt and protect from frozen or burst pipes is to keep your house at a consistent temperature, preferably via your thermostat.
Even if you’re away on a winter holiday, it’s a good idea to have your heating on a timer, at least coming on for a couple of hours each day, to keep your pipes in good nick. Insulating your pipes is also a smart move.

BLEED YOUR RADIATORS
While we’re at it, when was the last time you bled your radiators? You probably already know that radiators naturally collect air in the top as water expands and contracts during heating and cooling, and because of this, it’s important that you check your radiators and their ability to heat up fully between seasons to prepare for colder periods.
Fortunately, bleeding your radiators is a fairly simple process. Firstly, turn on your central heating and feel for any cold spots of patches along the top of the radiator. Then, turn off your central heating and allow it to cool a little; you don’t want any water spurting out to be boiling hot.
Next, you’ll need a radiator bleed key (you can actually use a flat head screwdriver on most modern radiators) and a cloth. Locate the bleed valve, which is found at the top of the radiator, and use the key to turn it anticlockwise for around a quarter of a turn (don’t turn it all the way or excess water will escape). At this point, you should hear a hissing sound; don’t be alarmed, it’s simply the sound of trapped air making a break for freedom. Some water may also escape; just use your cloth to catch it.
Once air has stopped escaping, the hissing has ceased, and only water is dripping (not air) then the task is complete. Tighten the valve and move onto the next radiator.


