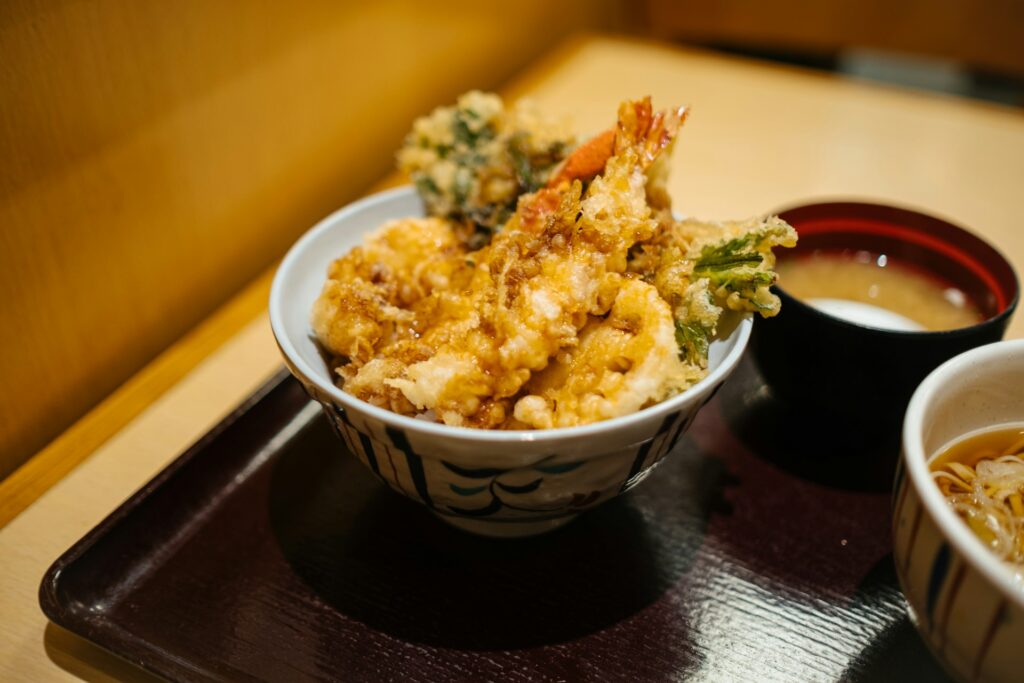
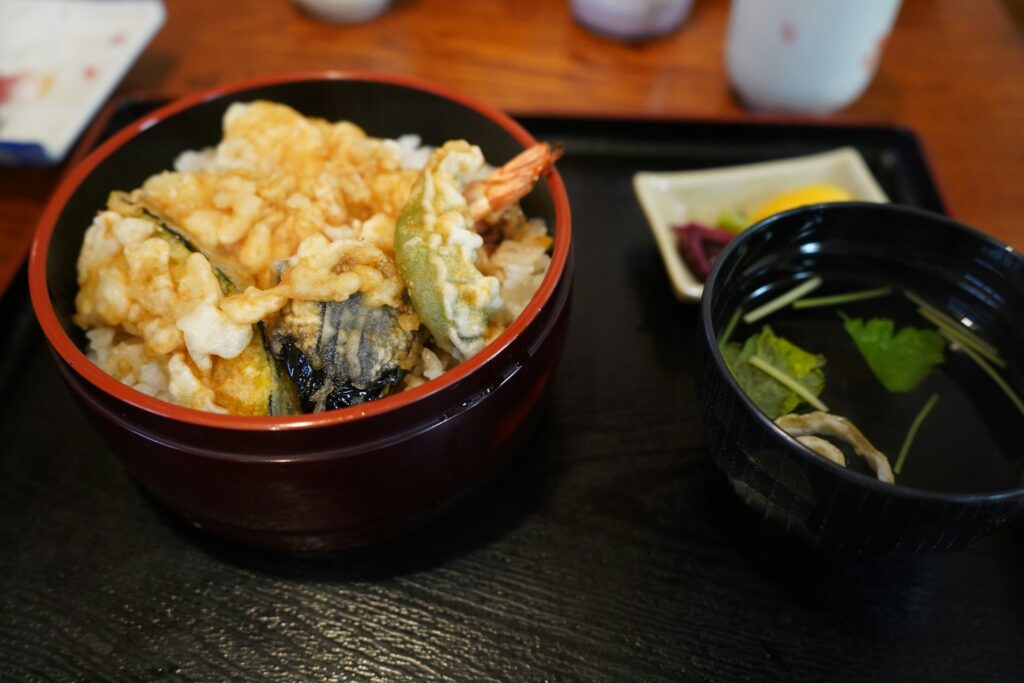
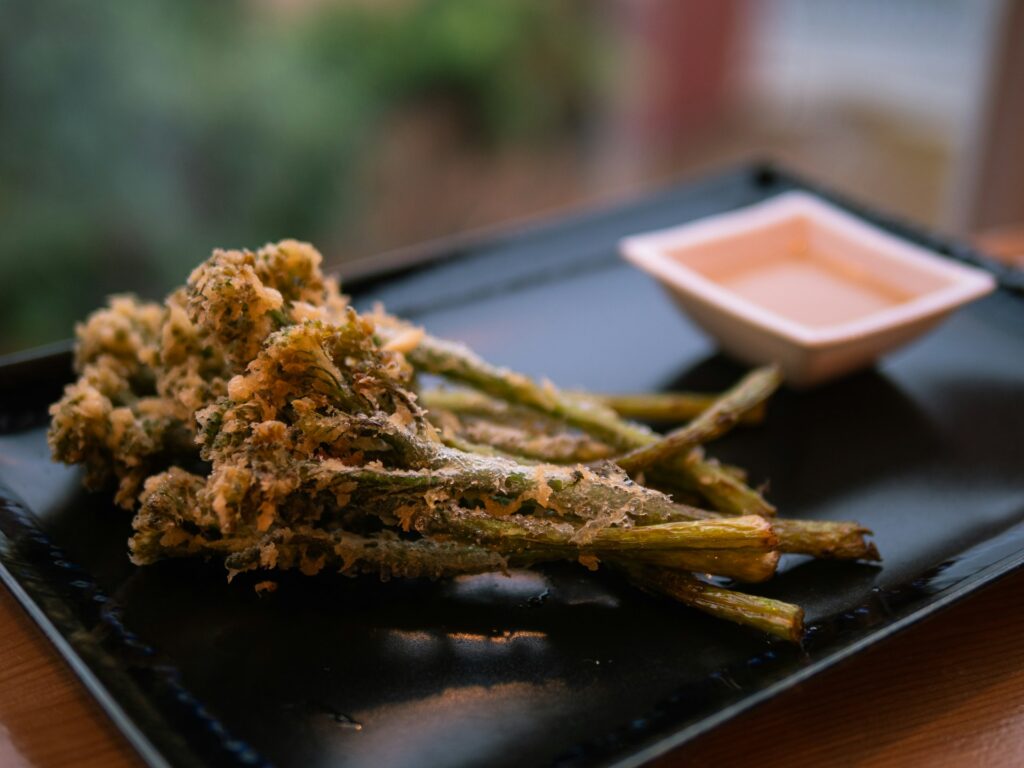
Tempura, the Japanese culinary art form that transforms simple ingredients into ethereal, crispy delights, is a testament to the power of batter and hot oil. Achieving that quintessential light and airy crunch is akin to capturing a culinary cloud. It’s a bite that’s at once delicate and satisfying, a balance that’s not easily struck. No wonder Japanese scholars of tempura study the discipline for years before a single deep fat fryer is even turned on.
7 Steps To Perfection
Without wishing to undercut the commitment to such study, here are the 7 secrets of an ethereally light, deliciously crisp tempura batter.
1. The Temperature Of Your Tempura Batter Is Everything
The first secret lies in the temperature of your batter. Tempura batter must be cold; think of it as the cool whisper of a winter’s breeze in contrast to the summer’s heat of the frying oil. This is because the cold temperature prevents the gluten in the flour from developing too much, which would otherwise result in a heavy and doughy texture.
Use ice water, and even consider chilling the flour before use. The shock of cold batter meeting hot oil creates an instantaneous steam barrier, resulting in that coveted light, crisp coating.
Read: 15 essential etiquette tips for your first trip to Japan

2. Give Me My Flours
Choosing the right flour is paramount. While all-purpose flour can suffice, the true path to a lighter tempura is through the use of soft wheat flours, such as cake flour or even rice flour. These flours have less protein, which means less gluten formation and a tenderer bite.
For an authentic touch (or, you know, a bit of a short cut), seek out specialised tempura flour at ‘Asian’ supermarkets, which often has added starch to ensure an extra crispy finish. Asian supermarket tempura flour, or ‘tempura mix’, is a specially crafted blend designed to yield the signature light and crispy coating of traditional tempura.
This convenient mix typically comprises low-protein wheat flour, cornstarch or tapioca starch for crispness, leavening agents like baking powder or baking soda for puffiness, and a touch of salt for flavour.
Some brands may also include MSG to enhance umami, egg powder for binding and colour, along with other flavour enhancers and seasonings. The mix streamlines the tempura-making process, requiring only the addition of cold water and occasionally an egg, depending on the brand’s recipe.
3. Carbonation Stations
Incorporating carbonated water is a trick that the vast majority of seasoned tempura chefs swear by. The bubbles in the water create tiny air pockets within the batter, contributing to the lightness of the final product. Opt for sparkling water or club soda, and make sure it’s as cold as the Arctic tundra before mixing it into your batter.

4. A Minimalist Mixing
Overworking the batter is a cardinal sin in the world of tempura. The goal is to barely combine the ingredients. A few lumps are not just acceptable; they’re desirable. They contribute to the irregularity of the batter, which translates to a more interesting texture. Mix with the gentle care of a butterfly’s wingbeat, using chopsticks or a fork, and only until the ingredients are just brought together.
5. Precision Oil Temperature
Now we arrive at the heart of the matter: the temperature of the frying oil. This is the secret that can make or break your tempura. The oil must be hot, but not just any heat will do—it must be precisely correct. Aim for a temperature between 170°C and 180°C. Too low, and your tempura will absorb oil like a sponge, becoming greasy and heavy. Too high, and it will burn to a bitter crisp before the inside has a chance to cook.
Accordingly, professional kitchens tend to use infrared thermometers to monitor the oil’s temperature constantly. You should do the same. The right temperature ensures a quick, even cooking that results in a golden, airy shell encasing a perfectly cooked interior.
6. The Dance Of Dipping
When dipping your ingredients into the batter, a light touch is essential. Do not drench your ingredients; instead, coat them lightly, allowing the excess to drip off. This ensures that the batter doesn’t become too thick, which would weigh down the tempura and prevent it from achieving its signature lightness.

7. The Actual Frying
Finally, the act of frying itself must be approached with a blend of patience and attentiveness. Do not overcrowd the pan, as this will lower the oil’s temperature and result in soggy tempura.
Fry in small batches, and keep the pieces moving gently in the oil to ensure even cooking and to prevent sticking. Once they’re a light golden colour and floating to the top, they’re ready to be rescued onto a wire rack or paper towels to drain any excess oil.
A word on the pan itself; though some may choose to use an air fryer, dedicated tempura pans exist and are by far and away the best vessel for frying. Typically designed with straight sides and a wide opening which helps maintain a consistent temperature of the oil for even cooking, and allows for easy turning of the tempura pieces. they also often feature a built-in drain rack for removing excess oil, ensuring the tempura remains light and crispy.
The Ideal Tempura Batter Recipe
Creating the perfect tempura batter is akin to crafting a masterpiece. It’s simple yet profound, requiring precision and a touch of artistry.
Here’s a recipe that will give you a light, crisp coating every time, along with a selection of ingredients that are ideal for enveloping in this golden shroud.
Ingredients:
- 1 cup (120g) cake flour or tempura flour (for a gluten-free option, use rice flour)
- 1 cup (240ml) ice-cold carbonated water (sparkling water or club soda)
- 1 large egg yolk, cold
- A pinch of salt
- Vegetable oil, for frying (such as canola or peanut oil)
Instructions:
- Prepare the Ingredients: Before you begin, ensure all your ingredients are cold. Chill the flour in the fridge and place the carbonated water in the freezer for a few minutes (just don’t let it freeze!).
- Mix the Batter: In a large bowl, lightly beat the egg yolk until just broken up. Add the ice-cold carbonated water to the egg yolk and mix gently. Sift the flour and salt directly into the liquid. Using chopsticks or a fork, stir the ingredients together with a few swift strokes. Remember, lumps are not only acceptable but necessary. Do not overmix; the batter should be mixed only enough to moisten the flour.
- Heat the Oil: Fill a deep, heavy-bottomed pot or deep fryer with at least 2 inches of vegetable oil. Heat the oil to 170°C-180°C. Use a kitchen thermometer to ensure the temperature is accurate and consistent.
- Prepare Ingredients for Frying: While the oil is heating, prepare your chosen ingredients (more of that below) by cutting them into bite-sized pieces. Pat them dry with paper towels to ensure the batter sticks properly.
- Batter and Fry: Once the oil has reached the correct temperature, dip the ingredients into the batter one at a time, allowing any excess to drip off. Carefully place them in the hot oil. Do not overcrowd the pot; work in batches to maintain the oil temperature. Fry until the batter is a light golden colour and the ingredients float to the surface, about 2-3 minutes.
- Drain: Remove the tempura from the oil using a slotted spoon or tongs and drain on a wire rack set over a baking sheet or on paper towels to remove excess oil.
- Serve Immediately: Tempura is best enjoyed fresh and hot. Serve with a dipping sauce such as tentsuyu (a mixture of dashi, mirin, and soy sauce) or a simple sprinkle of sea salt.
Suggested Ingredients For Battering
Vegetables
- Sweet potato, thinly sliced
- Broccoli or cauliflower florets
- Asparagus, trimmed
- Shiitake mushrooms, stems removed
- Pumpkin, sliced into thin wedges
- Aubergine, sliced into thin-ish pucks
- Carrot, cut into matchsticks or thin slices
- Green beans, ends trimmed

Seafood
- Prawns, peeled with tails left on
- Squid, cut into rings or strips
- White fish fillets, cut into bite-sized pieces
- Scallops, muscle removed
What To Serve With Tempura
When it comes to complementing the delicate crispness of tempura, the accompaniments play a pivotal role in enhancing the overall experience. Traditionalists often lean towards a tentsuyu dipping sauce, a harmonious blend of dashi broth, mirin, and soy sauce, which offers a umami-rich dip that perfectly offsets the lightness of the batter. For a zesty kick, grated daikon radish and a squeeze of fresh lemon juice can be added to the tentsuyu.
For those who prefer a dry seasoning, a sprinkle of flavoured sea salts can be sublime. Consider matcha salt for a touch of earthiness, yuzu salt for a citrusy zing, or even a smoky chilli salt for a bit of warmth. Each salt can bring out different nuances of the tempura.
Another popular option is to serve tempura with a side of tsuyu sauce thickened with grated daikon, creating a sludgy dip that clings to the tempura, offering a contrast in textures. For a more modern twist, a spicy mayo or aioli can be a delightful accompaniment, providing a creamy counterpart to the crunch.
Lastly, don’t forget the power of simplicity – a small bowl of fine-quality soy sauce can be the perfect dip for those who appreciate the understated elegance of tempura’s flavour. Whatever you choose, ensure that it complements rather than overpowers the delicate taste of the tempura itself.
The Bottom Line
Mastering the art of tempura is about understanding the delicate interplay between cold and hot, light and crisp. It’s about precision and restraint, knowing when to be gentle and when to be exacting.
With these seven secrets in your culinary arsenal, you’re now equipped to create tempura that is as light as air and as crisp as a fresh autumn morning. So heat your oil, chill your batter, and embark on a journey to tempura perfection. Bon appétit, or as the Japanese would say, “Itadakimasu!”


