Ideal for some much deserved pampering and preening.
Praise the lockdown lords, we can finally get our hair cut again! We don’t know about you, but ours was starting to look positively feral. Hopefully, our new hairdo will draw enough admiring gazes upwards, and away from our nails, which frankly, have seen better days.
Those better days were three months ago, when nail salons were still open and manicures as commonplace as standing shoulder-to-shoulder at a bar or sitting in the theatre. How times have changed. Though most of the country has started to reopen, we’re sitting here, biting our rough looking nails waiting for news on when nail salons and beauty parlours will be back.
Until then, it’s a DIY affair. Not to worry, doing your nails on your own and at home can be a fulfilling experience with beautiful results, as long as you follow a few specific rules. If you’re longing for a flawless manicure, but can’t wait until nail salons are open, then read on; here are the Dos and Don’ts of DIY nails.
DO STERILISE YOUR NAIL TOOLS
Firstly, and an even more pressing concern in the current climate of increased cleanliness, it’s vital you always clean your tools after using them on yourself, and especially if you’ve used them on others. This is because sterilising your nail files and your nail scissors helps you protect yourself from any possible nail infections or nail fungus.
DO PREP YOUR NAILS
For the ideal DIY manicure at home, do as a professional manicurist would at a nail salon and spend as much time prepping your nails as you do painting them.
The first step is to use some nail polish remover to remove any previous nail varnish and to get rid of any oils and dirt. The next prep step is to push back your cuticles. Use a cuticle softener to help loosen and soften the skin, before carefully pushing them back with a cuticle stick and trimming if needed.
Next, shape and trim your nails to the desired length and shape. The final step of prepping your nails is to gently buff them with a nail buffer (not an emery board). Buff the tops and the sides to create a smooth service, preparing them for polish.
Alternatively, consider nail wraps. These ultra thin items, most often made from paper, silk, fibreglass or linen, can be added to the nail for added reinforcement, before being embedded within acrylics and gels or used as a natural nail coating or extension and sealed with resin. Though available on the high street, it’s generally cheaper to shop nail wraps online and have them delivered to your door.
Ideal tip: Make sure you wash your hands after each step of the prep.
GIVE YOURSELF A HAND MASSAGE
One of our favourite parts of going to the salon is a hand massage. Don’t deprive yourself of this treat just because you’re at home. You’re here to pamper yourself after all, and alongside making your hands looked polished and perfect, a manicure is also about relaxing yourself. According to research, a hand massage can improve your health and wellbeing, with the benefits potentially including; less anxiety, a better mood and improved sleep. So, don’t deprive yourself of this treat just because you’re at home.
ALWAYS APPLY A BASE & TOP COAT
Want a smoother, shinier and healthier looking finish to your DIY manicure? Then don’t skip or skimp on a base or top coat. Top and base coats exist to keep your nail polish in place and prevent it from chipping. Yep, they both play an important role in keeping your nails healthy and will ensure your colour is long lasting.
A base coat prevents staining, providing a protective layer between your nail and the pigment of the polish. Moreover, it helps the polish stick to your nails more easily and will give your polished nails a more even texture. It’s worth investing in a base coat with a formula full of nail conditioners, moisturisers, minerals and vitamins. On the flipside, a top coat acts as an invisible shield, protecting your nail polish from chipping and dulling.
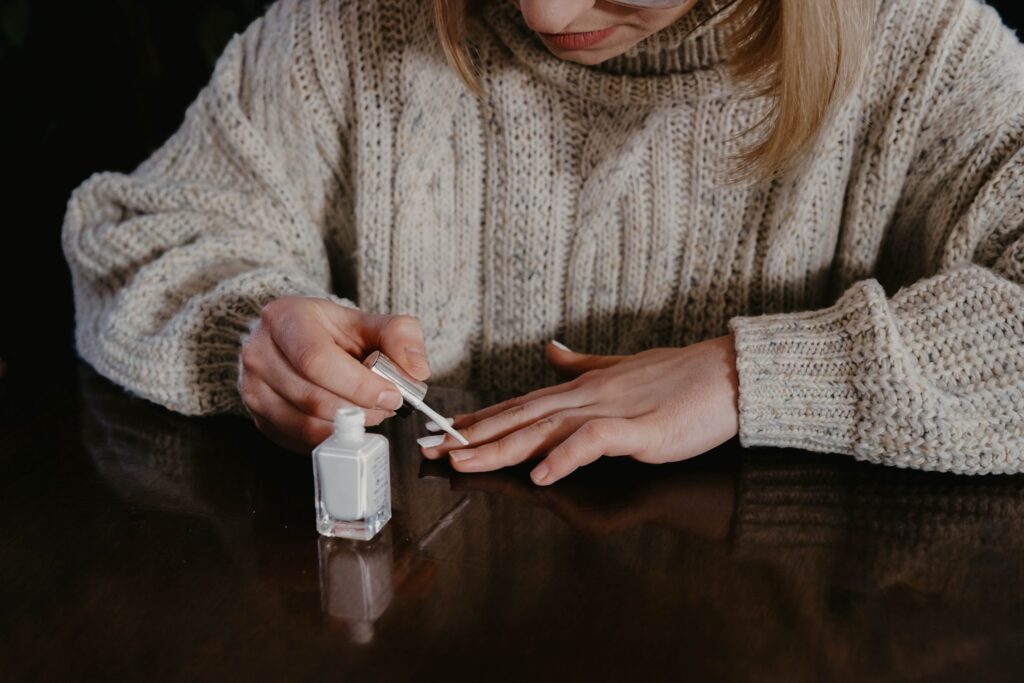
APPLY TWO COATS OF COLOUR
Apply polish in thin, even layers. Always apply two coats to give an even finish, allowing the first to dry completely before you apply the second. Don’t be tempted to add three layers of colour as your risk over polishing, giving a heavy and clumsy looking finish. Moreover, you run the risk of streaking the paint.
GIVE GEL A GO
Beauty trends come and go, but in our opinion, and in the view of the majority of professional beauticians, gel polishes are vastly superior to nail polishes. Their longevity and durability are unbeatable, that’s for sure. What’s more, you can enjoy one colour for 3 weeks straight, without it showing signs of blemish or decline! These are also chip-resistant and more pigmented than regular polishes.
TIDY UP
A good manicurist has steady hands. As such, a telltale sign of a DIY manicure is wobbly edges.
You’ll need to clean up any mistakes to give a tidy finish. Use a cotton bud soaked in nail polish and trace around the edges of your nail – don’t over soak the ends of the bud and be sure to be precise and careful, otherwise, you run the risk of ruining your new nails at the last hurdle.
DON’T BITE YOUR NAILS
All this positivity, but it’s time to address a few issues which are undoubtedly in danger of spoiling the appearance and feel of your nails. First and foremost, you should bid farewell to the most damaging habit of all; biting your nails. Not only can that nail-biting can cause damage to your nail beds, and promote irregular growth, but it can also expose your mouth to dirt and bacteria. A big no-no, this one.
DON’T PULL YOUR HANGNAILS
Although it may look tempting, try to resist the urge to pull your hangnails or cases of whitlow (the former, incidentally, is protruding nail tissue, while the latter is a minor infection under the fingernail’s cuticle). This movement can rip out your healthy tissue and expose the nails and hands to fungi and bacteria.
DON’T PEEL OFF YOUR POLISH
Many folk who have recently had their nails done tend to progressively (and unprofessionally) peel off their polish instead of removing it with acetone. However, by doing this, you are actually removing layers of your healthy nail in the process. Stick to polish remover for removing polish and let your nails breathe and rest in-between manicures for best results.
When those nail salons do reopen, check out these excellent places for a manicure; our 5 IDEAL places to get a manicure in London.

")


