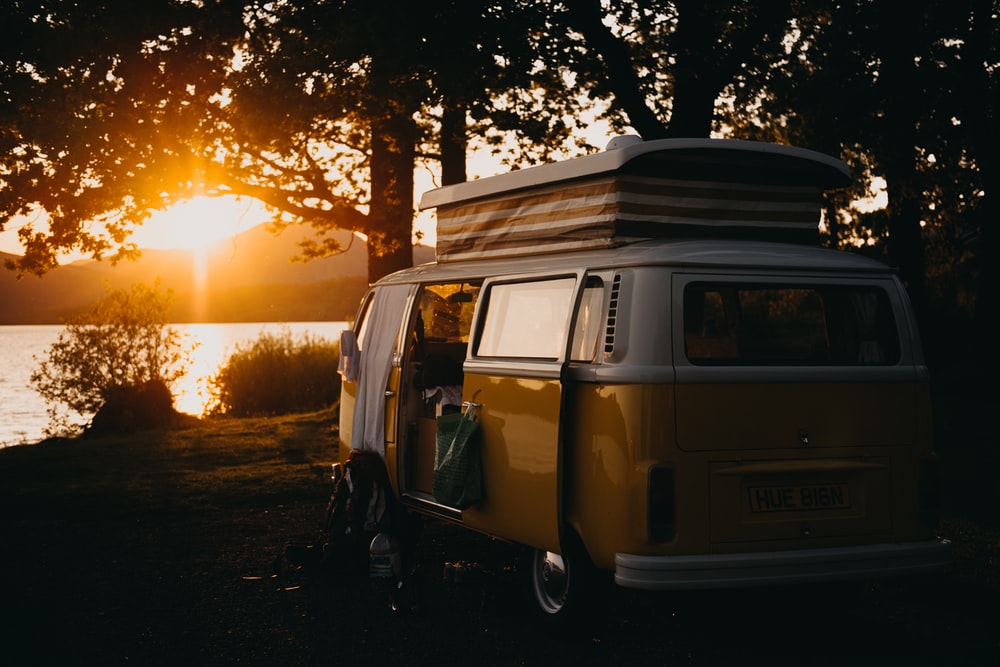
A campervan is a one-stop solution for those who love to go on long trips. And right now, with foreign holidays off the agenda, such a vehicle – with its accommodation capabilities – is surely set to come into its own on future staycations. It’s no wonder RV stands for ‘relaxing vacation’, right?
If you want to feel that sense of unbridled freedom, flexibility and fun which comes with such a trip, but without the expense of investing in a new model, then have you considered buying a second hand campervan and restoring it to its former glory? Should you be in the thrifty, freedom loving, forward thinking camp, then read on; here are 5 restoration tips for a campervan.
RUST NEVER SLEEPS
If you’ve bought a second hand campervan, then a little rust is an inevitability. The sands of time aren’t always kind to a vehicle’s bodywork, and rust can start small and innocuous, creeping up under the vehicle’s paint job, taking the protective paint with it and exposing metal as it goes. As a general rule, if you can see a spot of rust, there is likely much more lurking beneath the surface.
Don’t ignore the warning signs. Fill seams where paint has cracked with flexible sealant and deploy a rust remover or converter to deal with the issue before it gets out of hand. Always finish with an anti-rust coating. Should more drastic work be required, purchase an angle grinder, or, if things are more severe, you may need to invest in a budget plasma cutter.
CHECK FOR LEAKS
A camper van should provide you with shelter; many a holiday in the Great British Outdoors has been ruined by a leaking roof. In fact, many a campervan has been ruined by a leaking roof, since water can cause mould and irreversible structural damage.
During your campervan restoration project, you should carefully and diligently set about identifying and fixing the source of the leaks, to ensure peace of mind for your future adventures.
Start by inspecting the roof for any leakage, with both an interior and exterior examination. You may well have to give it a good clean, removing grit, dirt and debris accumulated on previous excursions, but the entry point of a leak is almost always a broken seal or the campervan’s skylight. Don’t ignore the rooftop HVAC systems, either.
The process of repairing the leaking roof relies on the material it’s made from, whether that be fibreglass, rubber or metal. Going forward, a campervan or motorhome cover is a worthwhile investment to avoid further damage and degradation.

MOULD REMOVAL
Since it’s almost certainly been used on outward bound adventures, there’s a fair likelihood that your newly purchased, second-hand campervan has been exposed to moisture or rainfall. It’s wise, then, that you apply a mould removing agent to the walls, even if there is none immediately visible. Campervan walls are notoriously prone to mould and rot.
Should the walls need total replacement, firstly; don’t panic. This is fairly normal for the restoration of a second-hand campervan. Wall panels or plywood are the most budget-friendly options here.
REFURBISH THE KITCHENETTE
They say that the kitchen is the heart of the home, and this is certainly true for a mobile one. Since most campervans are open plan, the kitchen is the likely focal point of the socialising, and often, the main focus of the trip after long days spent driving.
It’s wise to invest a fair amount of time and energy, then, in refurbishing the kitchenette, modernising its appliances and eeking out any extra prep space you can with smart, savvy storage solutions. If you make the kitchenette a place you enjoy cooking and spending time, then you’ll save a big chunk of your holiday budget on eating out.
Items such as magnetic spice racks, foldable chopping boards, and durable crockery which won’t break if you suddenly have to, erm, brake, are all wise investments.

A FINAL FLOURISH
Not only for aesthetic purposes, as we already mentioned, but a paint job can also protect your campervan. Rust can cause dull and faded paintwork, which looks less than appealing and leaves your campervan’s bodywork prone to damage.
If you need to give the whole campervan a fresh coat of paint, then the main option is to fully respray it, though there are ways to repaint your van without respraying it using a roller and brush.


