Whilst it feels almost perverse to be discussing barbecues when the British summer has been so unrelentingly, unwaveringly miserable, it’s important to keep the faith alive.
Here, chef-patron at Michelin-starred The Ninth in Fitzrovia offers his top tips for a fault free, fully-flavoured barbecue at home this summer (when/if it finally arrives).

It’s The Lid-dle Things
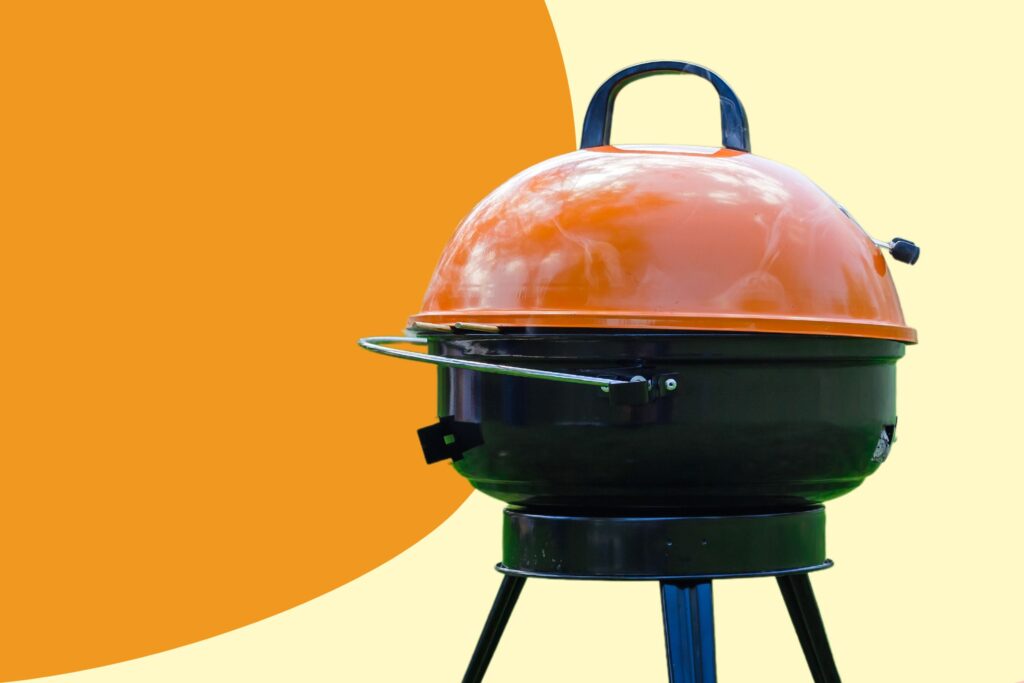
Chef Jun begins with some simple advice; ‘’It’s important to start with the basics which are the right choice of fuel, equipment and the barbecue. If you can, cook on a barbecue which comes with a lid. The temperature will be more consistent and you will achieve a better flavour because the lid will hold the smoke. Also, having a lid will allow you to slow cook briskets, ribs and shoulders.’’
For the former, here’s our own ideal guide:
- Sourcing the best brisket: Choose a high-quality beef brisket with a good fat cap. Make sure it’s flexible, which is a sure sign of tenderness.
- Preparation: Trim your brisket, leaving about 1/4 inch of fat. Apply a dry rub mix of your choice (typically including salt, pepper, brown sugar, paprika, and other spices) over the entire brisket. Let it marinate overnight in the refrigerator to allow the rub to penetrate the meat.
- Prepare your barbecue: Set up your barbecue for indirect cooking. Meaning, the brisket will not be directly above the heat. Fill a chimney starter with charcoal briquettes and light them. Once white and ashy, spread them on one side of your barbecue for the indirect method.
- Wood chips: Soak smoking wood chips (like oak or hickory) in water for at least an hour prior to cooking. Once your barbecue is heated and the coals are ashy, scatter a handful of chips over them.
- Temperature control: Aim to maintain a consistent temperature inside your barbecue of around 110°C (230°F). You can use a thermometer to monitor.
- Cooking: Place the brisket, fat side up, on the grate, away from the hot coals. Cover with the lid, ensuring the air vents are partially open to allow smoke to circulate around the meat. Every hour or so, add a few more briquettes and soaked wood chips to maintain the temperature and smoke level.
- Patience: Smoking a brisket takes time, often up to 1.5 hours 0.5kg (a pound). A standard 3kg (6-7 pound) brisket could thus require up to 10 hours.
- Internal temperature: The ultimate goal is an internal meat temperature of 88-93°C (190-200°F). Use a meat thermometer for accuracy.
- Resting: Once done, wrap the brisket in aluminium foil and let it rest for at least 30 minutes before slicing. This allows the juices to redistribute throughout the meat.
- Slicing: Always slice against the grain for the most tender cuts.
Remember, crafting the perfect smoked brisket is often a blend of art and science. Don’t be disheartened if your first brisket doesn’t meet your expectations.

Adding Fuel To The Fire
Choosing the right vehicle for cooking is vital. “It’s essential to use natural lumpwood charcoal, briquettes or wood when barbecuing. This will give the ingredients the smoky flavour which you can’t get from a gas burner’’, Tanaka says.
Indeed, gas, whilst being easier to moderate, doesn’t impart the essence of the barbecue into your flavours. The whole purpose is to taste the smoke and char – it’s primitive and unpredictable and that’s why it’s fun!
Next, a word on grilling with wood, which can bring about remarkable results when done with care and attention, bringing a unique depth of flavour to your grilled dishes…
The type of wood matters significantly: apple, cherry, hickory, oak, and mesquite are popular choices, each imparting different flavours. Ensure your chosen wood is seasoned, simply meaning it’s been dried for at least six months; fresh, or ‘green’ wood can produce undesirable flavours. Refrain from using softwoods like pine or fir, as they can cause a dangerous creosote build-up and give your food a bitter taste.
When it comes to size, wood chunks are suitable for extended cooking, while chips and pellets are better for shorter grilling periods. Soaking wood chips beforehand is a debated technique, with some believing it enhances burn time and smoke production. Your cooking style also plays a role: use direct grilling for quick cooking, and indirect grilling for slower cooking to avoid burning your food.
Finally, practise good ventilation in your barbecue setup, letting the smoke flow around your food rather than smother it. Patience is key with wood barbecuing; wait for the wood to ignite properly and produce a steady stream of smoke before adding your food. The goal of using wood is to enhance your food’s flavour subtly; it should never overpower the innate flavours of your ingredients.
Basic Barbie Equipment
Because a bad workperson always blames their tools, Jun recommends the following; ‘’For the basic equipment, I would highly recommend long metal tongs, a temperature probe, oven gloves, cleaning brush and a fish grill.’’
Aside from those essential tools, here are a few more pieces of equipment that, we think, can elevate your grilling (or, at least, make it easier!):
- Chimney Starter: This tool can greatly simplify the process of lighting your charcoal or briquettes, providing a concentrated heat source that can quickly and evenly ignite your fuel.
- Basting Brush: A basting brush is essential for applying marinades, sauces, or melted butter onto your food during grilling, keeping it moist and adding extra flavour.
- Grill Basket: A grill basket is excellent for cooking smaller items that may fall through the grates, like chopped vegetables or small pieces of meat or seafood.
- Long-handled Spatula: A long-handled spatula can be particularly helpful for flipping larger items like burgers or fish, preventing burns and giving you more control.
- Meat Claws: These are incredibly useful for pulling or shredding meats like pork or chicken, that have been cooked to their fall-apart tender stage.
- Smoker Box: If you’re using a gas grill but still want that smoky flavour, a smoker box for wood chips can be a great addition to your set of tools.
- Drip Pans: These can be placed under the grilling area to catch drippings, preventing flare-ups and making clean-up much easier.
- Grill Light: A grill light can be a game changer if you’re grilling at night, helping you see exactly when your food is perfectly cooked.
- Thermometer with multiple probes: For more complex grilling tasks, such as cooking multiple pieces of meat to different temperatures, a thermometer with multiple probes can be invaluable.
Control The Heat, Don’t Let The Heat Control You
We’ve all had those barbeque experiences; where the coals have been far too hot and the fat from a spatchcocked chicken has dripped onto them, causing flames to roar and the chicken to become blackened and inedible.
More essential advice from chef Jun Tanaka on that; “achieving the correct temperature is important so light the barbecue at least 40 minutes before cooking on it. Then, wait until the flames have died down and the embers have turned white. Move the embers so one side of the barbecue is hotter than the other. This will give you more control when cooking. Now you’re ready to barbecue.’’
You Can’t Beat A Bit Of Brining
‘’Before barbecuing chicken and pork, try brining them for a few hours. This will give them flavour and keep them juicy and tender. The recipe for a basic brine is 10% salt & 5 % sugar to the quantity of water’’, he continues.
Indeed, by brining your chosen meat for the barbie, you’re pretty much guaranteeing it’s going to be tender, even if you mess up your timings a little.
Of course, different proteins may respond to different brine ratios and additional spices more favourably. Here’s a deeper dive into those ratios:
Chicken Brine
- Ratio: 60g (1/4 cup) of salt per litre (1 quart) of water.
- Recipe: For a basic brine ideal for a whole roast chicken, dissolve the salt in warm water. Consider enhancing the brine with 50g (1/4 cup) of sugar, a few crushed cloves of garlic, and a handful of whole peppercorns. Allow the chicken to brine in the refrigerator for about 4 hours.
Turkey Brine
- Ratio: 120g (1/2 cup) of salt per 4 litres (1 gallon) of water.
- Recipe: Dissolve the salt in warm water. For added flavour, include 100g (1/2 cup) of brown sugar, 15g (1 tablespoon) of whole black peppercorns, 15g (1 tablespoon) of allspice berries, and 2-3 bay leaves. Leave the turkey to brine in the refrigerator for 24 hours.
Pork Brine
- Ratio: 80g (1/3 cup) of salt per litre (1 quart) of water.
- Recipe: Mix salt in warm water until fully dissolved. Consider adding 65g (1/3 cup) of brown sugar, a teaspoon of whole black peppercorns, and a couple of bay leaves. Brine pork chops for 4-6 hours, and larger cuts like pork shoulder or loin overnight in the refrigerator.
Beef Brine
- Ratio: 90g (3/8 cup) of salt per litre (1 quart) of water.
- Recipe: Dissolve the salt in warm water. For extra flavour, add 75g (3/8 cup) of sugar, a few garlic cloves, peppercorns, and herbs like rosemary and thyme. Brine the beef for 3-6 hours in the refrigerator, depending on the size of the cut.
Salmon Brine (for smoking)
- Ratio: 120g (1/2 cup) of salt per litre (1 quart) of water.
- Recipe: Mix the salt in warm water until it’s fully dissolved. Add 100g (1/2 cup) of brown sugar, a handful of dill, and lemon slices. Brine the salmon for 8-12 hours in the refrigerator before smoking.
Marinade Ideas
It’s no secret, that marinating introduce more flavour to meat. Unsurprisingly, Jun has some wise words regarding marinades, too; ‘’For lamb or veal, try a yoghurt based marinade with spices or herbs. Leave them in the marinade for 24 hours and wipe off the marinade before cooking. The yoghurt will tenderise the meat and give it flavour. A simple marinade of olive oil, garlic, thyme and rosemary is perfect for beef.’’
Indeed, marinating works especially well for tougher cuts such as flank or skirt steaks and chicken thighs, whilst delicate or luxurious cuts like fillet or ribeye steak often need little more than oil, salt and pepper. The duration of marination is vital; larger, tougher cuts can be left for up to 24 hours, while smaller or more delicate proteins like fish need just 15 to 30 minutes. Over-marinating can risk the meat becoming mushy rather than tender.
Many marinades include an acid, like vinegar, wine or citrus, or enzymes, found in ingredients like yoghurt or pineapple. They help to break down the tougher proteins, tenderising the meat, but be mindful of leaving the meat too long in a marinade with high acid or enzyme content as it can be counterproductive, toughening – or sometimes cooking – the meat instead.
Marinades also often contain oil, which carries fat-soluble flavours into the meat and keeps it moist during cooking. Salt, another essential component, enhances flavour and aids in tenderisation. For added depth of flavour, include herbs, spices, garlic, and onion according to personal preferences.
Marinating should always occur in the refrigerator for food safety, and it’s beneficial to turn the meat periodically to ensure even exposure to the marinade. If you want some marinade for a sauce, remember to reserve a portion before adding the raw meat. Any marinade in contact with raw meat should be boiled before re-use, and any used marinade can be brushed onto the meat during the early stages of cooking, perhaps with that basting brush from a few paragraphs previous.

Don’t Let That Fish Skin Stick
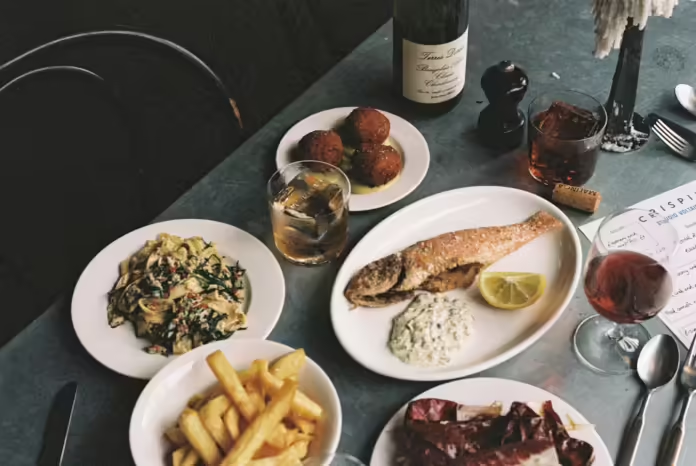
Here in the UK, our barbecue repertoire is largely limited to burgers and sausages. Unfortunately, people tend do shy away from cooking fish. However, there’s nothing better than setting up a barbecue and grilling a whole fish to perfection, so the skin is blistered and smoky, and the flesh inside flaking and moist.
That said, and as Tanaka highlights “cooking fish on a barbecue can be tricky because the flesh is delicate and the skin tends to stick to the grill’’. Indeed, so many keen grillers steer clear of barbequing whole fish because of its tendency to stick to the grill bars.
So, how do you prevent this misfortune from happening? Tanaka recommends leaving the fish uncovered in the fridge for 24 hours to dry out the skin. Then, lightly brush with olive oil, season and cook between the fish grill for a perfectly crispy skin.
We think it’s also a good idea to invest in a specially designed fish basket (sometimes called a clamp), which gives you more control of turning the fish, and prevents it sticking. This also allows you to grill at a lower heat without fear of the fish sticking.
Check out more of our tips on grilling whole fish on the barbecue here if you’re keen to expand your repertoire.
The Joy Of Grilled Veg
If you’re not grilling your vegetables, too, then you’re simply not getting the most out of your barbecue. Some of the best vegetables to barbecue include courgette, aubergine, asparagus, peppers and mushrooms.
Chef Jun suggests to “cut the vegetables lengthways to make it easier to handle on the barbecue. Only add a touch of oil before cooking so they don’t burn. Once they’re cooked, flavour them with a touch of sherry vinegar and extra virgin olive oil.’’
Indeed, the smoky, dark flavours of grilled food need something sharp like sherry to pierce through them. And, of course, a good lick of salt.
Thanks for those awesome tips, chef!


