Here’s something that may surprise you; the difference between an amateur travel photo and a professional one rarely depends on shutter speed or lens clarity. Neither does it hinge on the luxuriousness of the resort you’re staying in or the beauty of the vista you’re capturing.
Instead, raising your travel photography game is often a matter of time and technique, of little tips and tricks learnt on the road and finessed in the studio. If you’re wondering how best to approach this often enigmatic, equivocal medium then you’ve come to the right place; here are some beginner’s tips on how to make your travel photos more professional.
Location Scouting
You may think that this kind of reconnaissance work is reserved for movies rather than beginner travel photography, but scouting out your location in advance of taking even beginner travel snaps is an important thing to do.
Whilst it’s great to find that true slice of paradise – you know, the one that provides the greatest spots for sunlight and scenery – you should still make sure that it’s suitable for photography before visiting. This means that the climate is agreeable, the hours of daylight sufficiently long, and the crowds at a level that won’t interrupt or block your photos.
Travelling to the middle of the Australian outback may provide you with some stunning vistas, for instance, but unless you’re used to surviving in harsh climates, you’re not going to have a good time, and you may also be putting yourself at risk, especially if you’re not well-equipped for that area.
On the flipside, Angkor Wat in Cambodia might be striking in its majesty, but those shots might not be quite as majestic with thousands of tourists in and amongst the temples and the trees.
Instead, choose a photography holiday destination that’s going to provide you with inspiration and enjoyment, whether you’re looking for natural or urban environments to photograph.
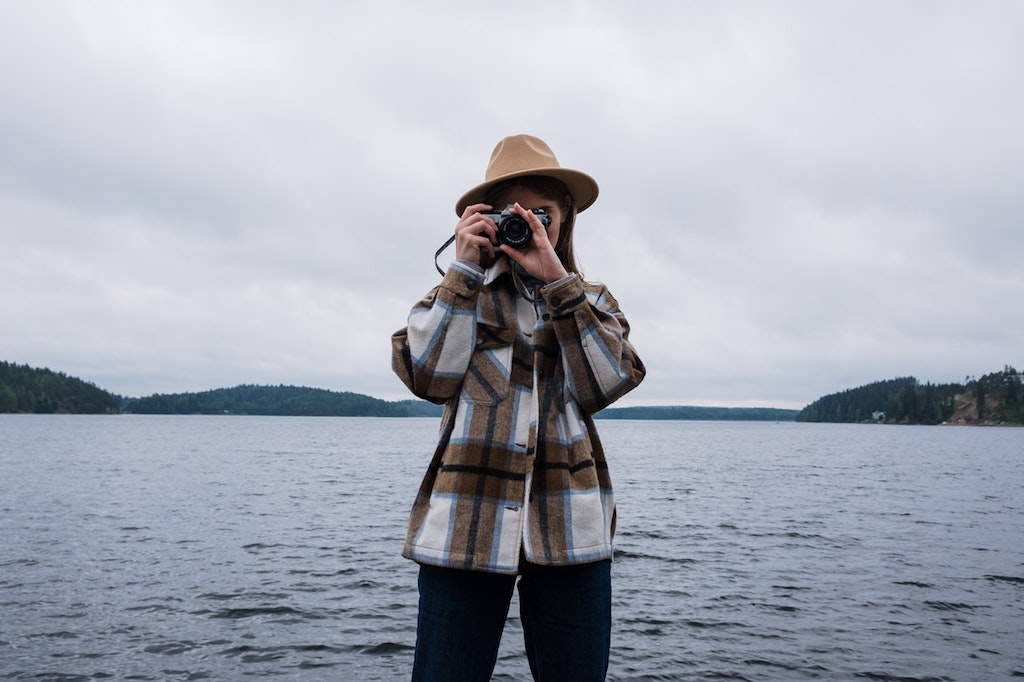
Choosing The Right Camera
When it comes to elevating your travel photography and capturing that perfect shot, selecting the right camera is paramount. With a variety of options available, it can be challenging to decide which type best suits your needs. Here, we explore three popular camera options: DSLR, mirrorless, and compact cameras, to help you make an informed choice.
DSLR Cameras
Durability and Versatility
Digital Single-Lens Reflex (DSLR) cameras have long been the go-to choice for many photographers. Known for their durability and versatility, DSLRs are equipped with a mirror mechanism that allows you to see exactly what the lens sees through an optical viewfinder. This can be particularly useful for those who prefer a traditional shooting experience.
Superior Battery Life
One of the key advantages of DSLRs is their superior battery life. The optical viewfinder consumes less power compared to electronic viewfinders, allowing you to shoot for extended periods without worrying about running out of battery. This is especially beneficial during long travel days when charging opportunities may be limited.
Wide Range of Lenses
DSLRs offer a vast selection of lenses, from wide-angle to telephoto, providing you with the flexibility to capture a variety of scenes. Whether you’re photographing sweeping landscapes or detailed portraits, the extensive lens options available for DSLRs can help you achieve your desired results.
Best Model: Canon EOS 90D
The Canon EOS 90D is a top choice for travel photographers. It features a 32.5 MP APS-C sensor, excellent battery life, and a robust build, making it perfect for various shooting conditions.
Mirrorless Cameras
Compact and Lightweight
Mirrorless cameras have gained popularity for their compact and lightweight design. By eliminating the mirror mechanism found in DSLRs, these cameras are smaller and easier to carry, making them ideal for travel. Despite their size, mirrorless cameras do not compromise on image quality, often featuring large sensors and advanced image processing capabilities.
Electronic Viewfinder
A significant advantage of mirrorless cameras is the electronic viewfinder (EVF), which provides a real-time preview of your shot, including exposure, white balance, and depth of field. This feature allows you to make precise adjustments before taking the photo, ensuring you get the perfect shot every time.
Fast Autofocus and Silent Shooting
Mirrorless cameras are known for their fast and accurate autofocus systems, making them excellent for capturing fast-moving subjects. Additionally, many models offer a silent shooting mode, allowing you to take photos discreetly without drawing attention or disturbing the peace, which is particularly useful in serene or culturally sensitive locations.
Best Model: Nikon Z fc
The Nikon Z FC stands out as the best mirrorless camera for travel photography. It combines a retro design with modern features, including a 20.9 MP APS-C sensor, 4K video recording, and a highly responsive autofocus system, all in a compact and lightweight body.
Compact Cameras
Portability and Convenience
Compact cameras, also known as point-and-shoot cameras, are designed for ultimate portability and convenience. Their small size and lightweight build make them easy to slip into a pocket or small bag, perfect for travellers who prefer to travel light without sacrificing the ability to capture high-quality images.
Ease of Use
One of the main benefits of compact cameras is their ease of use. With automatic settings and user-friendly interfaces, they are ideal for beginners or those who prefer a straightforward shooting experience. Despite their simplicity, many modern compact cameras come equipped with advanced features such as optical zoom, image stabilisation, and Wi-Fi connectivity.
Affordability
Compact cameras are generally more affordable than DSLRs and mirrorless cameras, making them an attractive option for those on a budget. They offer a good balance between cost and performance, providing excellent value for money, especially for casual photographers.
Best Model: Sony RX100 VII
The Sony RX100 VII is a standout compact camera, offering a 20.1 MP 1-inch sensor, 24-200mm zoom lens, and impressive autofocus capabilities. Its compact size and advanced features make it an excellent choice for travel photography.
Be Respectful Of Local Cultures & Customs
Sure, locals will generally be proud of their home country and welcoming of visitors, but flashing a camera in unfamiliar faces is, in pretty much any culture, considered deeply impolite.
In some countries, being photographed, whether by strangers or family, is a complete no-no, so approach all photography of people as the subject with sensitivity and always, always ask before you hit the ‘take’ button. Equally as important, when in rural, wild land with your camera, is that you should make every effort not to disturb, destroy or disrupt the subjects of your interest. Step carefully, breathe lightly, and leave no trace wherever you tread.
Snapping photos of local residents at work, home or leisure could cause offence. Do your research before visiting to see if any areas are considered sacred or out of bounds for photographers and learn some important phrases and words to better navigate asking for permission.
Build trust and convey respect by first endeavouring to converse and be polite before asking to take photos. And if your request is refused, accept it graciously.
Use Your Trip As A Learning Experience
The only way to truly become a better photographer is to learn from experience, each and every time you take a photo. Whilst travelling, be sure to have access to some relevant guide videos or articles on technique downloaded on your phone that you can brush up on before each excursion.
After a day out in the field taking photos, make sure you take the time to analyse your snaps when you get back to base, identifying what’s worked and where you could improve. Never stop learning, and your photos will never stop improving.
Use Lightweight Equipment
It’s highly likely you’ll be on foot for the majority of your travel photography trips, clambering, hiking, climbing and traversing. As such, it’s essential that you’re travelling light in order to give you the necessary dexterity to capture that elusive shot.
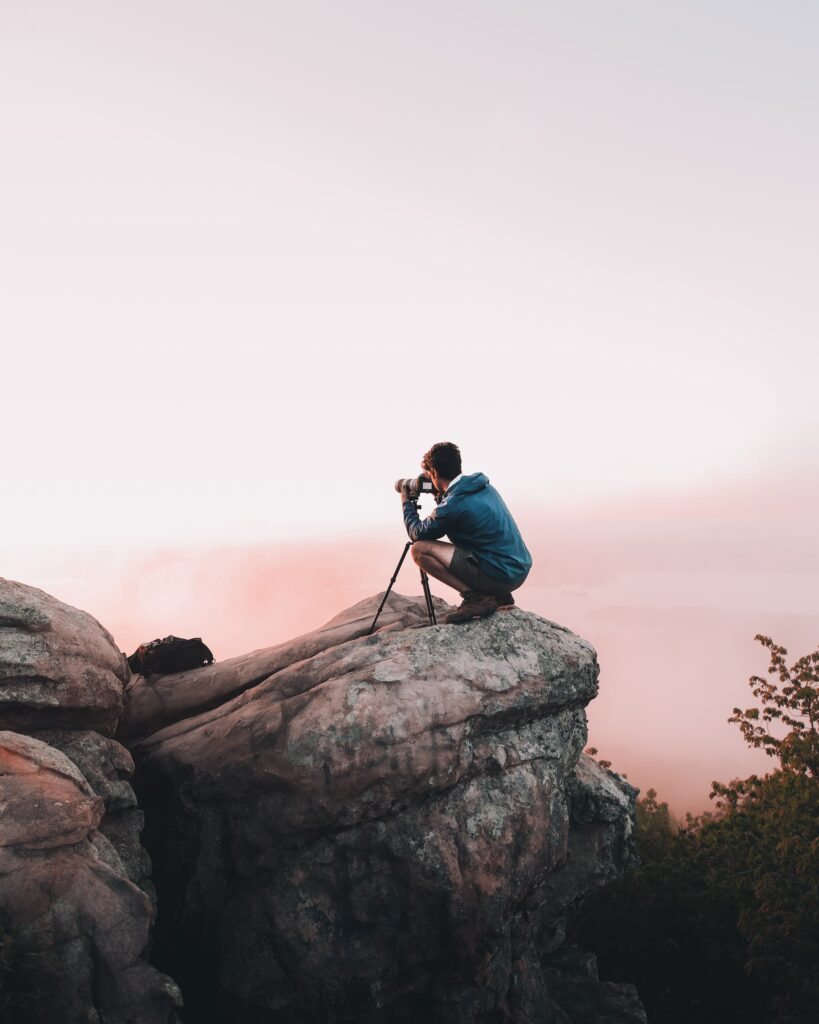
Though tripods will be one of the heaviest additions to your pack, they’re also pretty vital to have around. Getting a stable shot is important but lugging a 30kg tripod around on your shoulder is going to make for a truly miserable – not to mention unproductive – experience.
On the other hand, having an extremely lightweight tripod is going to increase your risk of shaky, unclear shots, as well as damage to your camera in the case of it being blown over by strong wind or being knocked by a passerby.
Find a good compromise between sturdy and lightweight, and make sure you’re comfortable with carrying your tripod around for long periods of time. This also goes for your other equipment such as heavy lenses, gimbals, and even drones, too. Bring an easy to carry and secure equipment bag to reduce the stress of operating as your own pack-mule.
Get Your Equipment Insured
Yep, we said travelling light is prudent, but it’s also wise to insure what equipment you do elect to bring with you. There is no bigger buzzkill for a photography trip than lost, broken or stolen gear before any moments have been captured. Basic travel insurance will cover cheaper cameras, but if you’ve invested in anything over roughly the £500 mark, then you’re going to need specialist cover. It’s important to let your insurer know of exactly the equipment you’re carrying to get yourself properly protected.
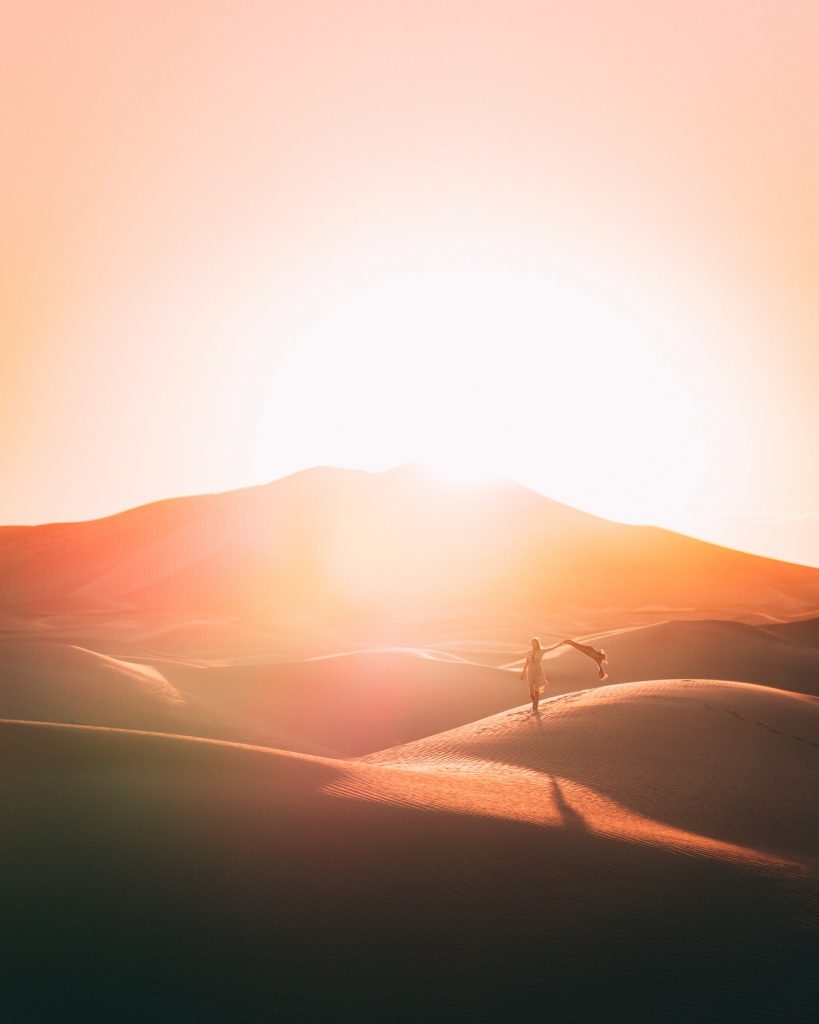
Use The Golden Hour To Your Advantage
Any self-proclaimed Instagram auteur knows this one, but it’s a point that bears repeating. The golden hour is a timeslot occurring just after sunrise and just before sunset when the sky is redder and softer than other times of the day. Photos bathed in this warm glow tend to rack up the likes and follows with abandon. Check the local sunrise and sunset times to get your timings right.
Prioritise Your Shots & Be Patient
Be clear with those you’re travelling with that you’re going on this trip to take some great photos or film stunning videos. Whatever you’re choosing to do, don’t let yourself get rushed along, taking quick and poorly composed shots. You’ll ultimately regret not spending an extra 10 minutes setting up and ensuring that you’ve been careful with your framing and lighting.
These things rarely happen by chance. Instead, respect the intricacies of photography and the requirement for patience. Travelling with another photographer is a great way to handle this as there is a shared understanding that can be invaluable.
Read: 6 IDEAL tips for planning your own photography tour
Experiment
This goes hand-in-hand with being patient. Getting the right shot is much easier when attempting it from different angles and distances. Get closer to subjects, move further away, and try changing the perspective from different heights and angles, too.
Switch out your lenses too as a wide-angle, a shallow depth, and a standard lens are going to provide a wildly different composition from each other. Commercial photographers are experts at capturing architectural details from multiple perspectives – apply this same approach to the buildings and structures you encounter on your travels.
Experiment with your shots and change things like exposure, shutter speed, and focus, as well as trying to find an object to sit in the foreground to provide a more 3-dimensional aspect to your shot.
Abandon Auto Mode
Manually editing your ISO, shutter speed and aperture, as well as setting your own focus and zoom, is ideal for taking good quality photos. As well as this, take multiple photos with different settings, especially those of landscapes. Taking a few different photos of the same scene whilst focusing on different areas will allow you to then edit them together in post-processing, having a perfectly clear photograph.
Automatic modes are a great addition to cameras as they can help you when you’re extremely pressed for time. But taking time to set up a perfect, professional looking shot requires knowledge of manual settings, so do endeavour to learn them through experience.

Learn Post Processing
Nearly every great photograph you see today wasn’t the result of a raw, unfiltered shot. There is a whole other level to amateur and professional photography that you need to learn; computer post-processing. Make the most of software like Adobe Lightroom., which is used by many photographers – both amateur and professional – to build edit, fine-tune and organise their photos.
Though Lightroom is generally considered the leader within its field, similar platforms do exist. Some of the most popular alternatives include Skylum Luminair, Capture One Pro and Exposure X6. You can also find free software, which whilst not as ambitious in scope, still does a job; check out Raw Therappe and Dark Table, in particular.
Using software like this can drastically improve your shots and no self-respecting photographer, whether amateur or professional, would neglect to edit their photos in this way.
Now, all you have to do is protect those great photos you’ve taken from data loss. You know what to do…


