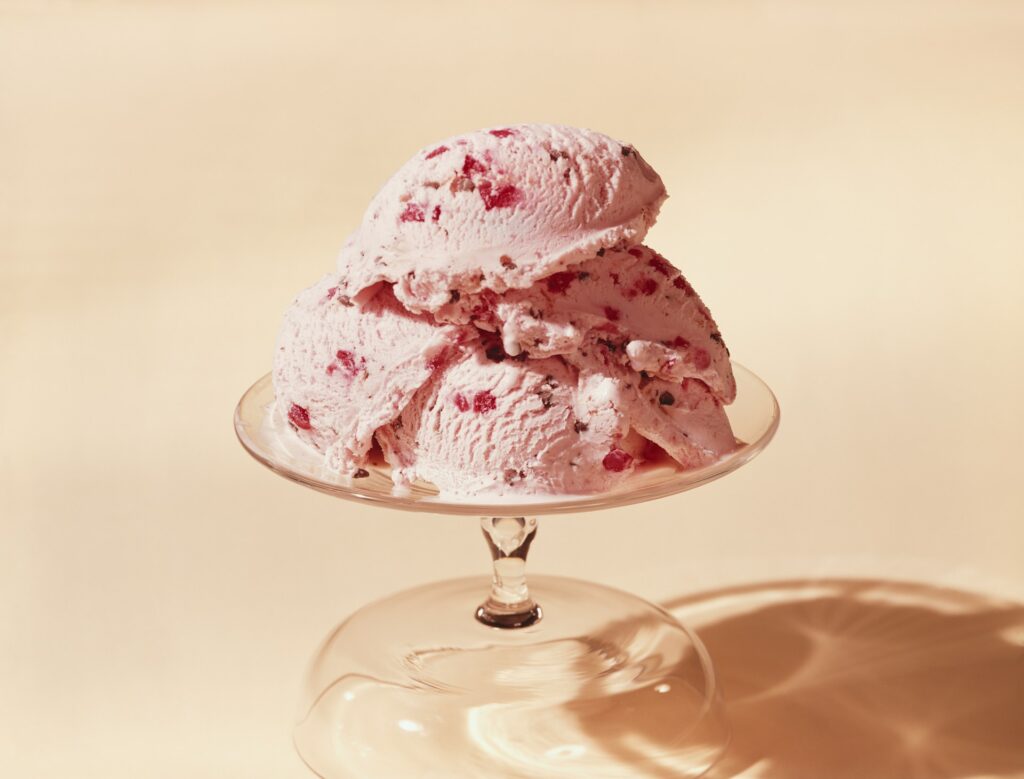
Let’s put it bluntly but indulgently; homemade ice cream is one of life’s greatest treats, offering a blank, beautiful canvas for endless flavour combinations and the satisfaction of creating something from scratch. However, one common issue that many home ice cream makers encounter is an unpleasantly icy texture.
If your homemade ice cream is more like a frozen slush than a creamy delight, don’t despair. Behind this problem sits some simple solutions to help you achieve that perfect, smooth consistency.
Understanding The Simple Science Of Ice Cream
It’s essential, first, to understand the basic science behind ice cream. Ice cream is an emulsion, a mixture of fat, water, sugar, and air. The goal is to create a smooth, creamy texture by preventing large ice crystals from forming. Achieving this balance involves several factors, including the ingredients, the freezing process, and the equipment used.
Common Causes Of Icy Homemade Ice Cream
Insufficient Fat Content
Fat plays a crucial role in creating a creamy texture. It inhibits the formation of large ice crystals and adds richness to the ice cream. If your recipe lacks sufficient fat, your ice cream is likely to turn out icy.
Solution: Ensure your recipe includes enough fat. Use full-fat dairy products like whole milk and heavy cream. If you’re making a non-dairy version, consider using coconut milk or adding a fat source like avocado or nut butter.
Incorrect Sugar Levels
Sugar lowers the freezing point of the mixture, which helps prevent large ice crystals from forming. Too little sugar can result in a harder, icier texture.
Solution: Follow your recipe’s sugar measurements accurately. If you’re experimenting with reducing sugar, be aware that it might affect the texture. You can also try using alternative sweeteners like honey or agave syrup, which can help maintain a softer texture.
Read: What’s the deal with seafood ice cream?
Over-Churning
Churning is essential for incorporating air and breaking up ice crystals. However, over-churning can lead to an icy texture as the mixture becomes too aerated and the ice crystals grow larger.
Solution: Follow the recommended churning time in your recipe. Most ice cream makers have a specific time range for optimal churning. If you’re using a manual method, keep an eye on the texture and stop churning once it reaches a soft-serve consistency.
Freezing Too Slowly
Slow freezing allows larger ice crystals to form, resulting in an icy texture. This can happen if your freezer isn’t cold enough or if the ice cream mixture isn’t chilled properly before churning.
Solution: Ensure your freezer is set to the coldest setting. Pre-chill your ice cream mixture in the refrigerator for several hours before churning. If possible, use an ice cream maker with a built-in compressor, which can freeze the mixture more quickly and evenly.
Read: The best ice cream in Brighton and Hove

Inadequate Stabilisers
Stabilisers like eggs, gelatin, or commercial stabilisers help prevent ice crystals from forming and improve the texture of the ice cream. Without them, your ice cream may turn out icy.
Solution: Use stabilisers in your recipe. Egg yolks are a traditional choice and add richness. If you prefer a non-egg option, consider using gelatin, cornstarch, or commercial stabilisers designed for ice cream.
Improper Storage
Even if your ice cream turns out perfectly creamy initially, improper storage can lead to an icy texture. Repeatedly opening and closing the freezer can cause temperature fluctuations, leading to ice crystal formation and, let’s be honest, more of a summer slushy than a lovely ice cream.
Solution: Store your ice cream in an airtight container to minimise exposure to air and temperature changes. Place a piece of plastic wrap directly on the surface of the ice cream before sealing the container to prevent ice crystals from forming on top.
Additional Tips For Creamy Homemade Ice Cream
- Use Alcohol: Adding a small amount of alcohol, such as vodka or gin, can help lower the freezing point and keep the ice cream softer. Be cautious with the amount, as too much can prevent the ice cream from freezing properly.
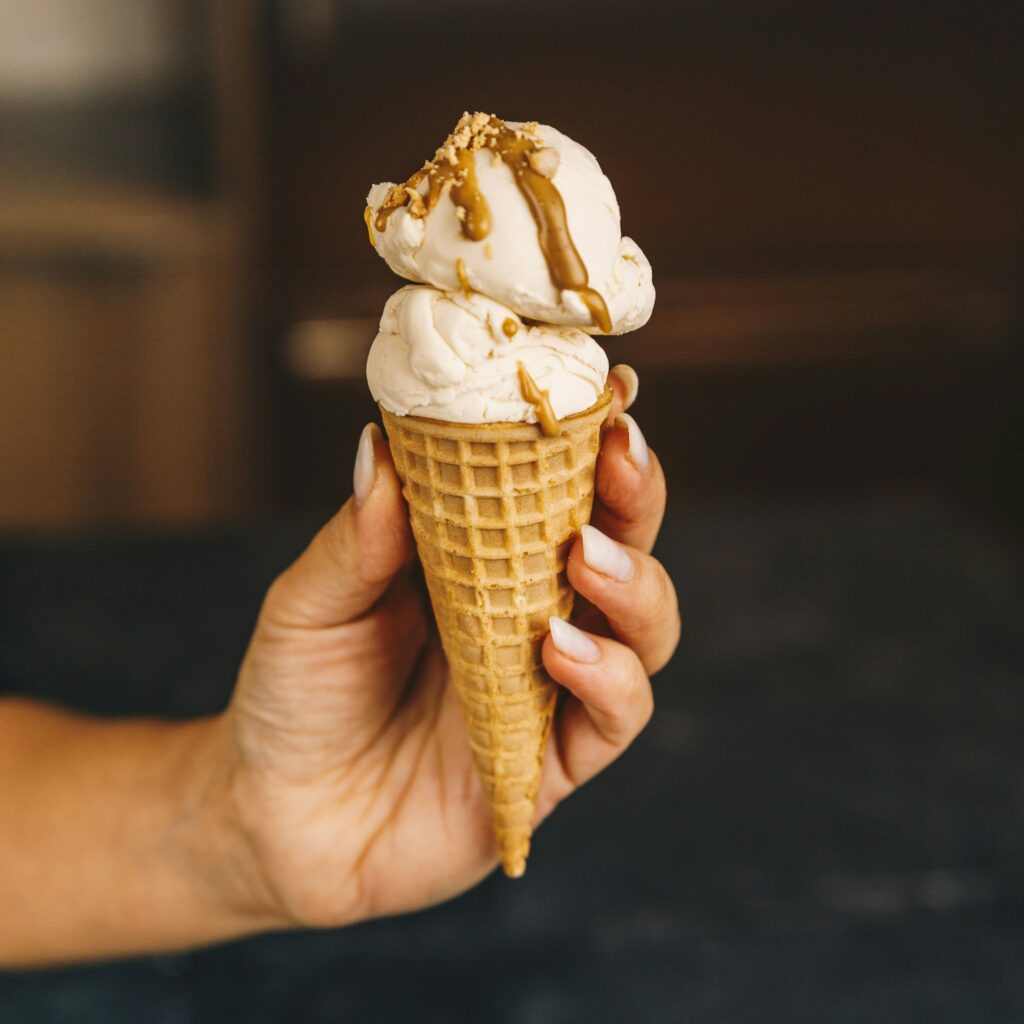
- Experiment with Mix-Ins: Adding mix-ins like chocolate chips, nuts, or fruit can introduce texture and flavour variations. However, ensure they are well-chilled before adding to prevent them from affecting the overall texture.
- Try a Custard Base: Custard-based ice creams, made with egg yolks, tend to be creamier and less icy. The eggs act as natural stabilisers and add richness to the mixture.

Introducing Innovation Into Your Homemade Ice Cream
For those looking to push the boundaries of traditional ice cream making, modern technology offers exciting and innovative methods to achieve exceptional results.
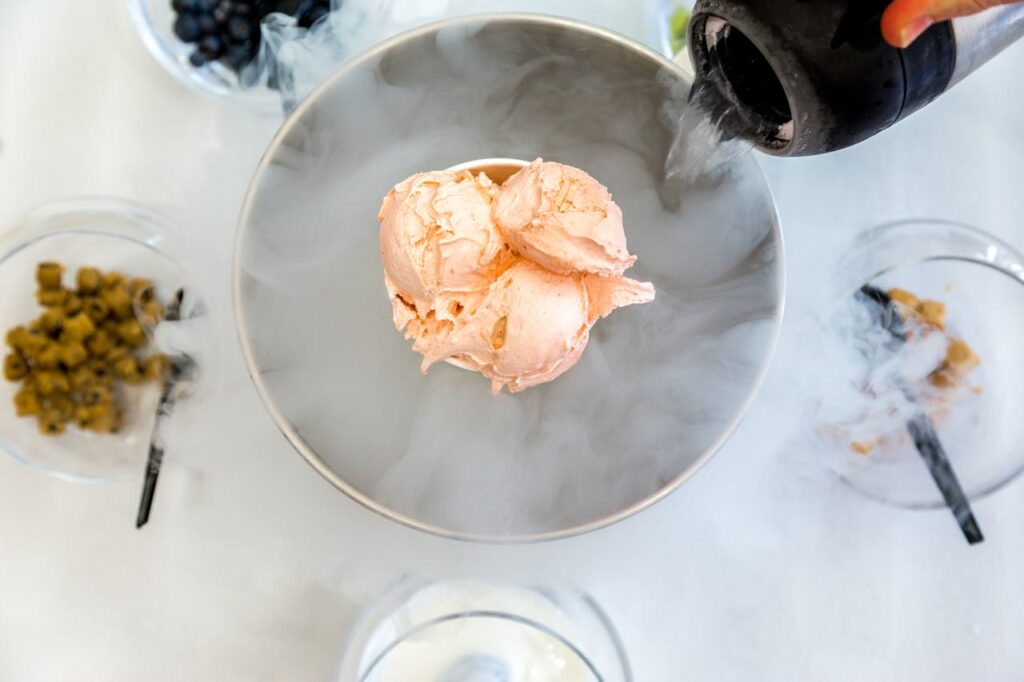
Liquid Nitrogen
Liquid nitrogen gas, with its extremely low temperature of -196°C, offers a rapid freezing process that can create incredibly smooth ice cream. The key advantage of using liquid nitrogen is its ability to freeze the ice cream mixture almost instantaneously, preventing the formation of large ice crystals and resulting in an ultra-creamy texture.
Please note that handling liquid nitrogen without proper training and equipment can be dangerous and should only be done by trained professionals. Do not try this at home.
Pacojets
The Pacojet is a revolutionary kitchen appliance that allows you to create ultra-smooth ice cream by micro-pureeing deep-frozen ingredients. This method ensures a consistent texture and intense flavour, making it a favourite among professional chefs.
Sous Vide
Sous vide, a method of cooking food in a vacuum-sealed bag at a precise temperature, can also be applied to ice cream making. This technique ensures even cooking and can be used to create a custard base with perfect consistency. Perhaps the perfect gift for an ice cream lover in the family, we think?
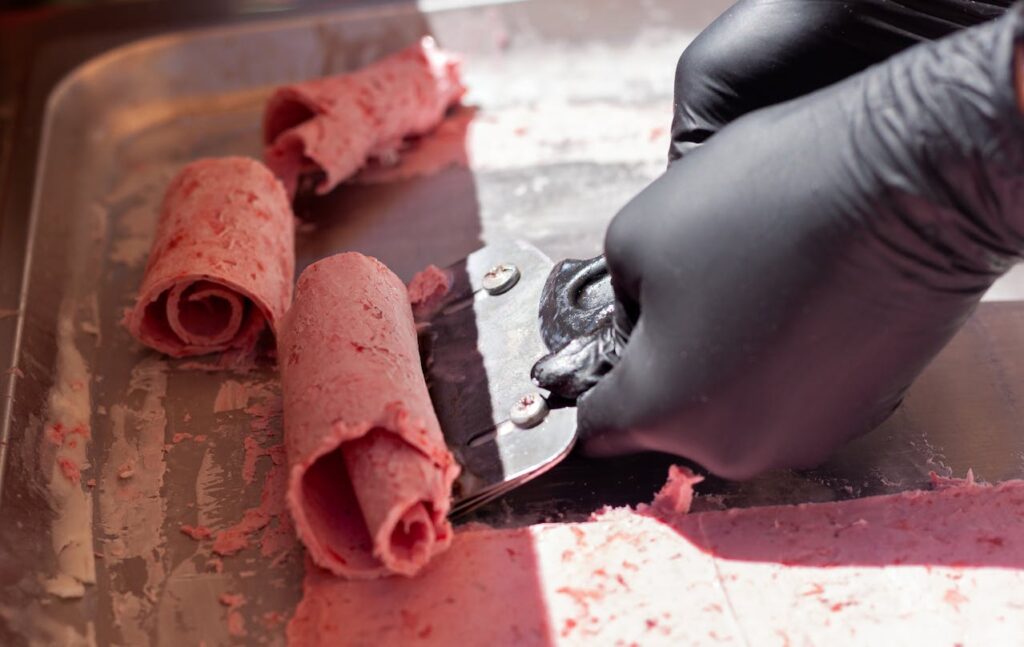
Anti-Griddle
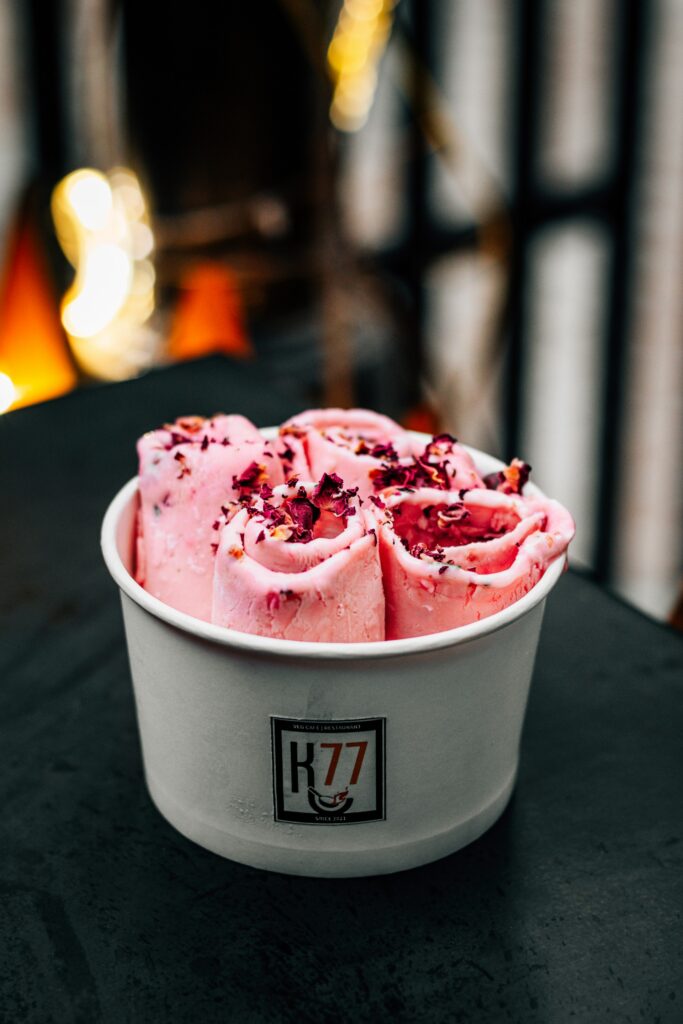
The anti-griddle is a unique tool that allows you to freeze or semi-freeze foods on a cold metal surface. It’s perfect for creating ice cream with a twist, such as frozen lollipops, intricate shapes, or ultra-trendy ‘Thai’ rolled ice cream.
A Perfectly Smooth & Creamy Vanilla Ice Cream Recipe
Ingredients:
- 2 cups (480 ml) heavy cream
- 1 cup (240 ml) whole milk
- 3/4 cup (150 g) granulated sugar
- 1 vanilla bean (or 2 teaspoons pure vanilla extract)
- 4 large egg yolks
- A pinch of salt
Instructions:
- Prepare the Vanilla:
- If using a vanilla bean, split it lengthwise and scrape out the seeds. Add both the seeds and the pod to a medium saucepan. If using vanilla extract, you will add it later.
- Heat the Dairy:
- In the saucepan, combine the heavy cream, whole milk, and half of the sugar (3/8 cup or 75 g). Heat the mixture over medium heat until it is hot but not boiling, stirring occasionally. Remove from heat and let it steep for 15 minutes to infuse the vanilla flavour.
- Whisk the Egg Yolks:
- In a separate bowl, whisk together the egg yolks, the remaining sugar (3/8 cup or 75 g), and a pinch of salt until the mixture is pale and slightly thickened.
- Temper the Eggs:
- Slowly pour about 1 cup of the hot cream mixture into the egg yolk mixture, whisking constantly to prevent the eggs from curdling. Gradually add the tempered egg mixture back into the saucepan with the remaining cream mixture, whisking continuously.
- Cook the Custard:
- Return the saucepan to the stove and cook over medium-low heat, stirring constantly with a wooden spoon or heatproof spatula. Cook until the mixture thickens and coats the back of the spoon, about 170-175°F (77-80°C). Do not let it boil.
- Strain and Chill:
- Remove the custard from heat and strain it through a fine-mesh sieve into a clean bowl to remove any cooked egg bits and the vanilla pod. If using vanilla extract, stir it in now. Allow the mixture to cool to room temperature, then cover and refrigerate for at least 4 hours or overnight.
- Churn the Ice Cream:
- Once the custard is thoroughly chilled, pour it into your ice cream maker and churn according to the manufacturer’s instructions. This usually takes about 20-25 minutes.
- Freeze:
- Transfer the churned ice cream to an airtight container. Press a piece of plastic wrap directly onto the surface of the ice cream to prevent ice crystals from forming. Seal the container and freeze for at least 4 hours or until firm.
Enjoy your perfectly creamy, not-at-all-icy homemade vanilla ice cream with some seasonal strawberries, a little shortbread or just, you know, as it is. It’s that good!


