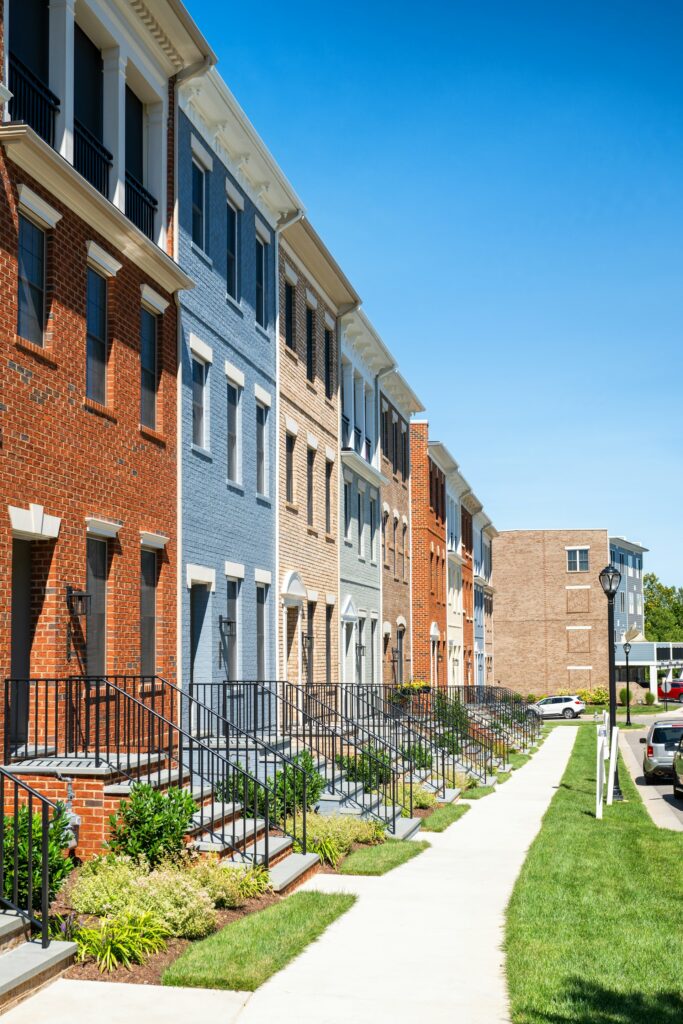
They say you should never judge a book by its cover, but when making judgements on the quality of a house, that facade you see from the kerb really does matter.
In fact, a survey of over 2,000 UK adults by the HomeOwners Alliance, conducted by YouGov, revealed that 68% of homebuyers consider kerb appeal to be important when purchasing a property. The research found that the most significant features were well-maintained windows and a roof in good condition, followed by a well-maintained front garden, pathways and fences.
Indeed, how your home looks from the outside can create a great first impression or, equally, turn homebuyers off. With that in mind, here are 9 excellent ways to attract viewers and add value by boosting your property’s kerb appeal.
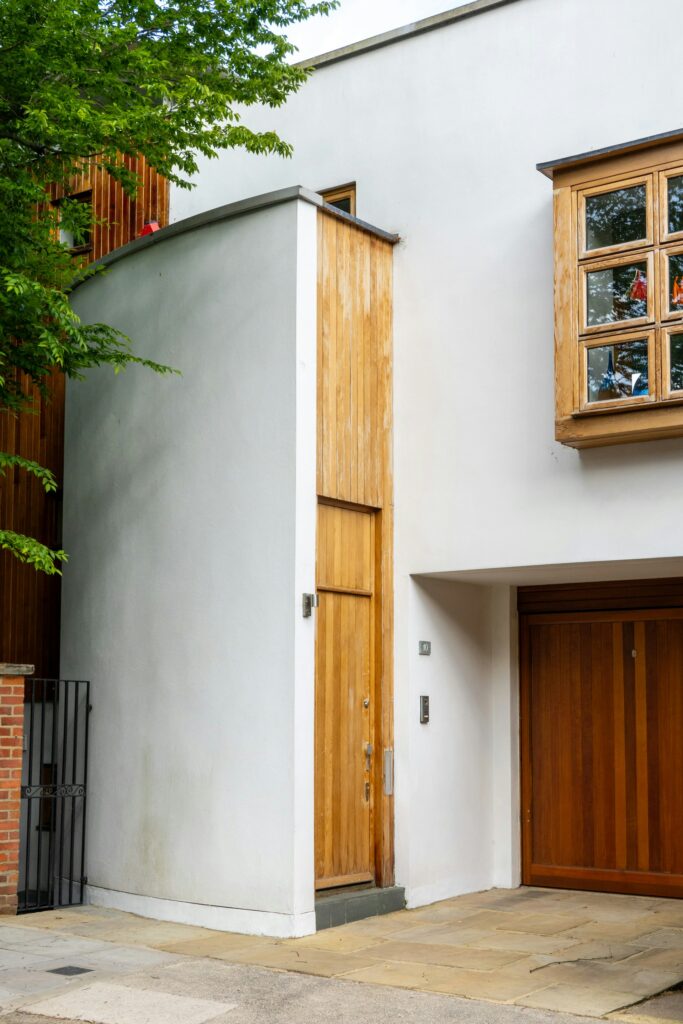
Revamp Your Front Door
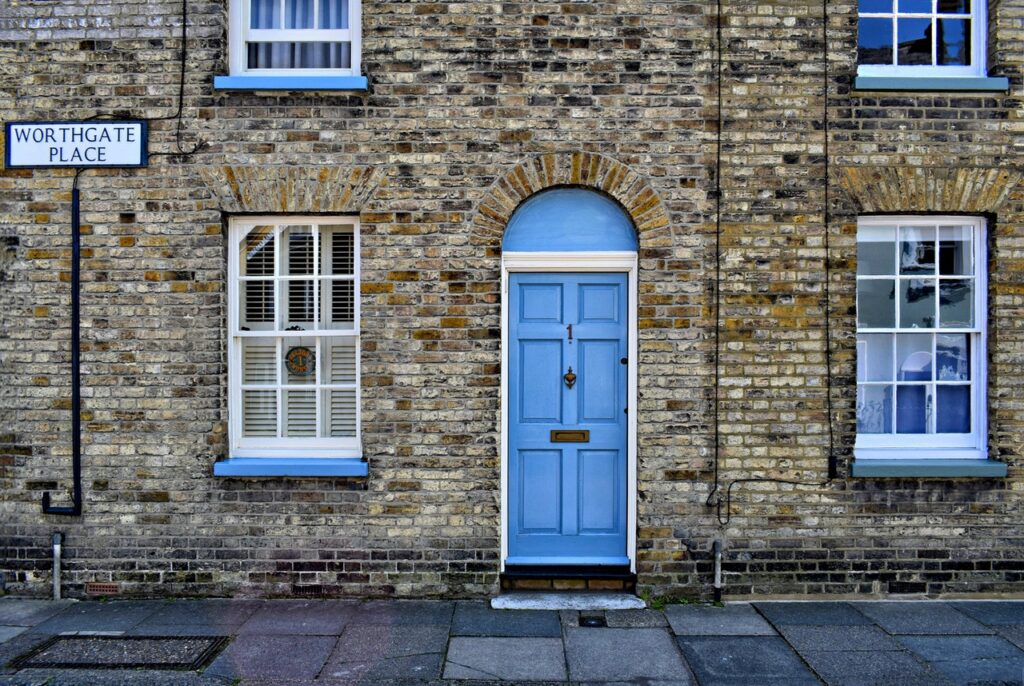
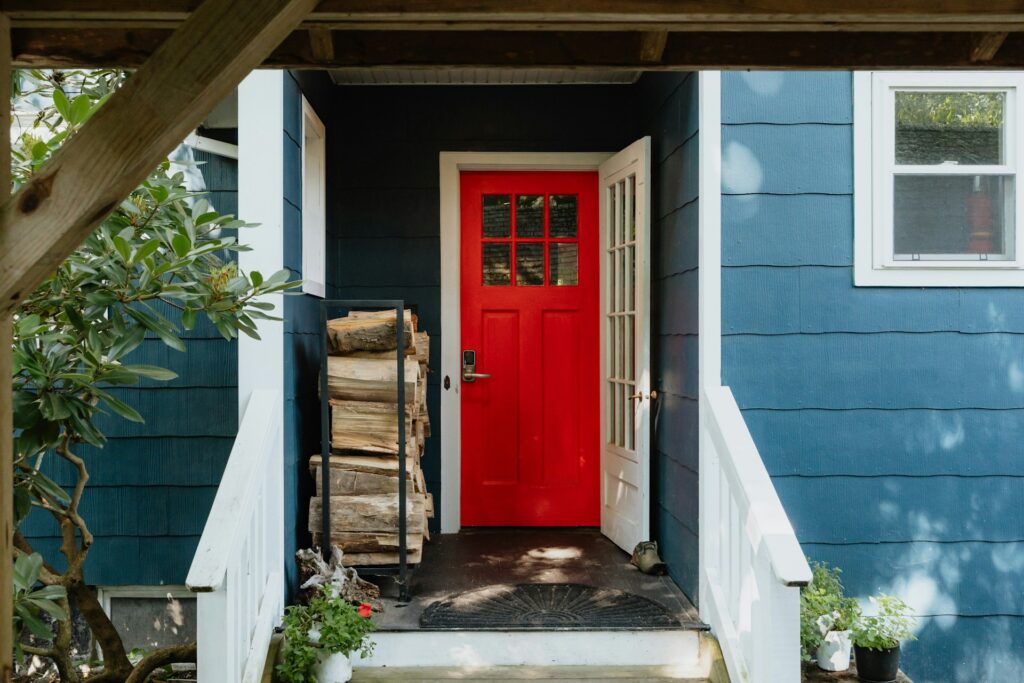
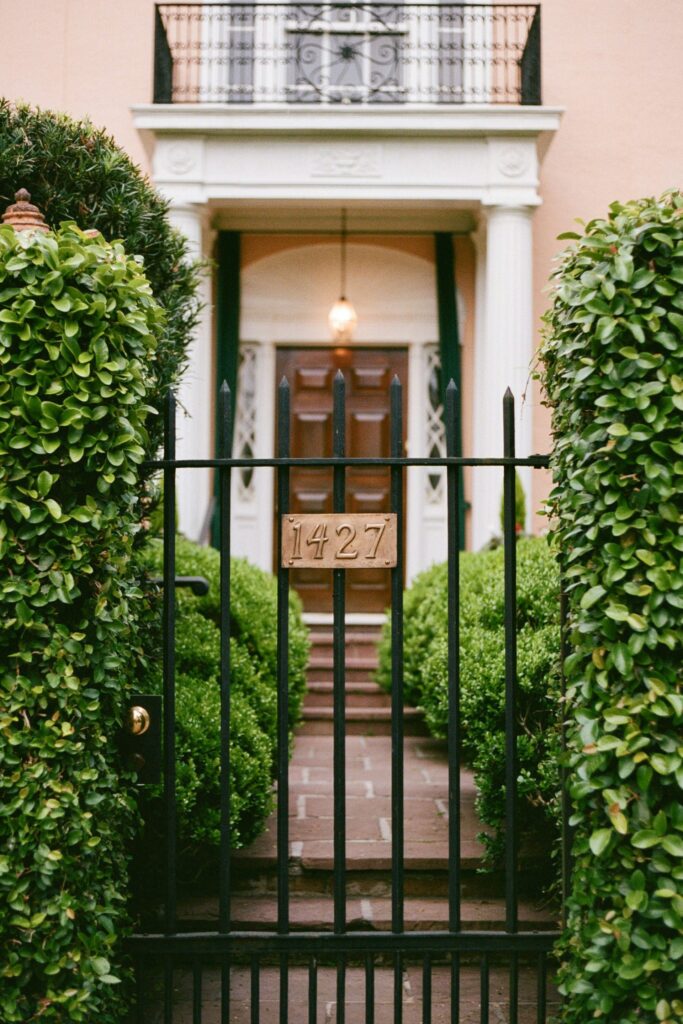
Your front door is the entrance to your home and what homebuyers will see when arriving for a viewing. How your front door looks can say a lot about your property as a whole.
This means it may be time to revamp it. You want viewers to feel welcomed from the beginning, and improving your front door is essential in creating a good first impression.
If you don’t have the money to replace your front door, a fresh coating of paint can work just as well. According to Country Life, blue and green are the best front door colours for selling a house; just make sure any colour you do choose complements the overall aesthetic of your home’s facade.
Go further and get rid of any dirty spots or rust, which is easily done with metal polish and a little elbow grease. You want your front door to add character to your home, so make sure you think about this before viewings commence.
Go even further, and consider a wall-mounted mailbox, which can offer a sleek, modern touch or a classic, traditional look depending on the style you choose. A stylish wall-mount mailbox not only serves a practical purpose but also acts as an accessory to your home’s exterior. Select a mailbox that matches the finish of your door hardware or lighting fixtures to create a cohesive look. Because that sense of cohesion is what it’s all about, don’t you think?
Read: 5 different types of door for your home explained
Transform Your Front Garden
When it comes to boosting your home’s kerb appeal in a way that attracts viewers and adds value, you shouldn’t neglect your garden in the process. As you show prospective home buyers around your outdoor space, they’ll want to envisage themselves making the most of it, and a chaotic garden full of debris will likely present an obstacle, both tangible and metaphorically, to viewers picturing themselves living in your property.
There are lots of things you can do to your garden to make it more visually appealing, such as maintaining trees and shrubs, adding decking, or even installing a patio.
Many homeowners install verandas in their gardens, too, in order to add aesthetic appeal. These structures can protect you from the sun, extend your outdoor living space, and make your garden look more pleasing to the eye.
Add a Glass Roof Pergola
A glass roof pergola can be a game-changer when it comes to elevating your property’s kerb appeal and overall value. Unlike traditional pergolas with slatted roofs, glass-roofed versions offer a sleek, contemporary aesthetic that catches the eye immediately. They create a sophisticated focal point in your garden whilst providing practical shelter from the elements.
The beauty of a glass roof pergola lies in its ability to blend indoor comfort with outdoor living. Natural light floods through the transparent canopy, creating a bright, airy space that potential buyers can easily imagine themselves enjoying year-round. Whether used as an outdoor dining area, a relaxation spot, or simply as an architectural feature, a well-positioned glass roof pergola demonstrates that your property offers more than just four walls—it provides a lifestyle.
When selecting a glass roof pergola, consider how it complements your home’s existing architecture. Modern properties benefit from clean lines and frameless glass options, whilst more traditional homes might suit pergolas with decorative support posts. The investment not only adds visual appeal but also extends your usable outdoor space, which is increasingly valuable to today’s homebuyers.
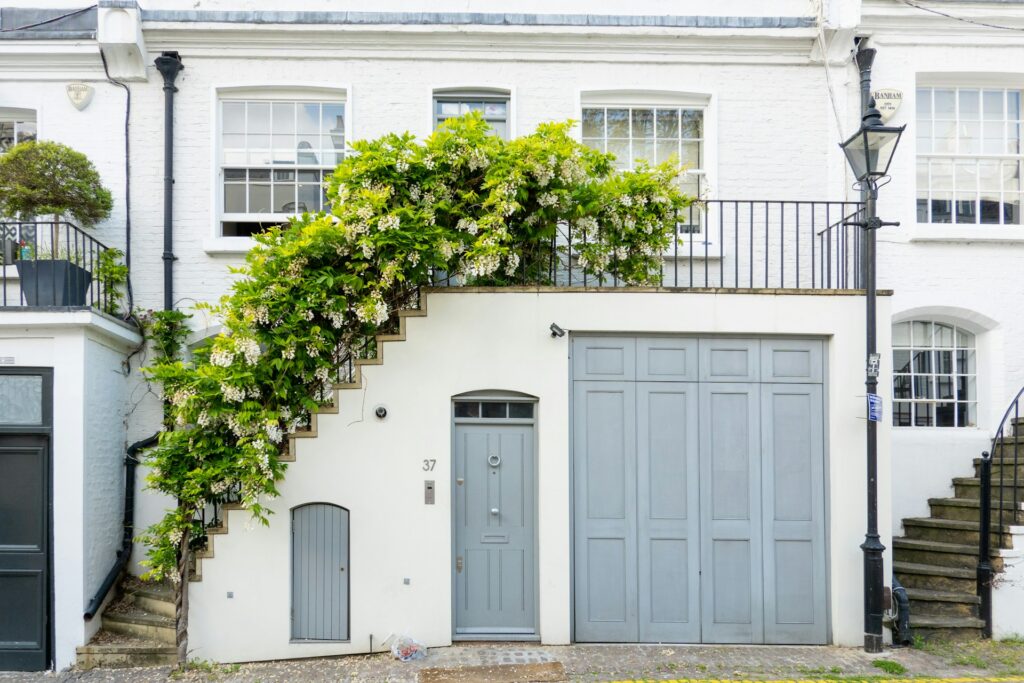
Install New Windows
There is a whole host of reasons why you should consider installing new windows before viewings get started. This project will not only increase your kerb appeal, but it can also reduce noise from the outside, lower utility costs, and contribute to your home being more energy-efficient. If your windows are looking a little dated, homebuyers will take note of this, make no mistake.
Many homebuyers like to move into a property that’s close to perfect, meaning they don’t have to tackle major projects. Therefore, if your windows are old and don’t align with how the rest of your home looks, installing new ones could well benefit your property in terms of added value and ease of sale.

Tidy Up Your Drive
One of the quickest and most straightforward ways to boost your home’s kerb appeal is by making sure your driveway is clean and pristine. A simple power wash can work magic on the route to your front door by getting rid of stains and dirt. If there are any pesky weeds growing, make sure you remove them before homebuyers rock up.
Creating easy access from the street to the entrance of your home is particularly crucial. Cracked paving stones not only look unsightly; they’re a health hazard too, so ensure they’re replaced. There’s no quicker way to torpedo a house sale than by a prospective buyer tripping up and injuring themselves in your drive. Just sayin’.
Read: How to jazz up your driveway to make the best first impression
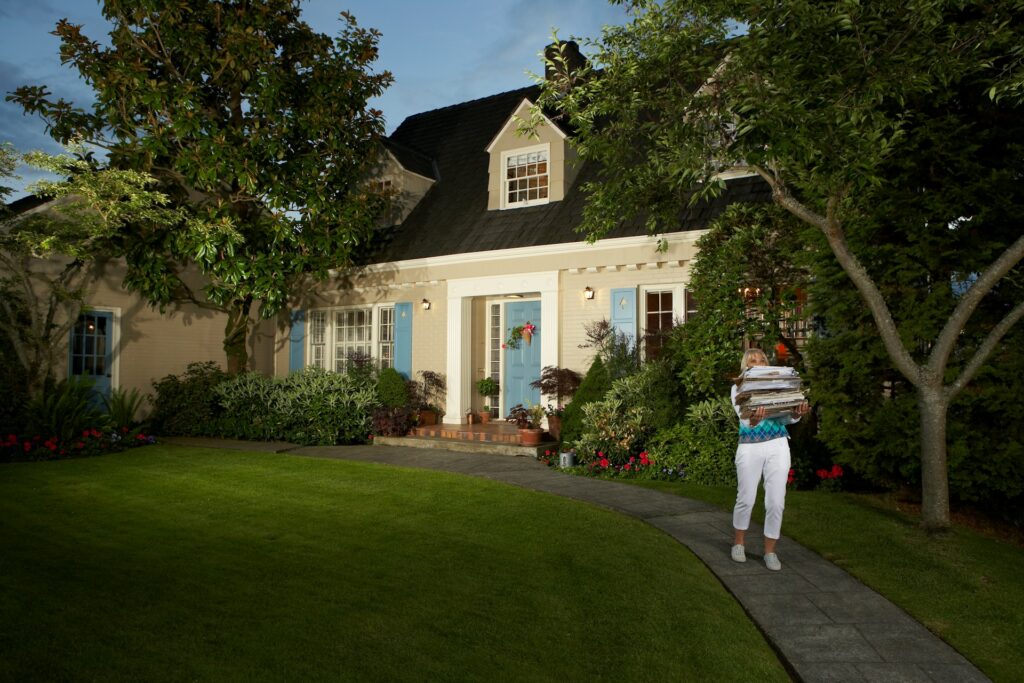
Maintain Your Front Garden
As well as getting your driveway in good order, you need to maintain your front garden, too. When buyers pull up, a well-maintained exterior can fill them with excitement and anticipation about what’s behind the front door. However, if your front garden is overgrown, this won’t create that same impression.
Firstly, trim back shrubbery and weed diligently, mulch flower beds, prune, and make sure the whole area is ready for some finessing. Then, you can set about introducing hanging baskets, window boxes, and planting new flower beds.
PVC window boxes are a great option here. Not only do they look fantastic, but they’re also easy to maintain and can last for years with minimal care. They add instant charm and character to any home, no matter what the style.
If you have a lawn, make sure you’re watering it deeply but infrequently to guarantee a verdant green, preferably early morning or late evening to reduce the opportunity for evaporation. Mow regularly but not so obsessively that your lawn looks like it’s balding. Once a year, make the effort to dethatch your lawn, using a specialist rake. Experts suggest early Spring as the best time to do so, aerating the grass and leaving it a clean run at growing healthily.
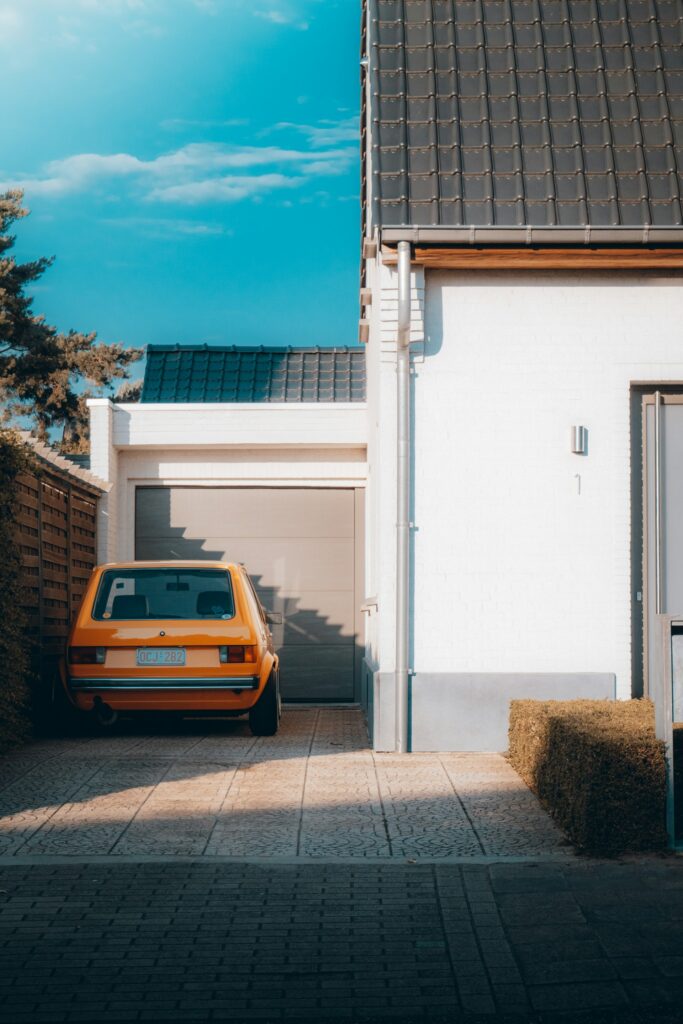
Invest In A Quality Carport
Whilst many homeowners focus on gardens and front doors, the area where you park your vehicle deserves equal attention. A well-designed carport can significantly boost your property’s kerb appeal whilst adding genuine practical value. Unlike enclosed garages, which can appear bulky and dominating, carports maintain an open, welcoming aesthetic whilst still protecting vehicles from harsh weather.
A carport demonstrates to potential buyers that you’ve thought about the practicalities of modern living. It shows your property can accommodate vehicles safely without compromising on style. If you’re looking for quality options that blend functionality with design, a carport from Tuinmaximaal offers solutions that cater to various architectural styles, from sleek contemporary designs to more traditional structures.
When installing a carport, positioning is key. It should integrate naturally with your driveway and not obstruct views of your home’s facade. Choose materials and colours that complement your property: matching the carport’s finish to your window frames or roofing can create a cohesive, well-planned appearance. A thoughtfully installed carport signals to buyers that your property has been carefully maintained and improved, potentially adding thousands to your home’s value.
Hide Your Bins
Something as simple as keeping your bins out of sight can do wonders for creating a good first impression. No one wants to arrive for a property viewing to find bins overflowing with rubbish. Not only does it not look appealing, but there may also be all kinds of foul odours that won’t set the right tone.
If you can, it’s wise to place your bins at the side of your home. If you don’t have any space to do this, buying a bin shed is a wise move. Other ideas you can look into to hide your bins include using slatted style fence panels. If you cannot hide your bins before a viewing, just ensure that they’re not full to the brim with rubbish.
Check Your Gutters
Checking your gutters for any wear and tear is essential before opening your home up to viewers. Over time your gutters can get filled with leaves and debris, resulting in water retention, which in turn can lead to structural damage. You don’t want something as basic as clogged gutters to be the reason homebuyers look elsewhere, so now may be the time to clear them.
The Bottom Line
When homebuyers arrive at your property, you’ll want to greet them and see smiling faces, rather than trepidation. How your home looks on the outside can say a lot about what’s behind the front door, and this means you need to pay close attention to your home’s kerb appeal. Transforming your outdoor space can boost value, impress buyers, and get your property off the market quicker.