
Class. It’s a definition which differs from domestic place to space and dweller to dweller. Some respond best to the showy; a wine rack filled with bottles impossible to pronounce and more impossible to afford, a telly so big you could take shelter beneath it, commissioned portraits of canine companions looming over the living room and gold leaf encrusted ceilings. For others, it’s all subtlety, sophistication and good taste.
Though we’re certainly partial to the glitz and gaudy of the former, today we’re here for the latter; our 5 IDEAL ways to add a touch of class to your home.
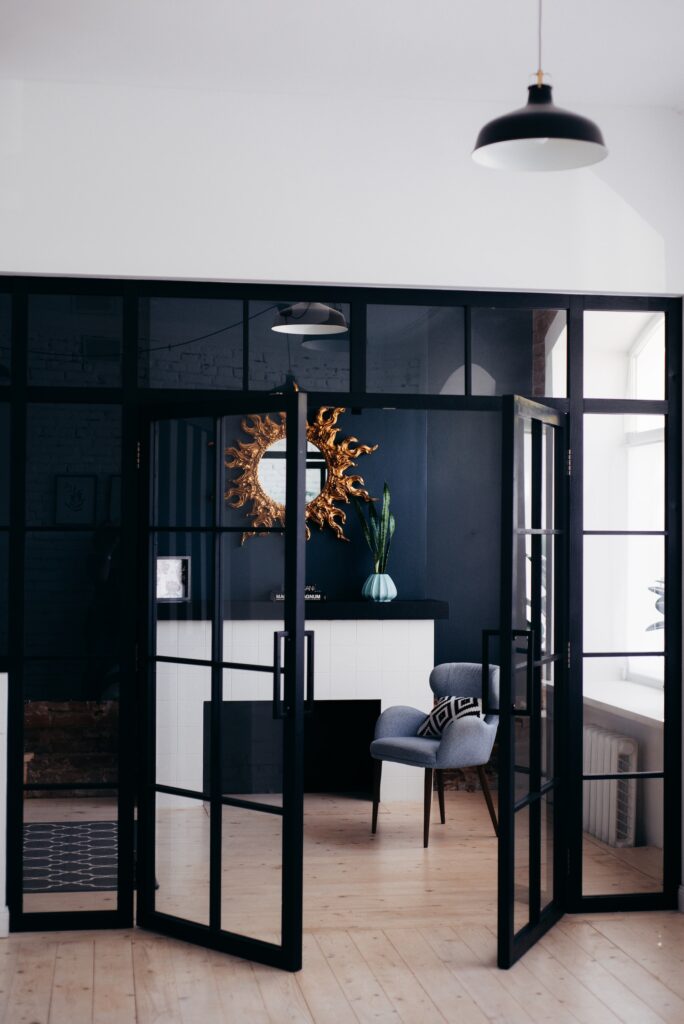
Paint It Darker
Perhaps one of the easiest ways to add a touch of class to any room is to change the colour of the walls. And by change we mean taking them a few shades darker; perhaps not quite ‘paint it black’ but somewhere close to that. While neutral tones tend to dominate most domestic spaces, you’ll find that warmer, darker tones nurture a much more sophisticated atmosphere.
Indeed, we don’t think we’re going out on a limb here when we say that few elegant spaces call hot pink, lime green, or electric blue their dominant colour, but something calming as the predominant hue of the space is inherently classy. We love teal, lavender, sapphire or even burgundy to create a mood conducive to cigars, whisky on the rocks and suave, sassy conversation conducted in husky voices.
Oops, we got a bit carried away there. Must be the burgundy…

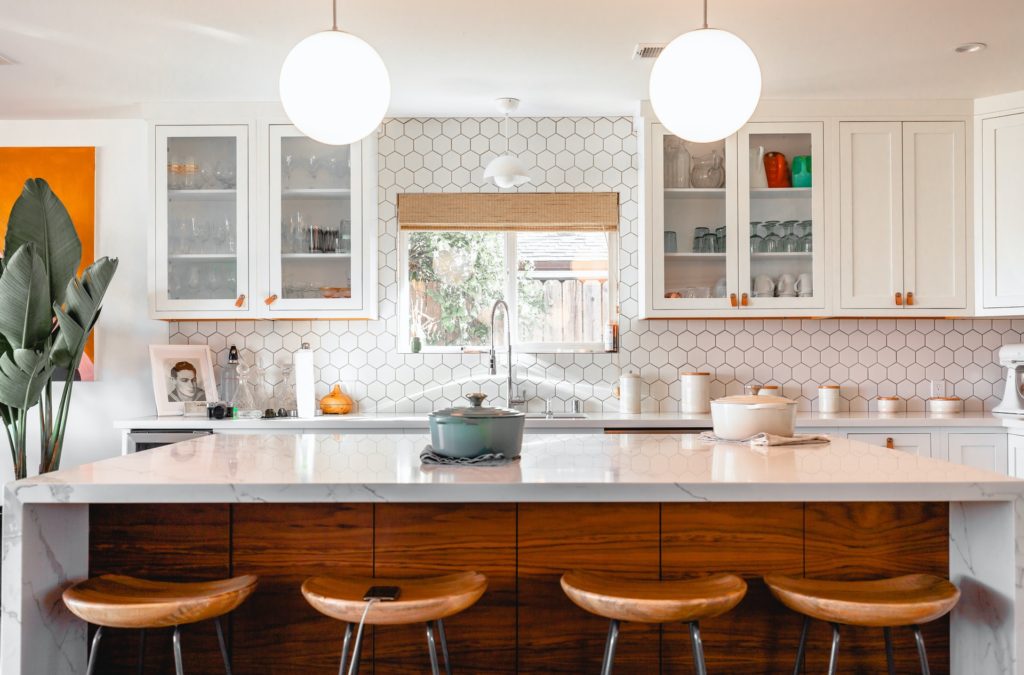
Upgrade Window Furnishings
Your home’s window furnishings can have a dramatic effect on the appearance of both the room and the overall impression of the house. If you want to bring the elegance, consider investing in silk or velvet curtains instead of cheap looking, crooked blinds. Almost as important as the material and ‘hang’ of those curtains is the tie which holds them back to let the light in; an elegantly fashioned bow of contrasting colour can look seriously cool – in the most understated way of course. For an arguably more modern and versatile option, day and night blinds offer the perfect balance between privacy and light control, seamlessly blending style with functionality.
Forbes recently reported that ceiling heights helped seal real estate deals more than almost any other feature. Though we’re not suggesting you magic up an extra couple of feet above you, consider floor to ceiling drapes, which add a sense of luxury to your home even if you don’t have large windows or high ceilings to match.
Instead, the eye will be fooled into thinking you have high ceilings. The fabric matters hugely; think plush materials like silk and satin for summer and velvet for winter. Remember that the key here is to deploy a certain amount of restraint – too much can end up looking gaudy.
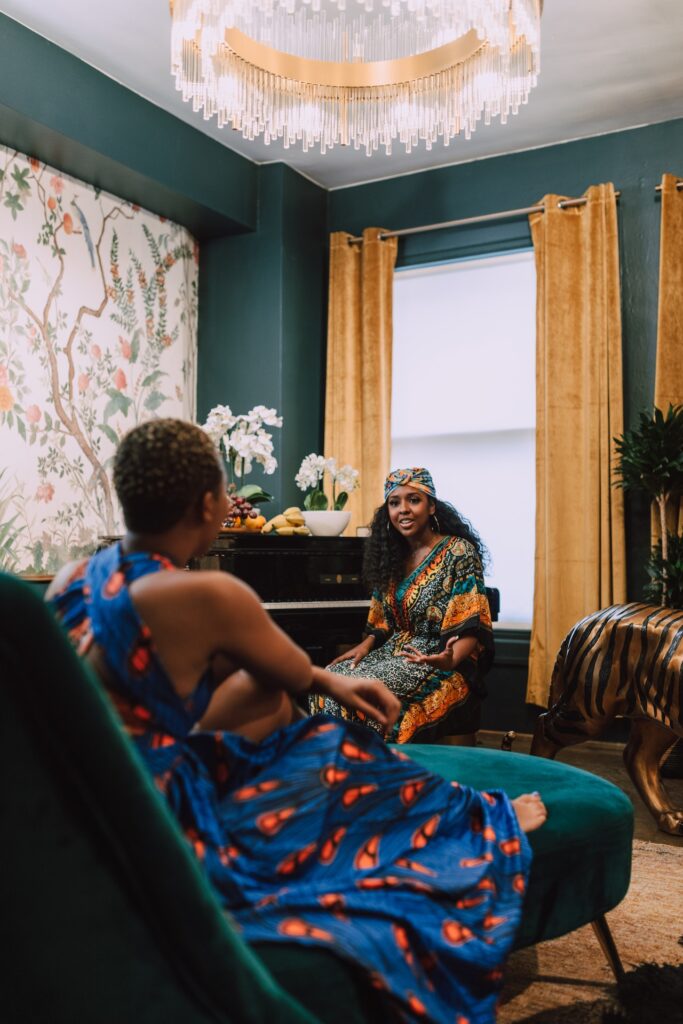
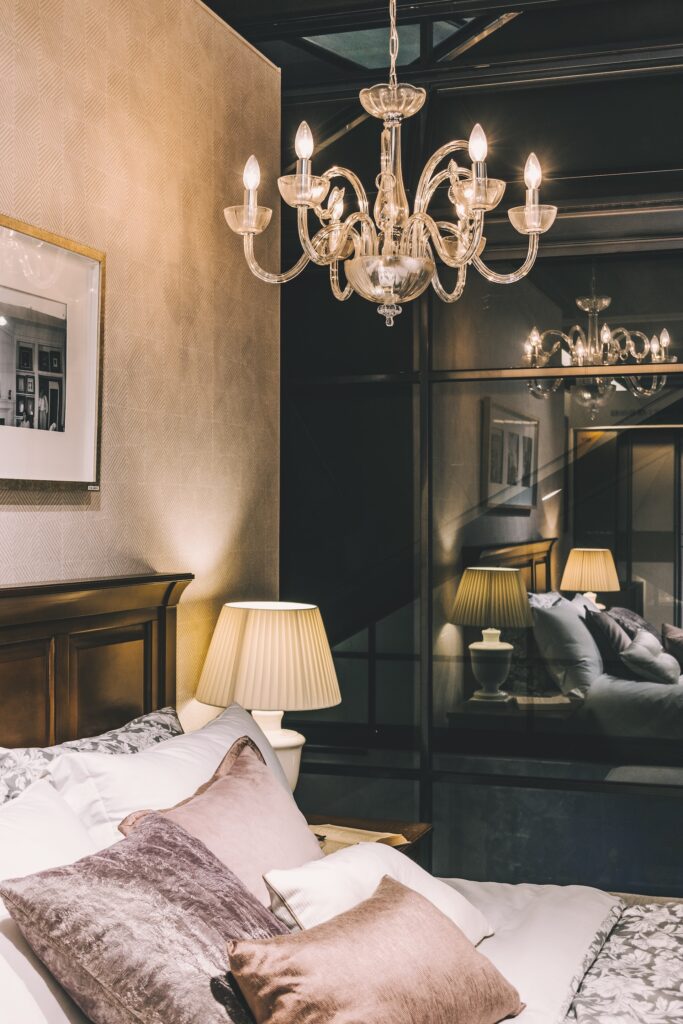
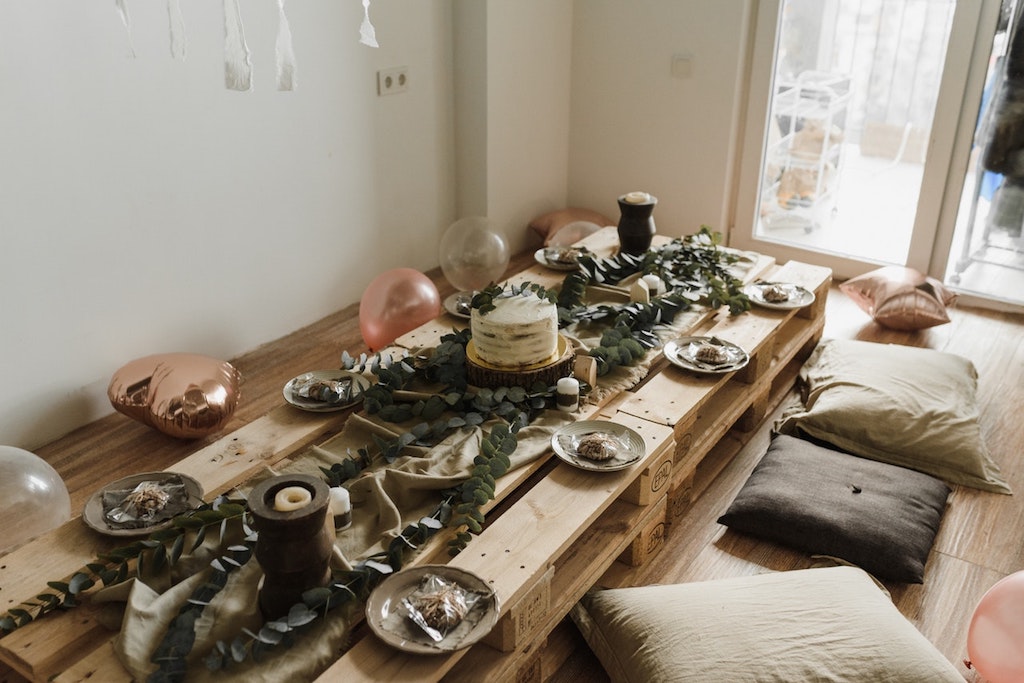
Hang Pendant Lights
Lighting is an excellent way to add luxury to the home without having to tear up the floorboards and down the walls. Adding statement lighting will create a focal point in the room, while also creating just the right amount of light to create a cosy and elegant atmosphere.
Should you have a little more money to play with, a chandelier doesn’t necessarily have to overwhelm a room; the right one can in fact whisper sophistication rather than scream it. And while we wouldn’t judge a book by its cover, remember that the shade is often as important as the light and its foundations. Don’t neglect to pair that aspect thoughtfully with the overall aesthetic of the room, too.
If the textural vibe you’re going for is natural, wooden and rustic, then we’re big fans of the range of custom antler chandeliers from Teton Lighting, which can complement a room defined by timber oh-so succinctly. Of course, in a more opulent feeling space, the effect would be more jarring, so once again, remember to be thoughtful about the overall aesthetic of the room when adding focal points and stand-out features.
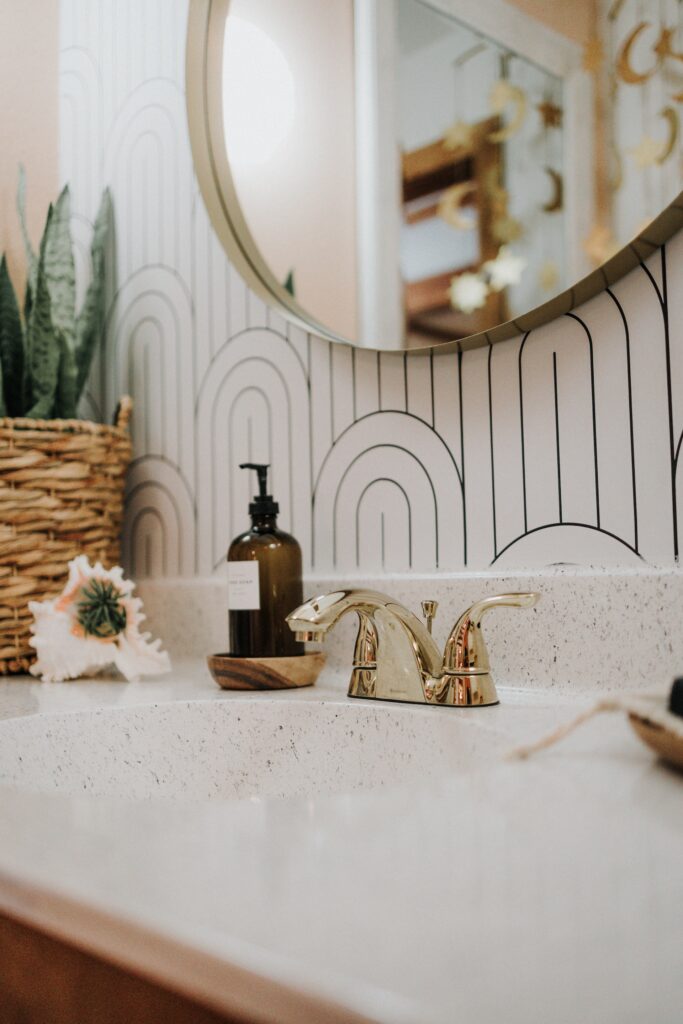
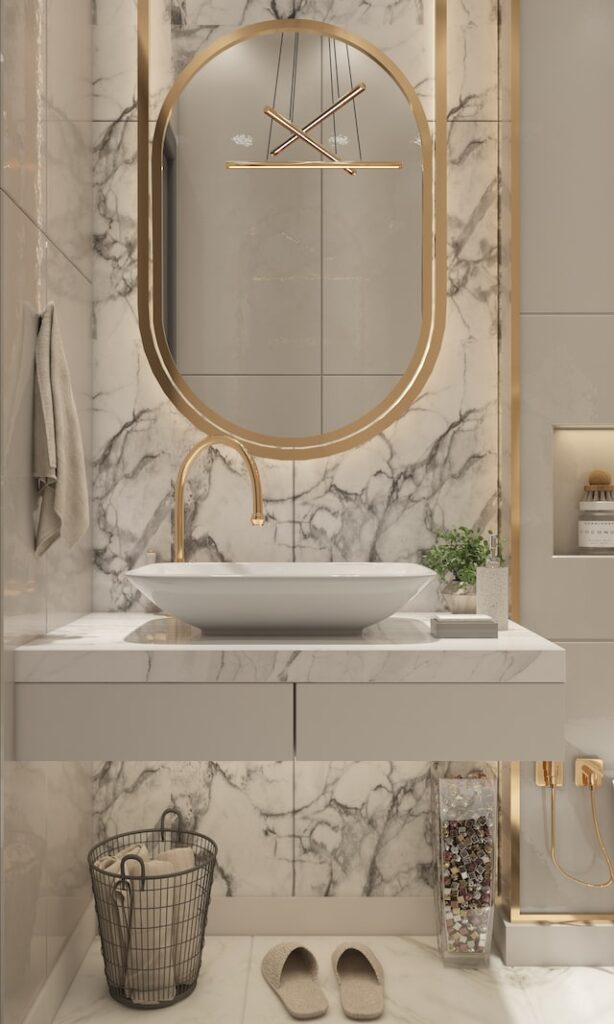
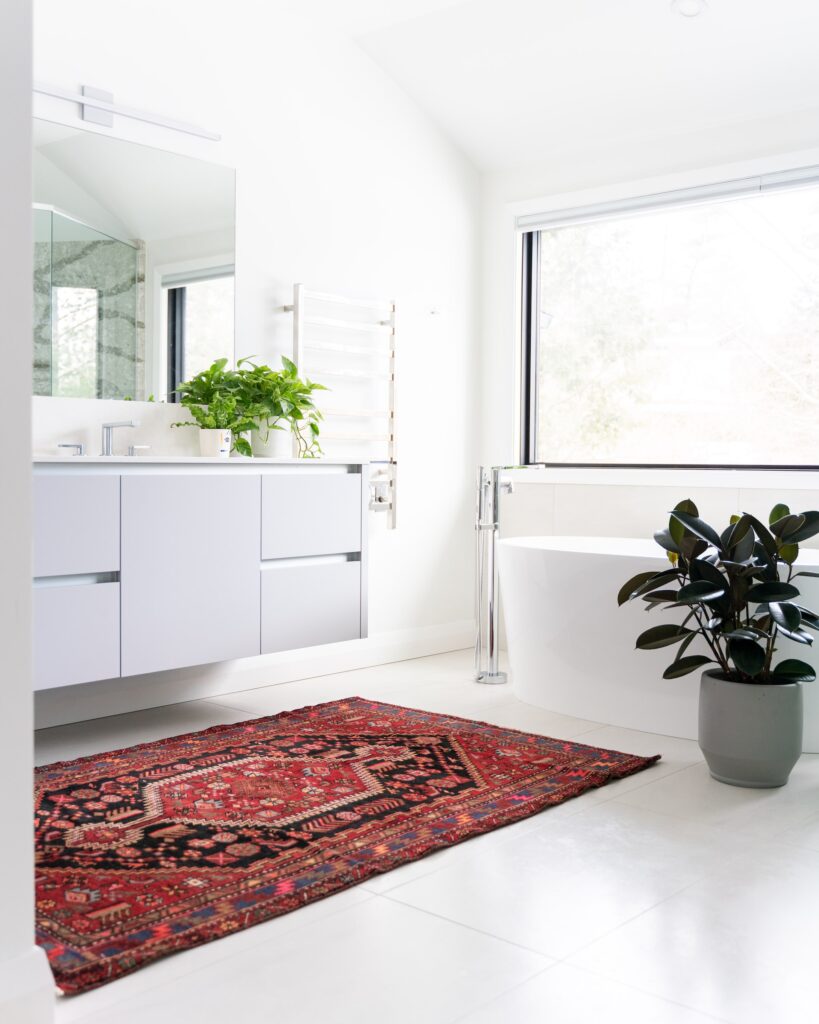
Don’t Neglect Your Bathroom
It’s time to be honest; there’s really only one point in a visitor’s stay when they have the chance to really appraise your house, your sense of decor and style. And that’s when they’re in the bathroom, away from prying eyes, preferably sitting down and relaxed, ready to take in every little detail.
It’s so important, then, that a room so often associated with function is, in fact, just a little bit fun too; a place you’re happy to spend time in. There’s nothing classier than keeping things clean here, so…..you guessed it, keep it clean. And we don’t just mean via elbow grease, spit and polish. Nope, we’d also implore minimalism and ruthless decluttering in the bathroom for sophisticated results.
That’s not to say that just because you excrete and exfoliate here, doesn’t mean the room should feel plain or functional. Add some art – something tasteful rather than comedic – to lift the feel of your bathroom and make it somewhere you enjoy spending time in. When you have guests (or all the time, for proper indulgence) add some expensive aromatherapy soaps that awaken your senses, as well as leaving out some fluffy white bathroom robes – nothing says class like caring for others.
Deploy Luxury Accessories Conservatively
Often, you’ll find that it’s the little accessories and finer details that make the biggest difference to the look and feel of a room. So, when trying to add class to the room, why not focus on its trinkets and add ons? We’re not talking about gold-framed mirrors or silver table ornaments which create a cliched illusion of luxury, rather accessories with individualism in mind.
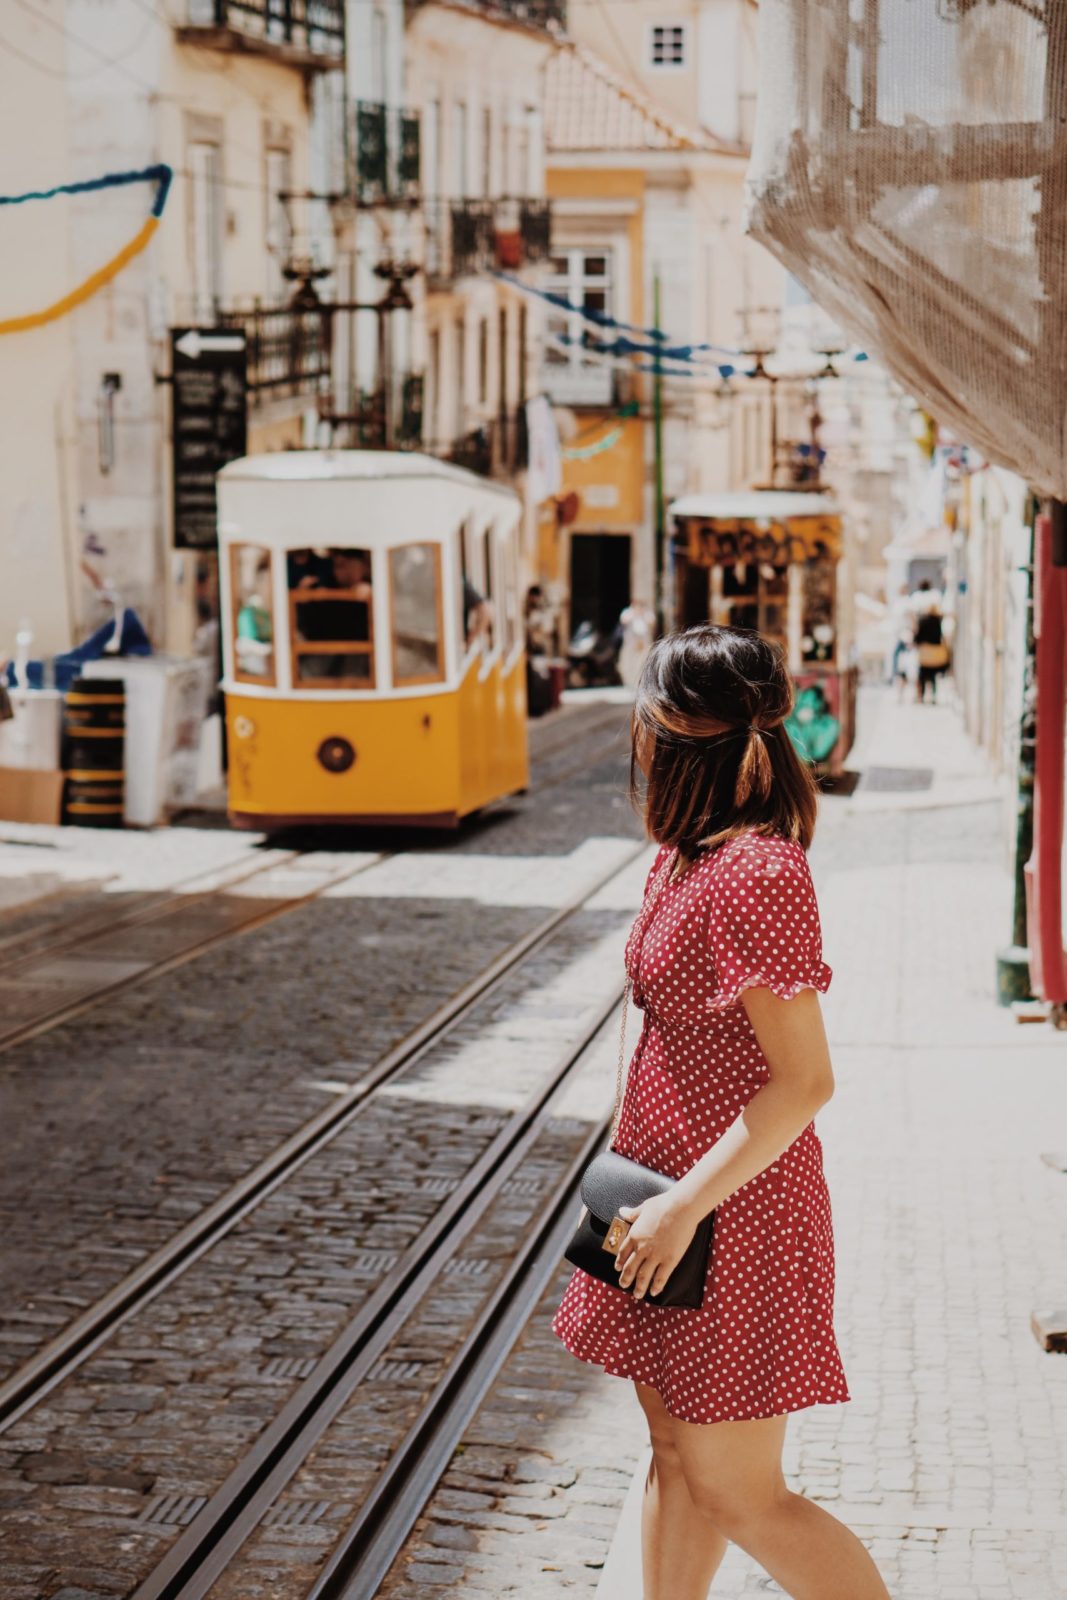
Lead the pack, rather than copy. Particularly personal can be souvenirs and such from your trips abroad; you know, items with real meaning and relevance to your life. Check out our travel-inspired designer tips accordingly, over here.


