Few towns can claim to have gifted the world an entire sport. The handsome Warwickshire market town of Rugby did exactly that in 1823 when a schoolboy named William Webb Ellis allegedly caught a football and decided to run with it.
Whether the legend is apocryphal hardly matters. The game of rugby was formalised here, the first rules were written here, and the oval balls that would travel across the globe were first stitched by hand in a workshop that still stands opposite the school gates.
Beyond its sporting heritage, Rugby offers something increasingly rare: an English market town that hasn’t been hollowed out by chain stores or reduced to a heritage theme park. The high street retains independent shops and good pubs. Warwickshire countryside rolls away in every direction. And with London Euston just an hour away on the West Coast Main Line (now fully reopened), it makes for a satisfyingly offbeat weekend escape.
This is a place where Victorian grandeur meets genuine local character, where you can trace the origins of a global sport in the morning and walk five miles around a reservoir in the afternoon. Rugby rewards those who give it more than a passing glance on the way to somewhere else. In fact, a whole weekend here seems fair to truly appreciate what the town has to offer.
Day 1: Sporting Heritage & Victorian Grandeur
Morning: Webb Ellis Museum & The Art Gallery
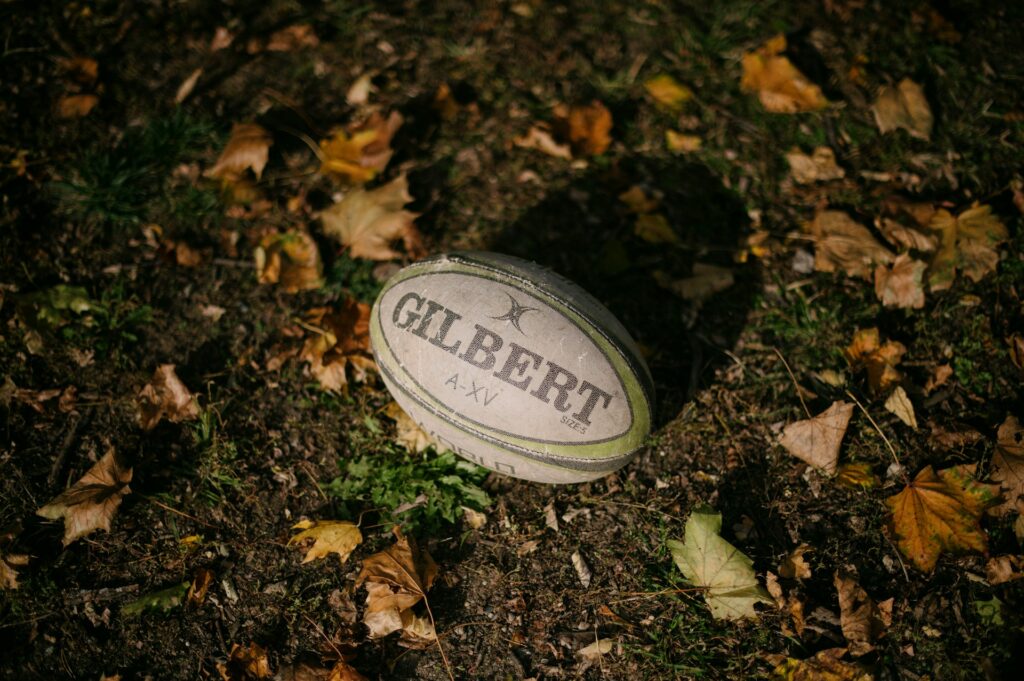
Start at the Webb Ellis Rugby Football Museum on St Matthew’s Street, directly opposite the school where it all allegedly began. Housed in the original 1842 building where William Gilbert first manufactured rugby balls, this small museum punches above its weight. The collection spans Victorian leather balls, international jerseys from across the decades, and enough memorabilia to satisfy the most devoted fan. Entry is free, and the shop sells handmade leather balls if you fancy a souvenir with genuine provenance. Allow 45 minutes to an hour.

From there, cross to Rugby Art Gallery & Museum on Little Elborow Street, a five-minute walk away. This free gallery houses The Rugby Collection, featuring works by L.S. Lowry, Paula Rego and Stanley Spencer alongside Roman artefacts excavated from nearby Tripontium. The archaeology gallery, styled as a Roman marketplace, offers an engaging detour from sporting history. The building also contains the town’s visitor centre, useful for picking up local maps.
Lunch: La Casa Loco
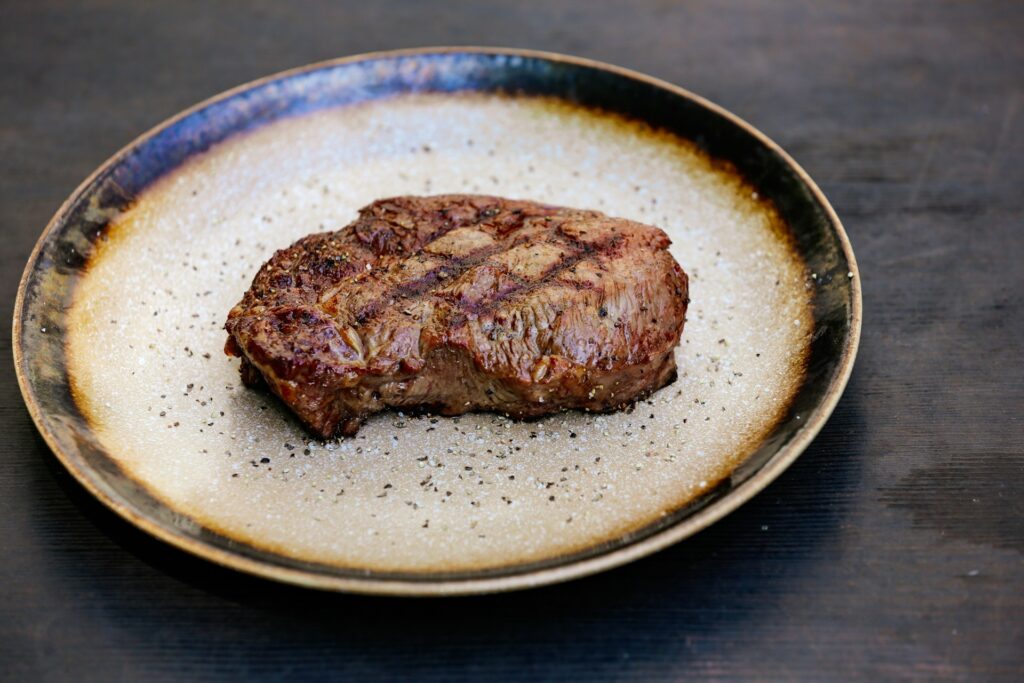
La Casa Loco on Little Church Street has been a Rugby institution since 1993. This first-floor Mexican and Cajun restaurant occupies a vibrant space in Churchside Arcade, serving sizzling fajitas, chimichangas and what locals consider the town’s best margaritas. The atmosphere runs lively rather than refined, with sombreros on the walls and generous portions on the plates. Saturday lunch service starts at 12:30pm, making it perfectly timed for a post-museum refuel. Main courses clock in and around £15 to £20.
Afternoon: Rugby School
The main event: Rugby School tours depart at 2pm on Saturdays from the School Shop on Lawrence Sheriff Street. For £9.50, guides lead you through 450 years of history across the stunning campus where, in 1823, William Webb Ellis supposedly caught a football during a game and ran with it – the moment the game of rugby was born.
The tour covers the Chapel with its impressive Victorian architecture, the Close where that mythical moment occurred, and the Memorial Chapel honouring former pupils lost in both World Wars. You’ll hear about notable alumni including Lewis Carroll and Salman Rushdie, the school’s influence on Tom Brown’s Schooldays, and the remarkable butterfly effect of a single schoolboy’s alleged rule-breaking on global sporting culture.
Tours last approximately 90 minutes and involve a fair amount of walking across the historic grounds – booking ahead via email or phone is recommended, though spaces are often available on the day.
The School Shop itself sells rugby-themed merchandise and Gilbert balls, continuing a manufacturing tradition that began in the town nearly 200 years ago.
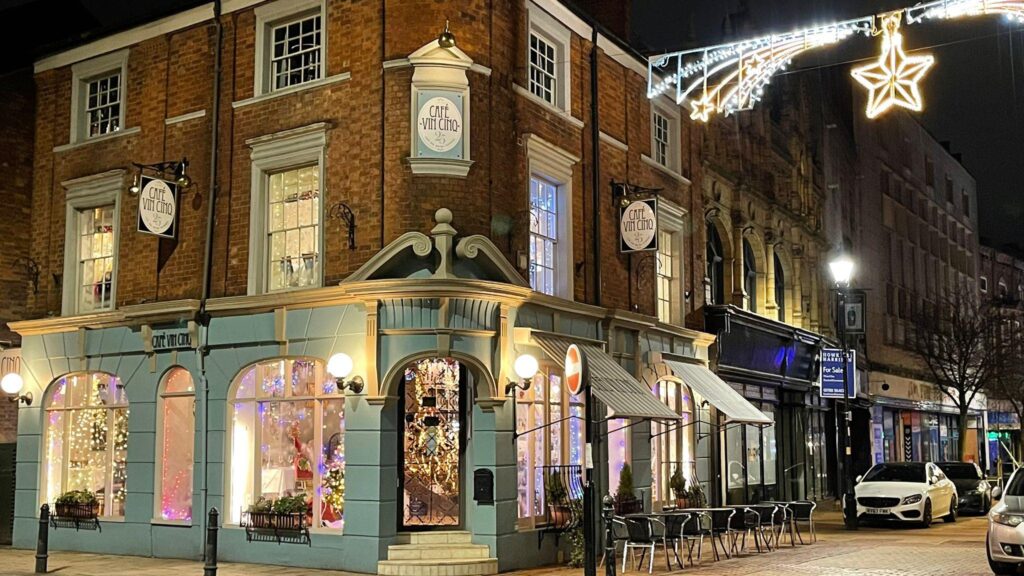
Evening: Café Vin Cinq
Café Vin Cinq at 25 High Street delivers Rugby’s finest dining experience. This award-winning French-influenced restaurant occupies three floors of an elegant Georgian townhouse, connected by a spiral staircase and illuminated by antique chandeliers. The cooking draws on French technique with seasonal British ingredients, and a cocktail bar on the top floor opens Friday and Saturday evenings for post-dinner drinks. Expect to spend around £60 per head for three courses; book ahead for weekend tables.
Read: What to do in Twickenham before the rugby kicks off
Day 2: Reservoir Walks & Canal-Side Strolls
Morning: Draycote Water
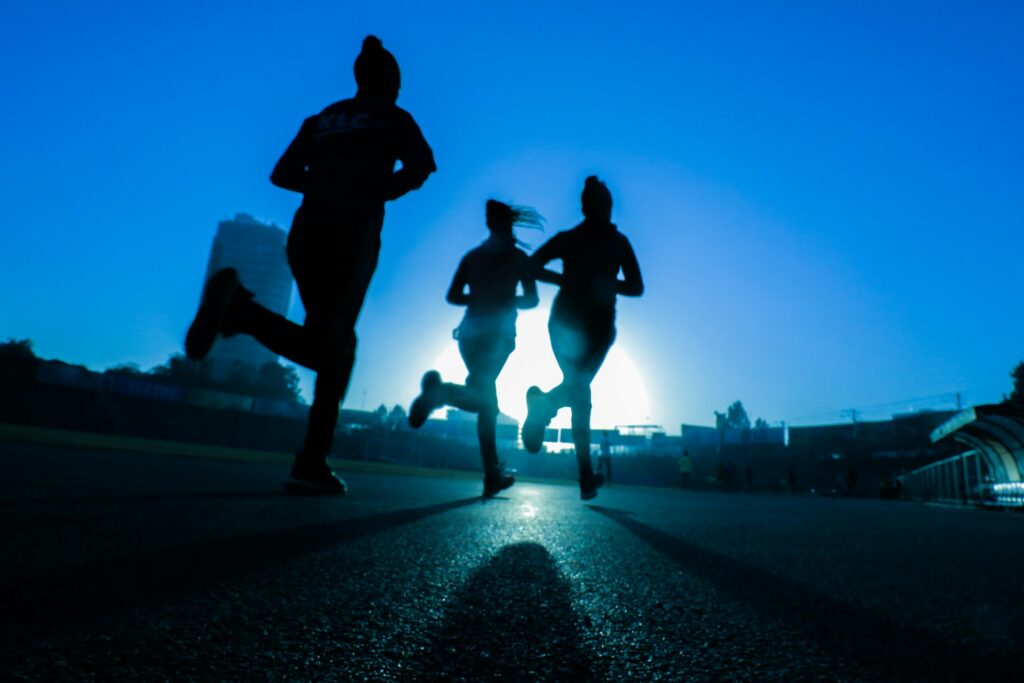
Head to Draycote Water, a 240-hectare reservoir and country park roughly ten minutes’ drive south of town near the village of Dunchurch. Built in the late 1960s to supply drinking water to Rugby and Coventry, the reservoir has become one of Warwickshire’s most popular outdoor destinations.
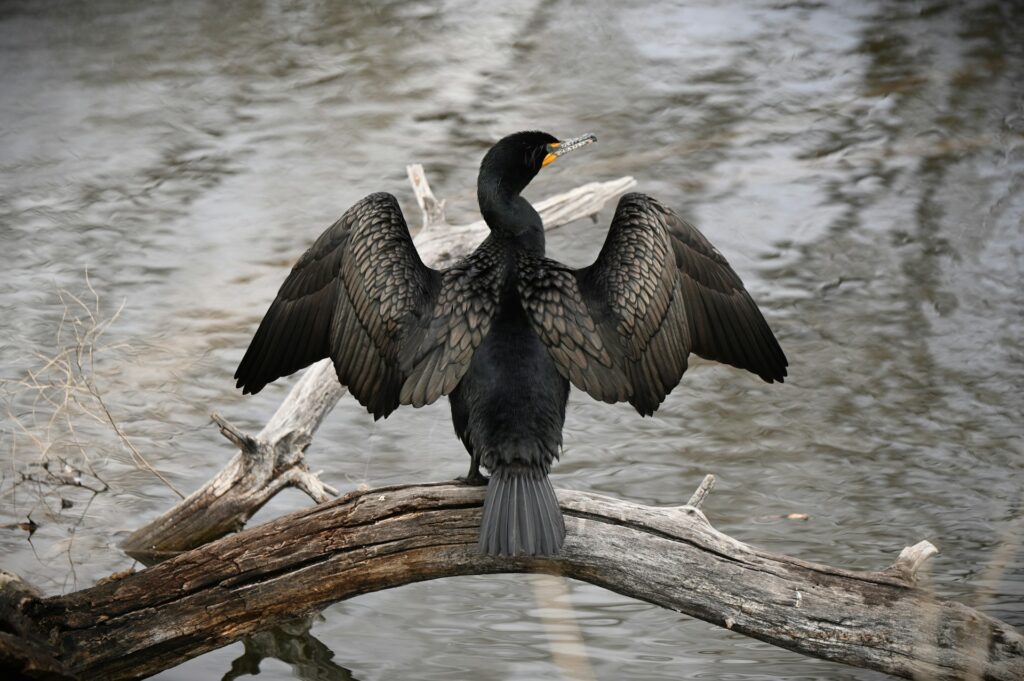
A flat, five-mile tarmac path circles the water, suitable for walkers, runners and cyclists of all abilities. The route offers views across the reservoir to sailing boats tacking in the breeze and varied birdlife, from cormorants and herons to occasional red-throated divers that attract twitchers during winter months.
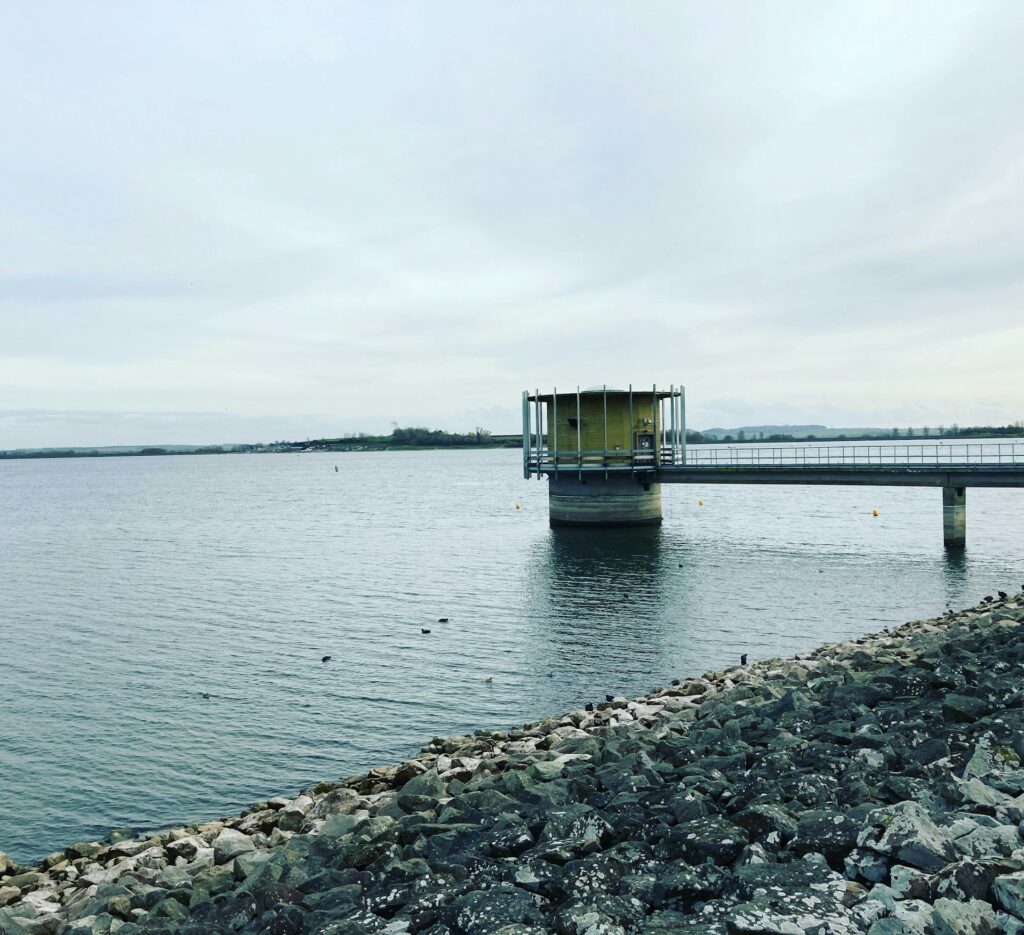
Hensborough Hill on the southern shore provides the best vantage point for photographs. Arrive early on sunny weekends to secure a parking spot (£5 all day, £3 for two hours). Note that dogs are not permitted around the reservoir itself, though they’re welcome on leads in the separate 24-acre Country Park area. The visitor hub near the entrance houses a café serving breakfast and light lunches.
Lunch: The George At Kilsby
For Sunday lunch, drive ten minutes north to The George at Kilsby on Watling Street, just over the Northamptonshire border. This 18th-century village pub has been transformed under chef patron Hari Krishnamurthy into a destination dining spot that draws crowds from Rugby, Northampton and beyond.
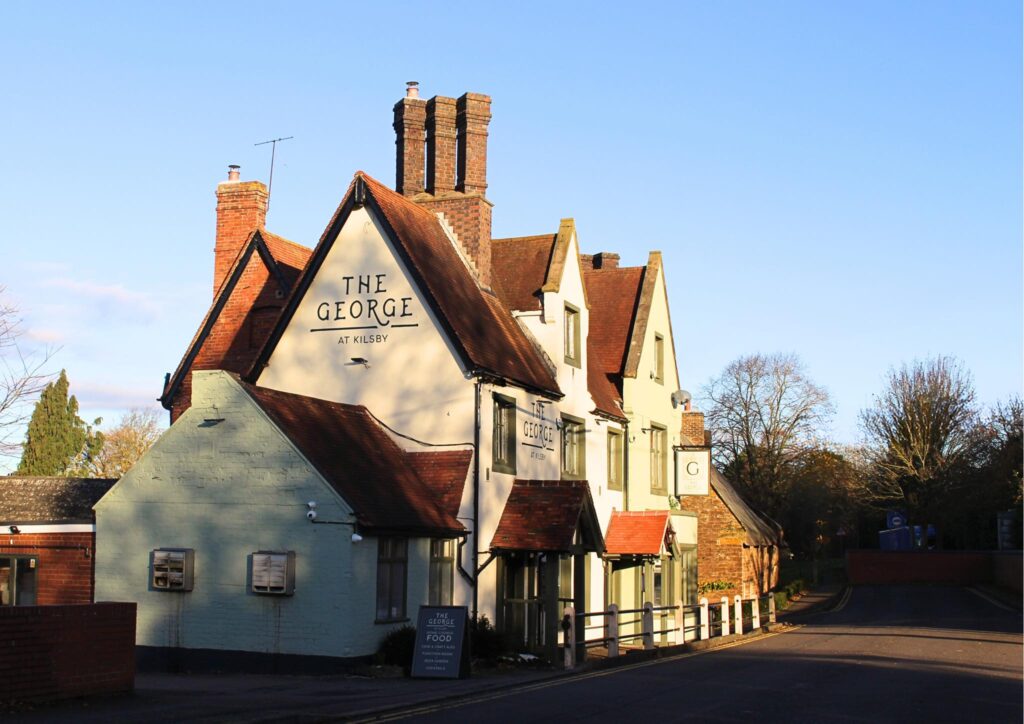
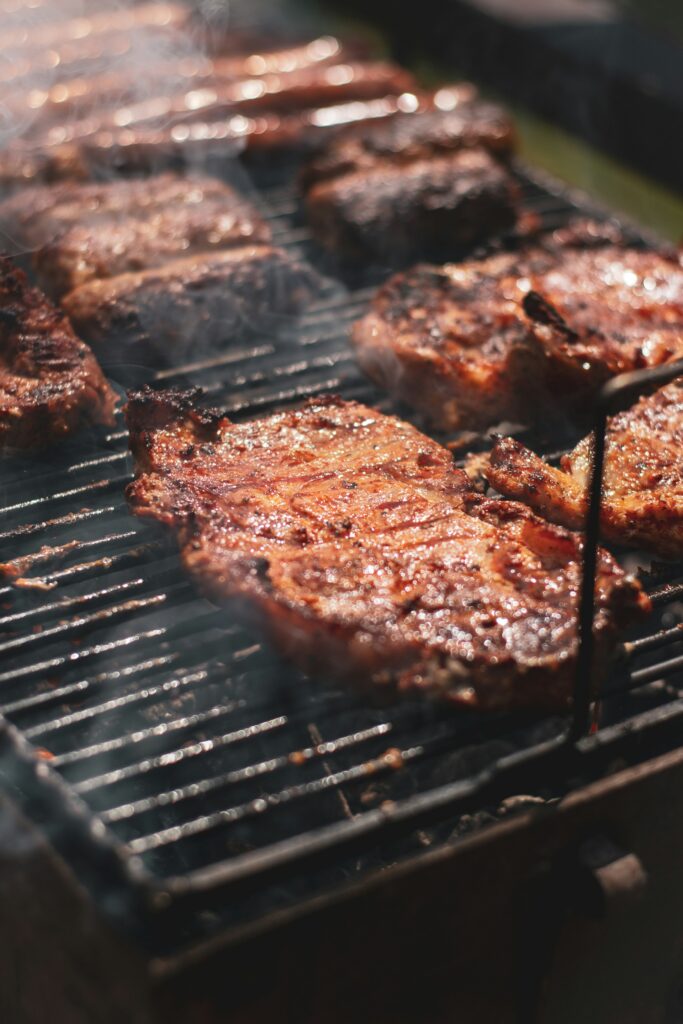
The kitchen blends British classics with contemporary Indian influences, an unusual combination that works remarkably well. Sunday roasts feature quality local meats, crispy roast potatoes, solid Yorkshire puddings and all the expected trimmings, while the rest of the menu runs from tandoori dishes to wood-fired pizzas. The dining room has been stylishly refurbished with hand-crafted furniture from Rajasthan, though it retains the warmth of a village pub worth seeking out. A garden area opens in warmer months. Main courses £15 to £25; booking is strongly recommended, especially for the roasts.
Afternoon: Caldecott Park & The Oxford Canal
Return to town for a gentle afternoon exploring Rugby’s green spaces. Caldecott Park, established in 1904 and named after the town’s last Lord of the Manor, sits in the town centre near the Town Hall. This award-winning Edwardian park features formal flower beds that have won multiple Britain in Bloom accolades, a restored Edwardian bandstand, tennis courts and a children’s play area. Hattie’s Toolshed Café serves homemade cakes and decent coffee; on summer weekends, the bandstand hosts occasional live music.
From Caldecott Park, a 15-minute walk along the canal towpath takes you into quieter territory. The Oxford Canal runs through Rugby on its route from the Midlands to the Thames, offering level towpath walking past narrowboats, converted warehouses and lock-keeper cottages.
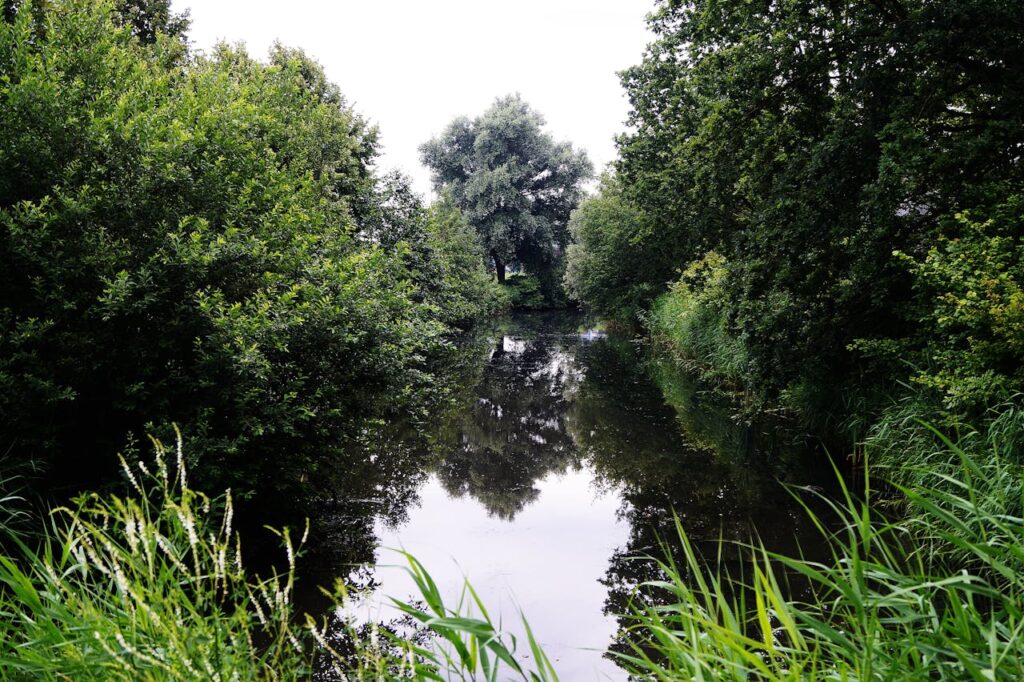
The stretch south towards Hillmorton Locks provides a pleasant hour’s stroll through the three paired locks, where boats queue during summer months. The canal has been a working waterway since 1790; watching narrowboats navigate the lock sequence offers a satisfying counterpoint to the morning’s reservoir circuit.
Evening: The Merchant Inn
End the weekend at The Merchant Inn on Railway Terrace, a real ale pub crammed with brewery memorabilia and pump clips. The selection typically runs to a dozen cask ales and ciders, with Belgian bottles for those seeking something stronger. A coal fire burns in winter; the outdoor drinking area opens in warmer months. No food, but the beer alone justifies the visit.
Where To Stay
Coombe Abbey Hotel occupies a stunning 12th-century Cistercian abbey set in 500 acres of parkland, roughly 15 minutes from Rugby town centre. Rooms in the main abbey building feature original Gothic features; the grounds include formal gardens, woodland walks and a restaurant in the former refectory. Doubles from £120.
For something central, The Rugby Hotel on Sheep Street is a recently refurbished Georgian coaching inn right next to Rugby School and steps from the Webb Ellis Museum. The 36 rooms blend period character with modern comforts; downstairs, the Horseshoes bar serves decent pub grub. No on-site parking, but the Chapel Street car park is a two-minute walk. Doubles from around £80.
How To Get There
Rugby station sits on the West Coast Main Line, with direct trains from London Euston (55 minutes), Birmingham New Street (25 minutes) and Manchester Piccadilly (90 minutes). The town centre lies a ten-minute walk from the station.
By car, Rugby is just off junction 1 of the M6, also accessible via the M45 and A45. Street parking in town is limited; use the Asda car park (free for two hours) near the Art Gallery or the pay-and-display options around the town centre.
The Bottom Line
Rugby makes sense of its name. The school, the museum, the Close where Webb Ellis supposedly grabbed the ball and ran – it all connects in a way that feels satisfying rather than contrived. But the town earns its weekend beyond sporting pilgrimage: a French restaurant good enough to book ahead for, a reservoir walk that clears the head, a canal towpath that feels genuinely peaceful. An hour from Euston and worth every minute of the journey.
For more UK weekend break inspiration, check out our guide to Edinburgh’s Leith next.


")