Last year, there were 266,489 burglaries reported in England and Wales, which represented a slight decline on the previous year and a major one in terms of the turn of the millenium’s burglary statistics, which pointed to almost four times that amount.
There are several reasons why this might be true; the increase in home working during the pandemic and has meant that homes are now more frequently occupied, perhaps. Or, a lack of faith in the police may mean victims simply aren’t reporting burglaries as frequently – convictions for burglary, it should be added, are well and truly down.
Another interesting reason put forward for the drop in burglary offences is the increasing smartification of our homes. Indeed, in recent years, home security has been given the modern tech treatment, helping to deter would-be burglars and give our properties an extra layer of safety.
Indeed, there are multiple benefits to ever-proliferating smart home systems – you can keep watch on your house even when miles away (sounds like a fun holiday!), the systems are sensitive and can easily trace unknown people and objects, and best of all, they can be customised to suit your needs. With that in mind, here are 7 smart security features available for your home.
Smart Lighting
The two key tenets of smart security systems for the home are prevention and cure.
We’re surely all familiar with the classic intruder deterrent of ‘making it look like someone’s home’ while you’re out.
Well, smart lighting solutions help you optimise this process, whether that’s through motion sensing lighting, which can sense whether or not a room is inhabited, or, most commonly, when you approach your house after dark and struggle with your keys at the front door.
This is particularly useful when you’re on holiday or simply out at the shops, for instance, and want to give the impression your house is occupied from time to time to deter intruders. You can also control your smart lighting from afar – even, from abroad – helping you create the illusion of activity within your property any time of day or night.
But doing so can also improve your home’s energy efficiency; talk about killing two birds with one stone!
Smart CCTV Systems
From prevention to cure, and once the preserve of mafia bosses on the run from the law, domestic CCTV systems have now gone mainstream, and recently, have also turned somewhat intelligent.
Installing cameras inside and out which can be monitored through your smartphone acts as both a deterrent and a way to keep your home safer. Many homeowners are even turning to freeware security camera software to manage their IP camera systems, making home surveillance more accessible than ever.
The best smart CCTV systems will send you alerts when there’s been a potential intruder, which doesn’t sound like much of a holiday for you, but may bring peace of mind, nonetheless.
Some smart CCTV systems can be aligned with motion sensor activated lights, enabling lights to come on around the home whenever a person is captured approaching the house. Or, of course, you could row back on the paranoia. Everything will be ok.
Smart Locks
Locking your doors for safety is a necessity, of course. You also need to ensure there is a way to open a door in an emergency. The best way to do this is to ensure that you have high-quality locks on all doors.
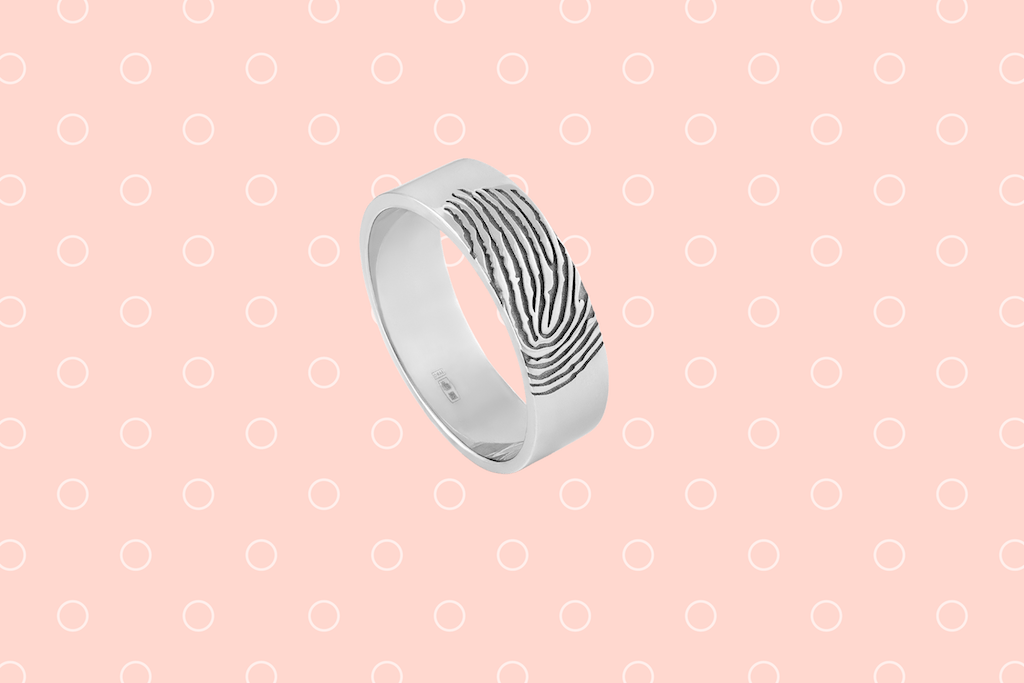
Having quality locks installed on the doors and windows of your property, preferably using fingerprint scanning or biometric smart lock technology for enabling secure, unique access, is another way to improve the security of your home via smart technology.
Not only will this avoid a threat to your property should your keys be stolen, but installing smart locks also puts an end to those panicked moments when you think you’ve misplaced your keys!
Smart Parcel Boxes
You may also want to install a smart parcel box on the exterior of your property. This will keep your parcels and packages safe and are a great option if you have frequent home deliveries, e.g., you regularly order items off Amazon. Don’t we all, hey?
Smart parcel boxes also prevent the build up of mail on your front doorstep; an enduring, tell-tale sign that the property is unoccupied.
Smart Sprinklers
Lawn care is also something that you can automate fully using robots and AI. Yep; we know what you’re thinking; what does lawn care have to do with home security?
Well, as Reader’s Digest reported back in December of 2022, ‘’having a well-maintained yard indicates that you’re vigilant about your home and likely paying close attention to it.’’
What’s more, an unkempt, unruly looking front lawn and garden may imply your home has been unoccupied for some time. Best, then, to activate smart lawnmowers and sprinklers, to keep those high standards up at all times.
By using a robot lawnmower, it’s possible to take the time and effort out of mowing the lawn. Like a robot vacuum, these robots automatically roll around the garden while using sensors to detect the perimeters so that they know when to change direction.
As for keeping your lawn from drying out in the summer, it’s possible to invest in smart sprinklers. These sprinklers are able to water your lawn daily while taking into account the heat and rainfall so that no water is wasted.
Doorbell Cameras
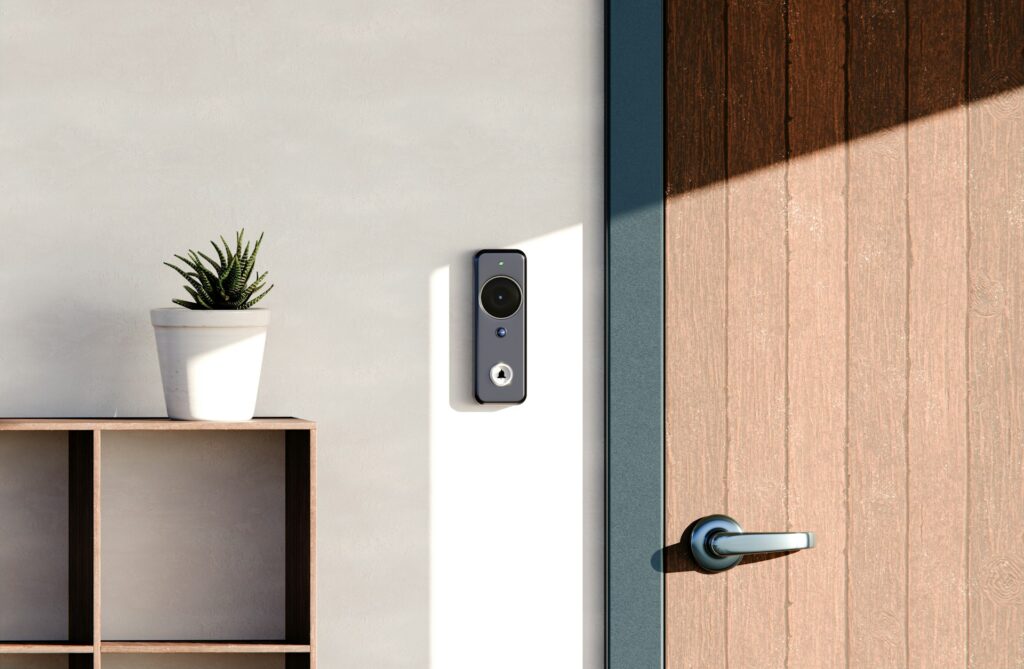
Smart video doorbells are another way to monitor your smart home from anywhere in the world using an app on your smartphone, tablet, or laptop, assisting you in keeping your home safe from intruders.
Most devices allow you to set an alert that will be triggered whenever someone approaches your home or rings the doorbell. You can even see, hear, and speak to visitors through an app, giving you peace of mind that the only people who come to your door are welcome guests. With artificial intelligence capabilities improving by the day, video doorbells are evolving to be able to distinguish between real threats and the cat next door.
Smart Alarms
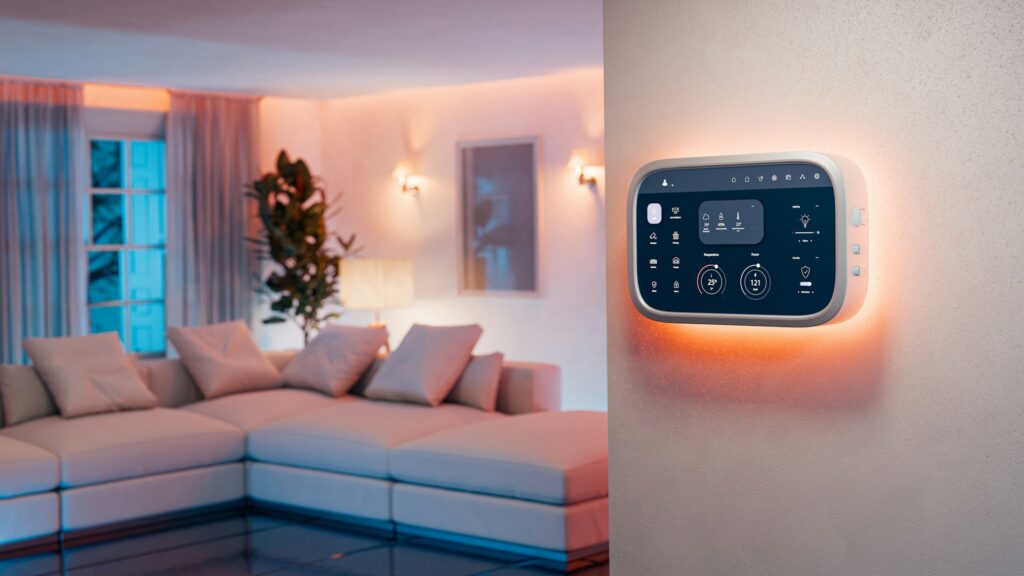
Gone are the days of those basic burglar alarms that would wake up the entire neighborhood when a leaf brushed against your window. Today’s smart alarm systems are bringing home security into the 21st century with impressive precision and customisation.
These intelligent systems can be controlled directly from your smartphone and often integrate seamlessly with other smart home devices you might already have installed. You can arm or disarm your system remotely, receive real-time notifications about any suspicious activity, and even set different security modes for different scenarios – perhaps a ‘Night Mode’ that only monitors the ground floor while you’re sleeping upstairs.
What makes these systems particularly clever is their ability to distinguish between genuine threats and false alarms. Using advanced sensors and AI technology, smart alarms are almost as good as humans at telling the difference between your teenager coming home late and an actual break-in attempt. Some systems even integrate with your smart speakers, allowing you to arm or disarm them using voice commands – though you might want to keep that feature on the down-low from any passersby!
Best of all, many smart alarm systems can be customised to work alongside your other smart security features, creating a comprehensive security network. For instance, when your alarm detects unusual activity, it can automatically trigger your smart lights and CCTV to kick into action, while sending an alert straight to your phone. Now that’s what we call a proper security team working overtime!


 Arctic Cruise Itineraries")