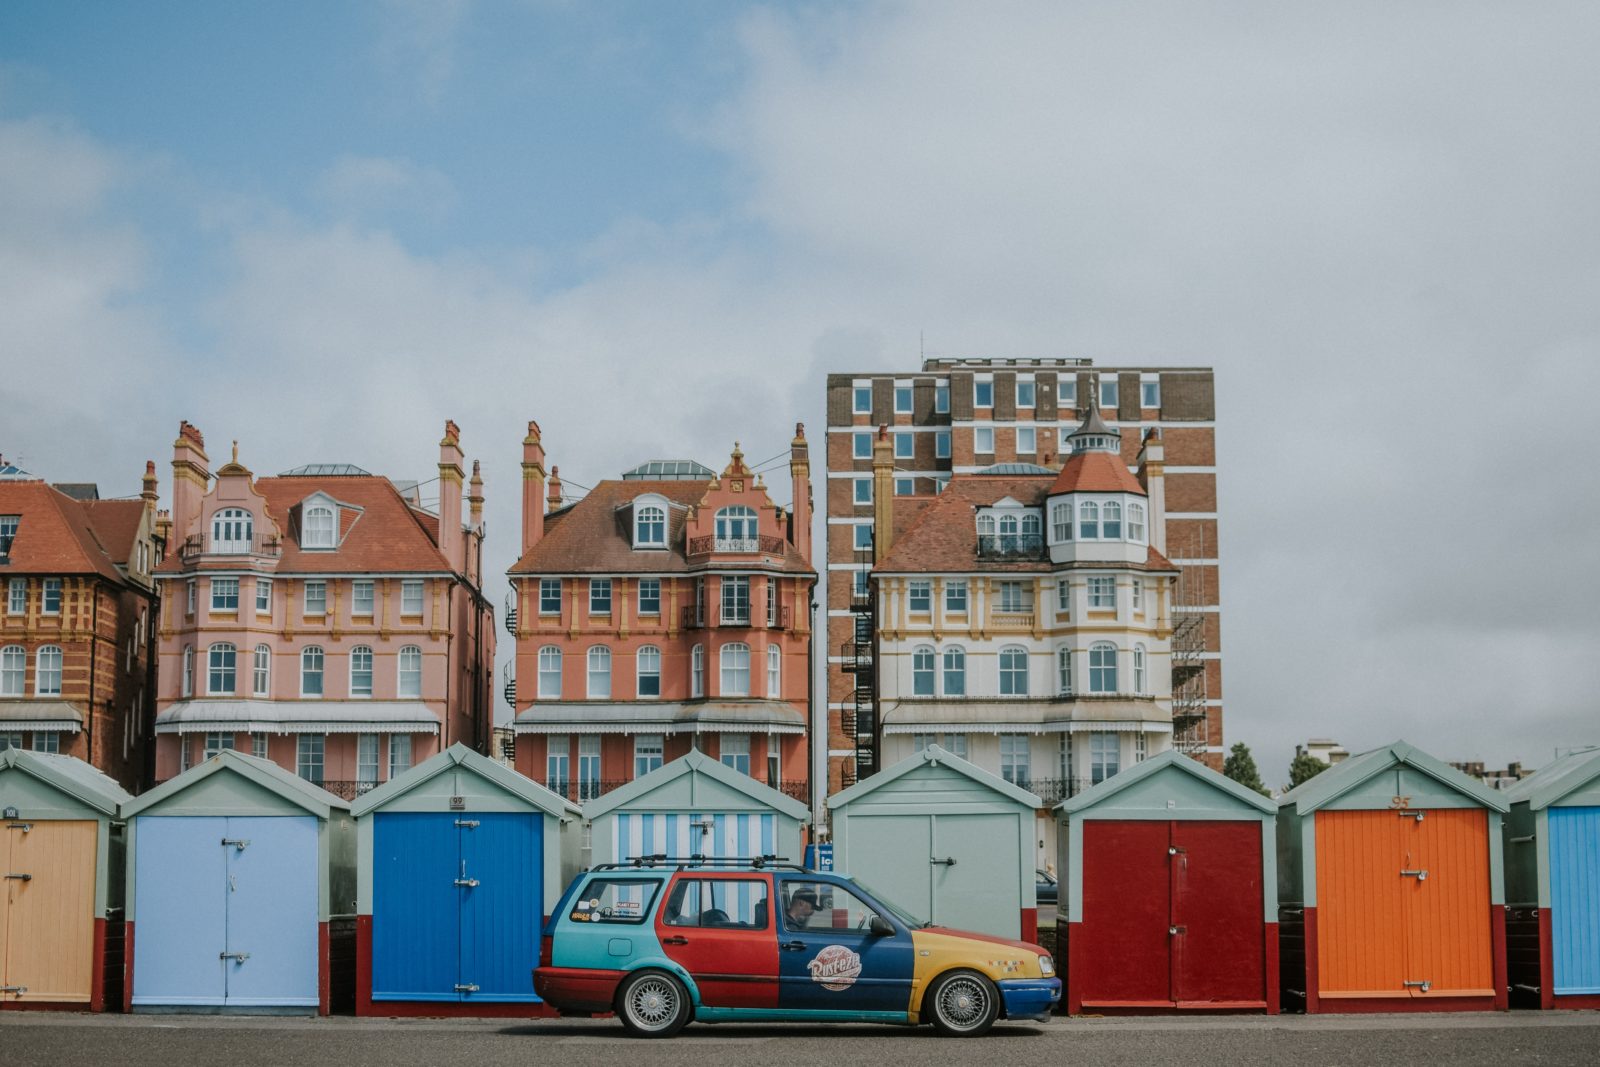
A stroll along Brighton seafront, skimming pebbles and checking out cheesy souvenir shops, tub of pickled cockles in one hand, plastic pint of flat lager in the other. With sand between the toes and teeth, there couldn’t be a more quintessential British day out. This day of clichés should culminate in Brighton Pier, maybe on a fairground ride, maybe with a go on the teddy picker in the arcade and sleeping in a Brighton hotel. Bascially, it writes itself. But if you’re looking for a little more itinerary inspiration, we’re here to help. Together with Lookers Mercedes-Benz, who offer a variety of Mercedes finance plans, here are 7 of the best things to do in Brighton.
BRIGHTON’S PIERS & MARINA
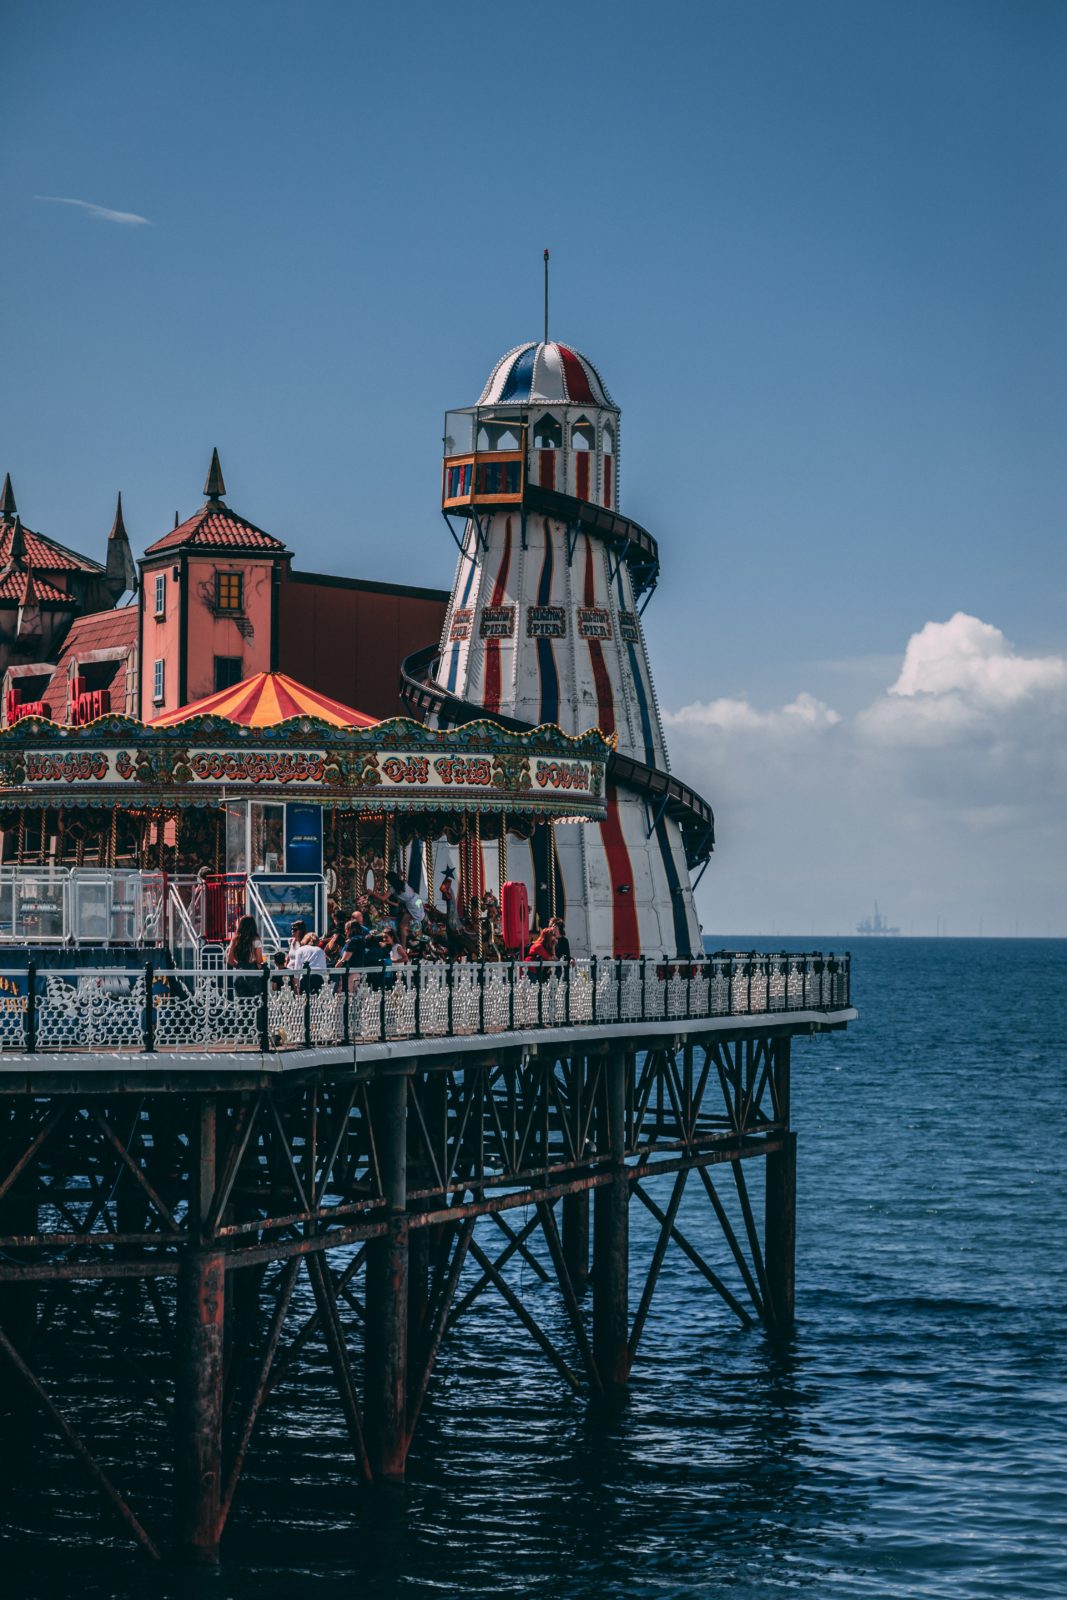
The seaside resort stands alone as the only town in Britain to boast a Grade I-listed pier. Reason enough to visit we think. Opened in 1866, the West Pier was originally built as a promenade with an open deck and a splutter of small buildings before a central bandstand was built in 1875 and a theatre added a decade later. Unfortunately, the West Pier now stands derelict. However, the Grade II-listed Brighton Pier, built in 1899, still stands proud; a curious hybrid of modern installation inside a Victorian shell.
At the Brighton Marina, you’ll find the nation’s largest yacht harbour, with 126 acres offering berthing for up to 1300 vessels. Activity-wise, there’s heaps to get stuck into; sailing lessons, seas fishing and diving, and if land is more your cup of tea, the marina village hosts an eight-screen cinema, large bowling complex, restaurants, cafes and bars.
BRIGHTON PRIDE
Billed as the UK’s biggest Pride festival, this celebration of the LGBTQ community, held in August, provides an atmosphere like no other. Take to the streets and soak up the carnival atmosphere with the various parades and village parties, and remember to bring your dancing shoes. Although the street parades are free, it’s advisable to buy a ticket to get the full Pride experience; getting you access to Pride Festival and donating to the community in the process. Lonely Planet describes the event as one of the best of its kind in the world. Well, it would be rude not to, right?
GET HISTORICAL
A palace in the centre of Brighton, The Royal Pavillion with its domes and minarets, looks somewhat out of place in a seaside town. And that’s its unique charm. Built in the 18th century, it’s a whimsical wonderland most definitely worth a visit.
For the historians among us, the Booth Museum and Natural History Museum are also must visits. With more than half a million specimens and natural history literature and data stemming over 300 years, this educational exhibit offers research facilities and children’s activities.
Looking for even more on the cultural side of things? The Theatre Royal This is one of the oldest and most distinguished theatres that the country has to offer. It’s located in the city’s cultural quarter and the Grader II-listed building often plays host to some of the best theatre productions around and has done since 1807. Be sure to check what’s on during your visit and prepare to be entertained.
WANDER AROUND THE LANES
A collection of narrow, densely packed streets and thoroughfares in the centre of town, The Lanes are home to independent shops, boutiques and restaurants galore. It’s perhaps the best place in the city to experience the quirky, kooky soul of Brighton. These arteries occasionally get a little clogged though, so visit on a weekday for a more sedate stroll.

GET ACTIVE
Brighton bike tours are a great way to see all the sites the city and surrounding area boasts; a fun and informative journey led by a tour guide who will explain your every move. The groups are kept small and the route not too challenging, making this activity a great way to learn about Brighton on a sunny day.
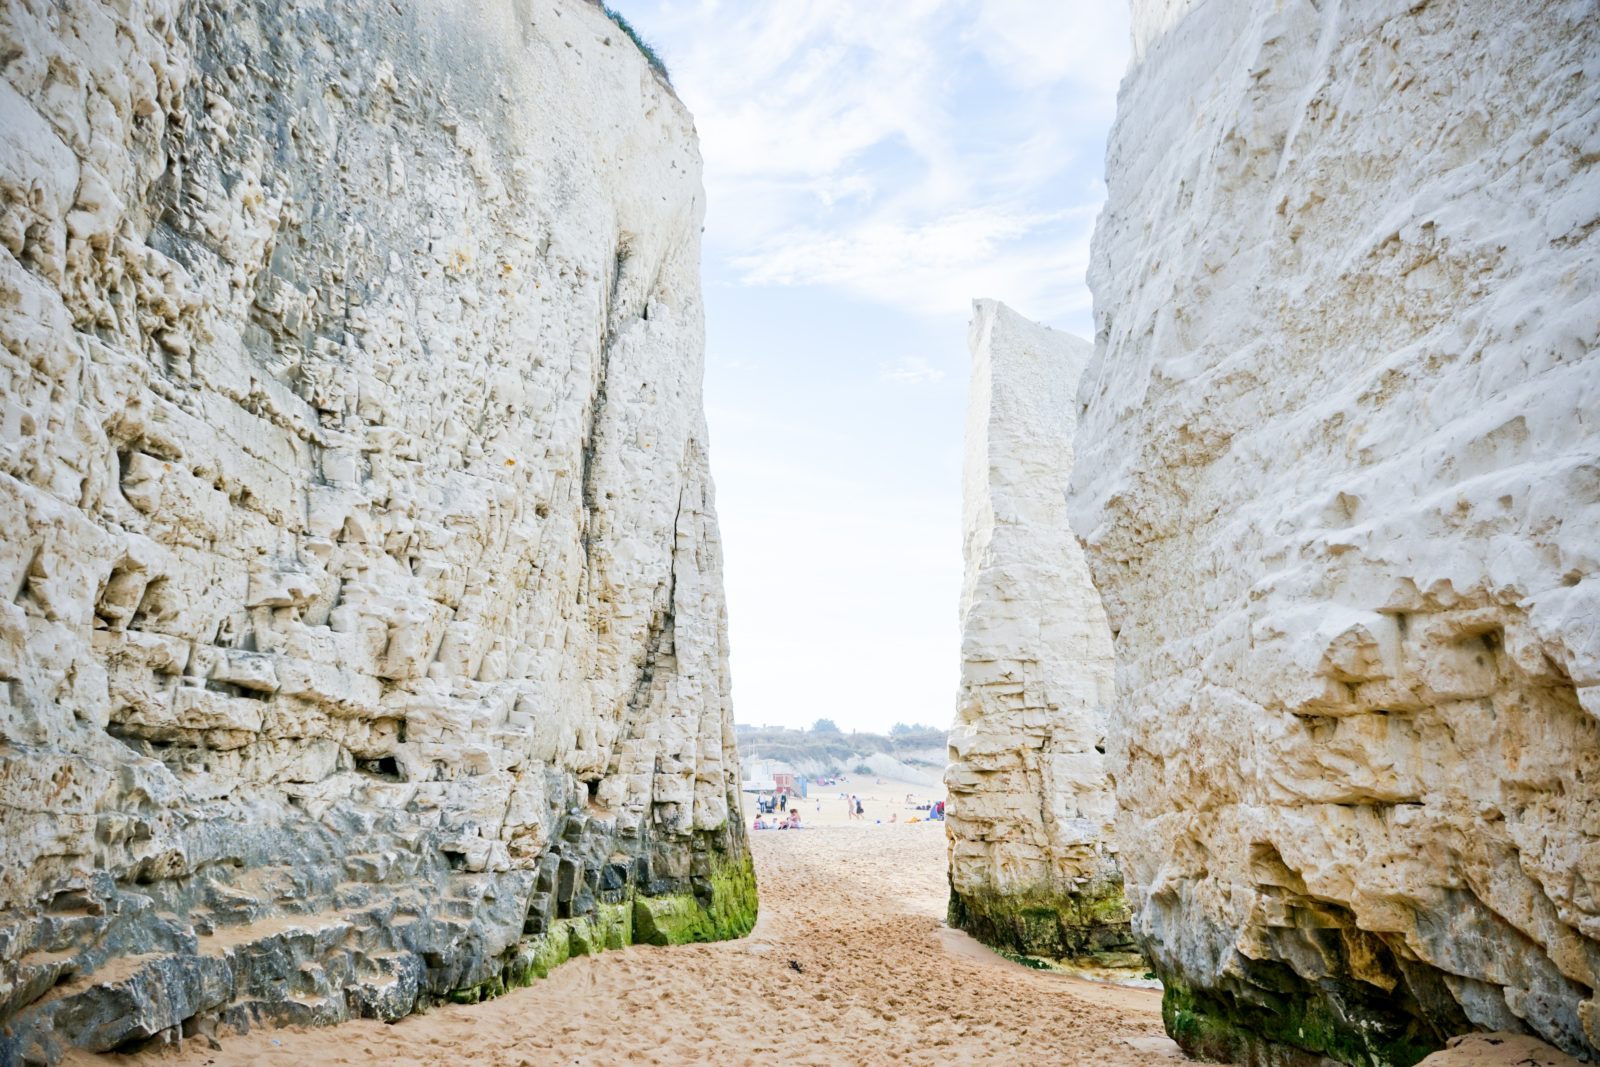
If you prefer your feet on terra firma rather than being on two wheels, an undercliff walk is one of the most unusual and inspiring walks in the country; an approximately 4.5km walk along the bottom of the chalk cliffs of Brighton & Hove. With the route providing an opportunity for walkers and cyclists alike to take in the scenic views while enjoying the sea air, it also contains fossils of mammoths, woolly rhinos and hippos. It’s recommended that you give yourself approximately three hours to complete the route, so take this into account when mapping out your day.
ENJOY THE PUBS AND NIGHTLIFE
Whether you think of yourself as a party animal or just like to relax over a quiet drink, Brighton has a rich and varied nightlife. Many of the pubs you’ll find are serviced by local breweries, and if you’re a fan of real ales, the Quadrant at the top of North Street could be the place for you.
Elsewhere, The Lion and Lobster in the town centre is a joint with more than 500 years of history. The North Laine Pub And Brewery is another must-visit haunt; the venue brews its own beer.
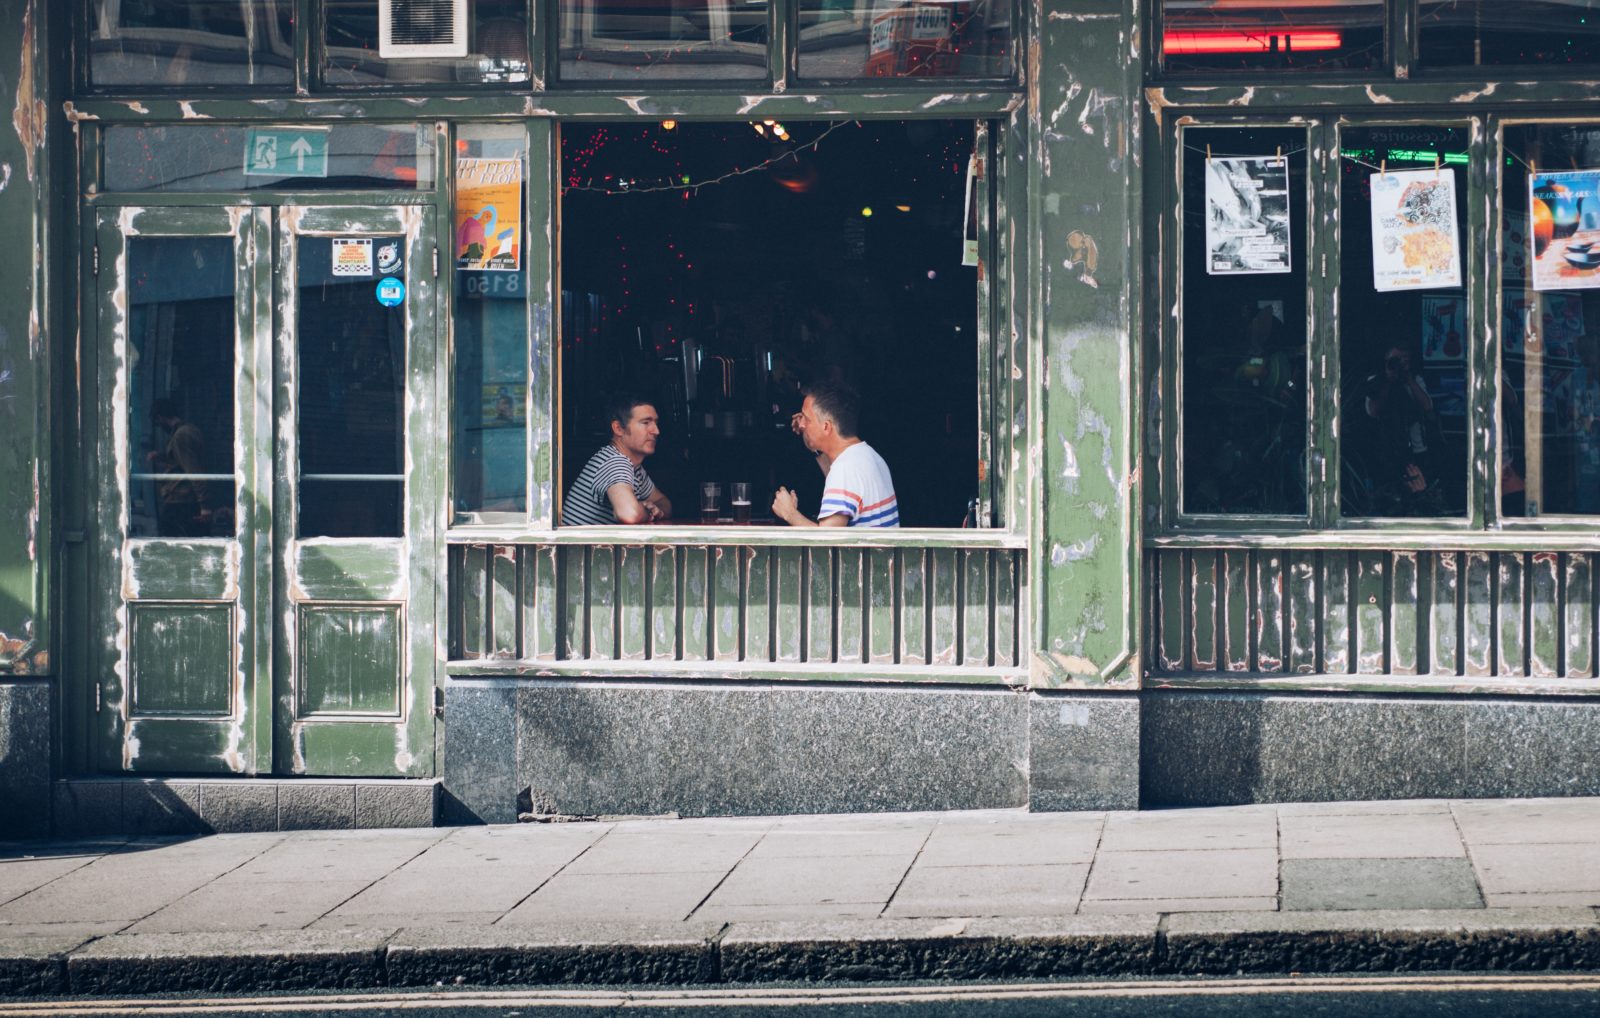
As the sun goes down, the seafront is generally where it’s happening. With a host of trendy bars and clubs, you’ll be sure to get your groove on into the early hours of the morning. In The Lanes, you’ll find a wonderfully weird pub called The Mesmerist. With its 1920s-style setting, you are likely to be welcomed by circus performers, burlesque dancers, party DJs and swing musicians. So, come prepared to lose a little of your dignity. If you’re up for dancing late and loose, most of the moving and grooving late night goes down on Madeira Drive.
EAT WELL
Brighton is home to a thriving foodie scene. Fueled by a young, affluent population and the sea’s bounty a stone’s skim away, the number of great options belie the city centre’s relative small size. Check out our guide to five of the best here.