Going for a shopping trip can be daunting at the best of times, with the paradox of choice gripping you at every turn and an onslaught of advertising making informed decisions tough to make.
In 2020, simply hitting the high street has got even more stressful, with socially distanced shopping the new normal, what’s in stock being increasingly erratic and prices unpredictable.
Enter the subscription boxes, locked and loaded to make life easier. Now, you can get high quality products delivered straight to your door, removing all the hassle, travel costs and most importantly, indecision, from your purchasing process.
We’ve looked at some of the best lifestyle subscription boxes for delivery on the market at the moment so that you can find some new favourites. With everything from beauty products to healthcare items shipped straight to your door each month, here’s the IDEAL guide to the best lifestyle subscription boxes in 2020.
FOOD SUBSCRIPTION
A good lifestyle starts with good, healthy food, with a varied diet of fresh, interesting produce having positive effects on your life across the board.
Rather than resorting to that family recipe spag bol every Monday, and sticking to the same old cheese sarnie for each and every packed lunch, why not change things up and explore the world of food via a subscription box. Some of our favourite food subscription boxes right now include:
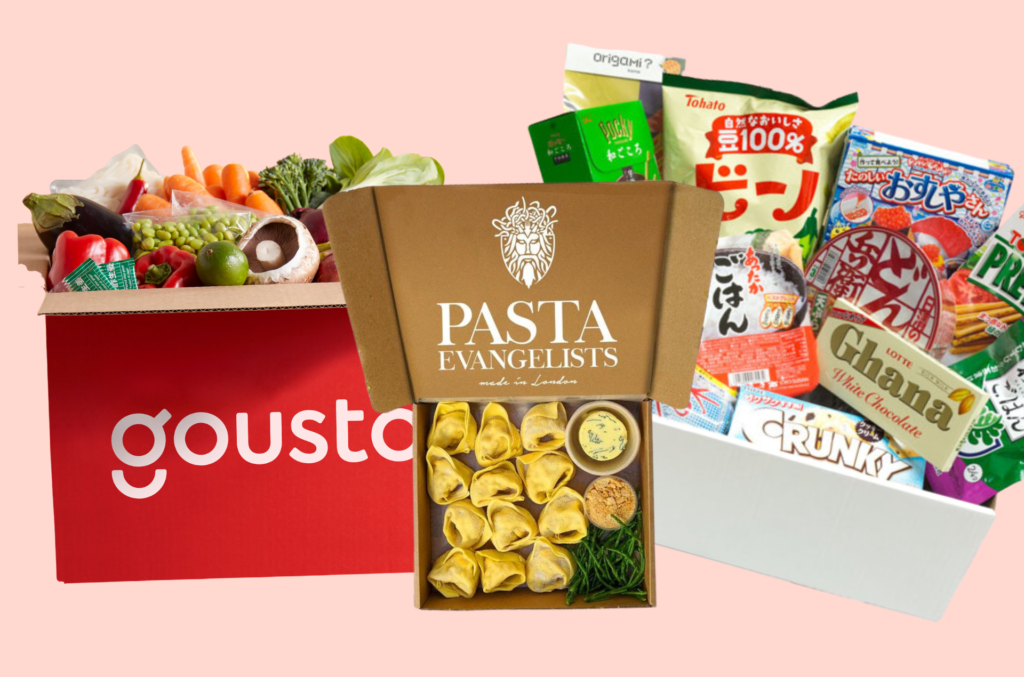
Gousto: If you’re keen on learning fresh and exciting recipes from across the globe, then Gousto is your guy. This subscription box gives you the chance to choose (don’t worry, they’ll do that for you if indecision strikes) from a selection of 40 regularly changing recipes. All you then have to do is select the day(s) of the week you want to cook, and for how many people.
The recipe cards are easy to follow and the quality of produce reliably good. For those wanting to discover new cuisines and expand their repertoire, Gousto is a great option.
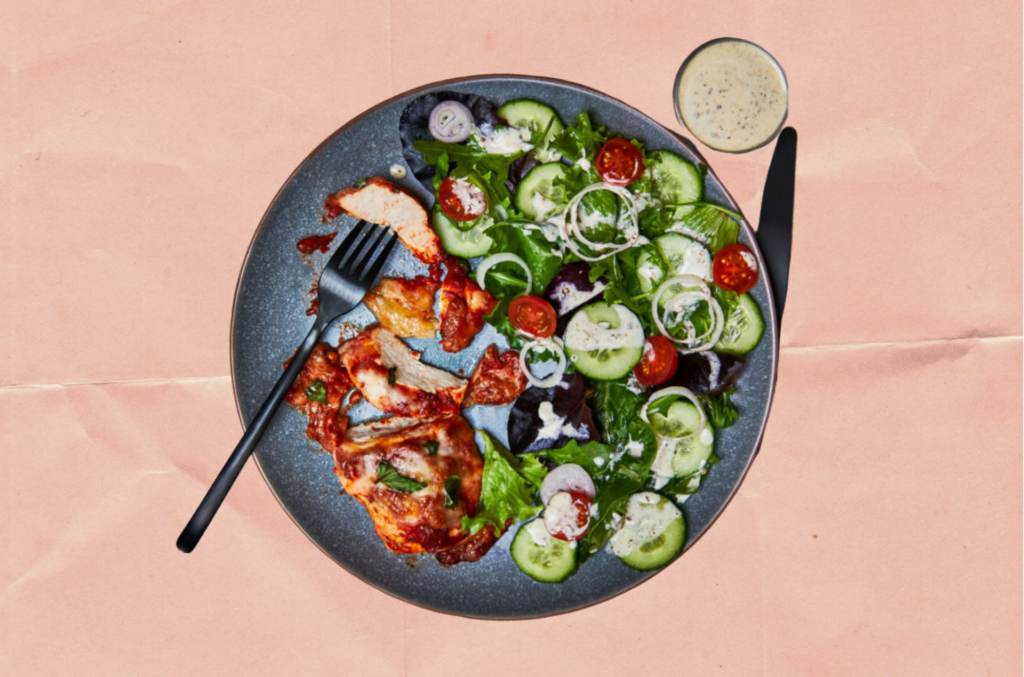
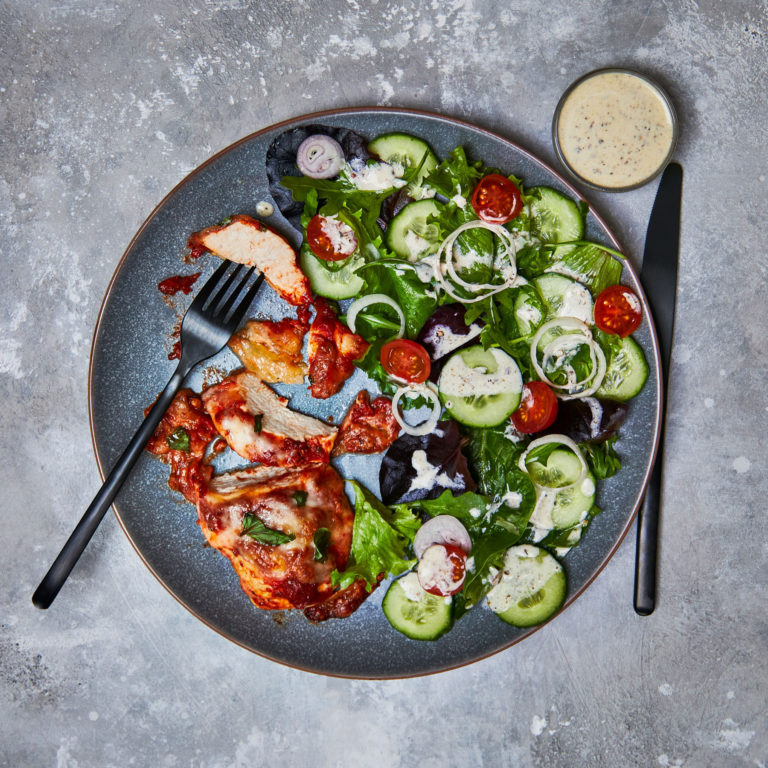
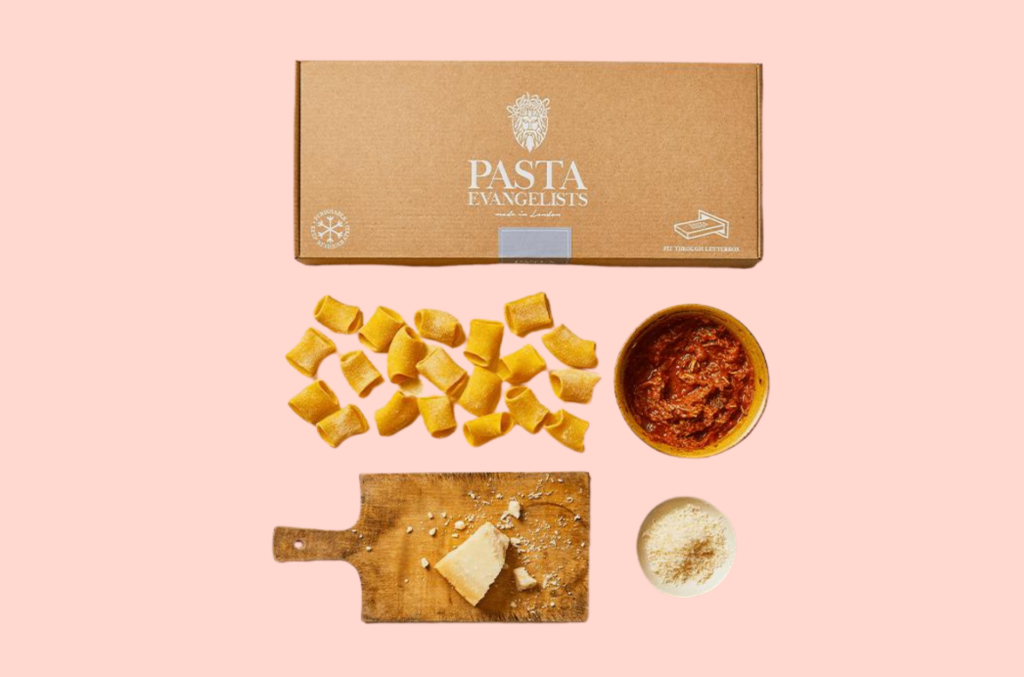
Pasta Evangelists: Delivering top notch quality fresh and dry pasta, complete with sauces and garnish, to the people of the UK, Pasta Evangelists are one of a kind. Each week the company curates a menu of 10 dishes; you simply choose one or more of these high-end dishes, and it’ll arrive at your door ready for dinner the next day.
Get involved in their ‘subscription to save’ service and you’ll enjoy an extra 10% discount. The best thing about Pasta Evangelists? Though it’s on the expensive side, with a portion usually costing around £8, this is a restaurant quality bowlful of pasta, make no mistake.
Japan Centre: Discover Japan through its snacks, which are unique, varied and totally delicious. The best part? You don’t need to take a 12 hour flight to do so. Nope, with the help of Japan Centre’s Pop Culture Snack Box, you can do this at home, on your couch, perhaps watching some anime or better still, our favourite show in the world, ‘Midnight Diner: Tokyo Stories’, on Netflix.
The boxes are delivered at the beginning of the month to ensure you’re stocked up on snacks to see you through this turbulent time. All you have to do is choose from standard (£25 a month) or premium (£40 a month) boxes; you’ll also receive loyalty points which you can use on future Japan Centre orders.
BEAUTY & HAIR
Now you’ve got that insatiable appetite dealt with, it’s time to think about some well deserved pampering.
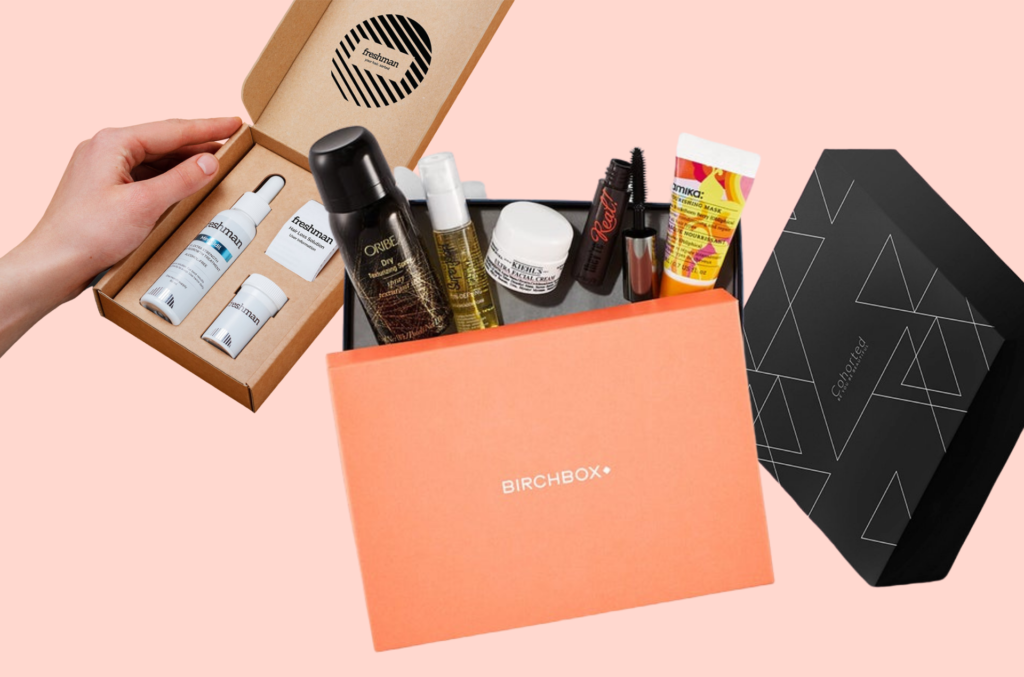
Birchbox: Birchbox is one of our favourite subscription beauty boxes around, each month sending five personalised beauty treats to your door, handpicked tailored to suit your skin, hair and style, for just £10 a month (plus postage and packaging).
All you have to do is complete a questionnaire and provide feedback so they can give you the products you need with precision!
Cohorted: No one is going to argue with premium pampering products delivered straight to their door, right? The good news here is Cohorted are currently offering a subscription box full of goodies from designer brands like Chanel and Dior, with a different selection each month. Voted by Vogue as the number one beauty subscription box going, take a look at some of the previous boxes on their website to get a sense of what’s on offer.
This one one of the more expensive of its kind on the market, costing £39.99 a month, but you get what you pay for here, with items from designer brand here and reliably of the highest quality.
Freshman: One for the guys, this, particularly those who are starting to lose some of their hair. It happens to two-thirds of all men, after all, but it shouldn’t be simply accepted with a shrug and an increased flat cap donning.
Instead, the good guys at Freshman have all you need to prevent further hair loss. You can get an effective, affordable hair loss treatment sent straight to your door each month in a discreet package, starting at just £11 a month. Perfect!
HEALTH AND WELLBEING
Keeping in shape has never been important…
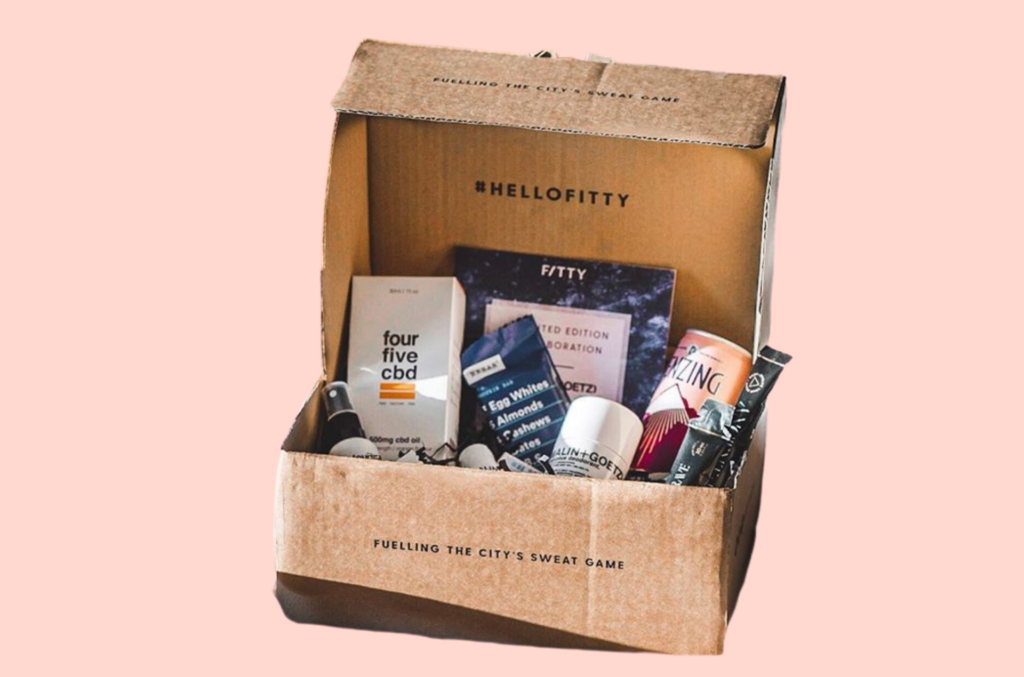
Fitty London: If it’s a boost for your health kick that you’re after, Fitty London have you covered. The company selects great nutritional products and fitness gear for you each month, for both men and women. So, if you want to keep up with the latest fitness products and get a helping hand for your regime, take a look.
There are four boxes to choose from, suitable for various fitness interests – the Boutique Box, the Running Box, the Yoga Box and our favourite, the Paleo Box – with a rolling subscription costing £29.99 a month but getting you products of a value of over £70. Now, that’s a steal!
McCarthy Strength and Fitness: Sometimes, even if you have all the right gear, heading out to the gym is just too much effort, especially if you want to stay safe and indoors in the current cautious climate. Online programmes like those offered by McCarthy Strength and Fitness give you a fresh workout each month, which can be tailored to suit your needs. For £47 for a four week course, a personal trainer will run a programme for you to complete, with updated goals and daily motivation making this a really fun way to keep fit and focused from home.
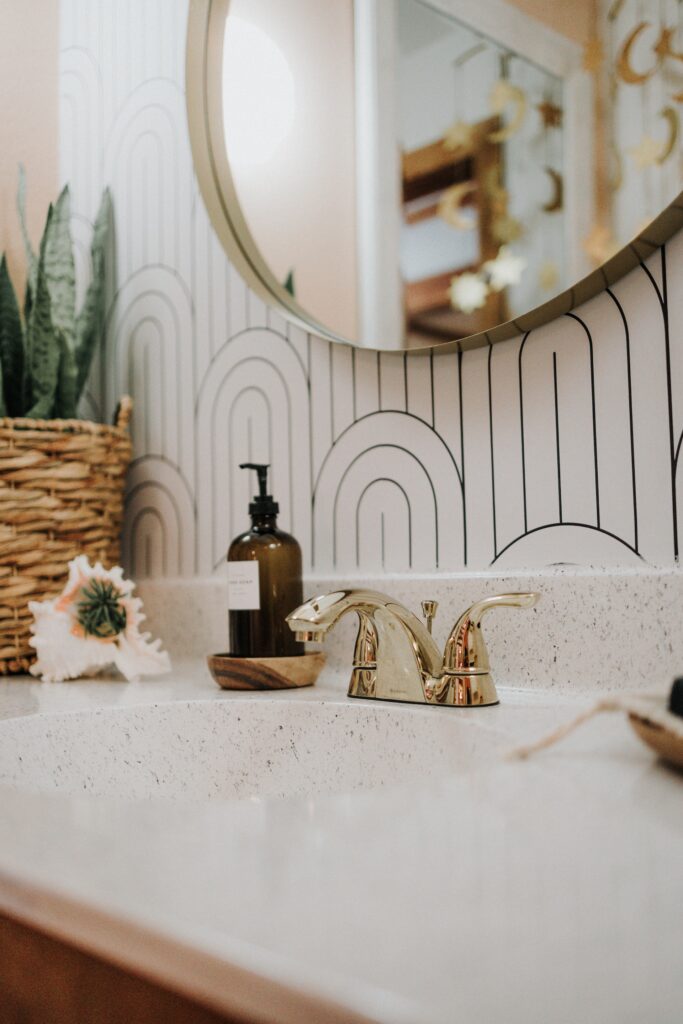
Sudzly: After you’ve spent some time working on your fitness or other aspects of everyday life, you’ll definitely have earned yourself some downtime. Perfect for him or her, the subscription boxes available from Sudzly encourage self-care with their luxurious bathroom products, ideal for soaking those aching post-workout limbs. Though there’s a broad range of choice here, we just love their artisan soap subscription box, which is £25 a month for soaps, plus extra bath, body and skincare items.


")