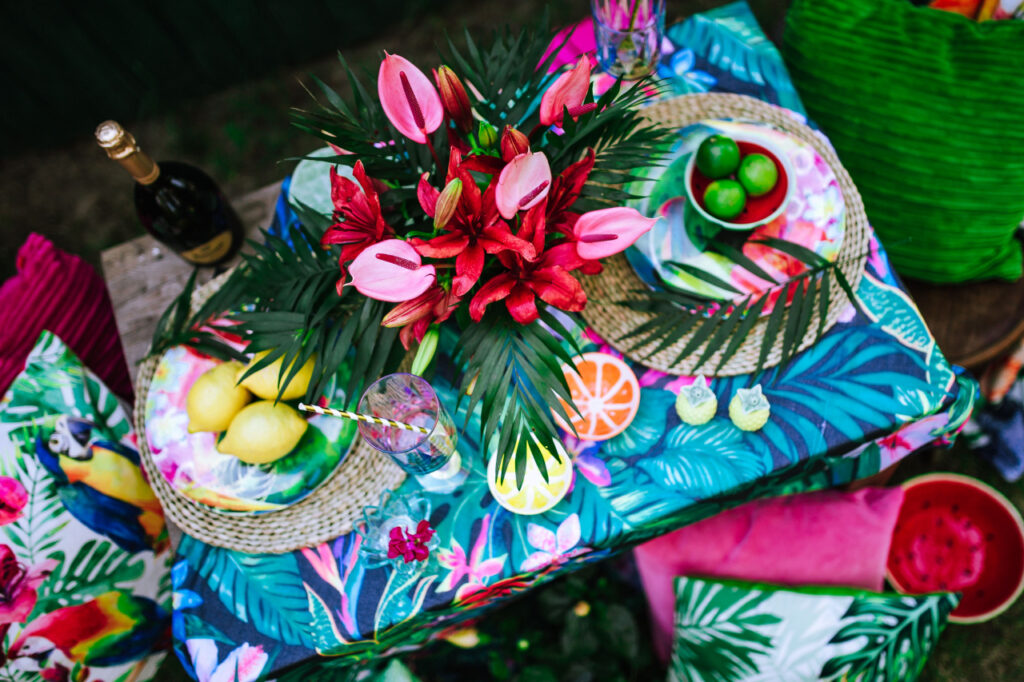
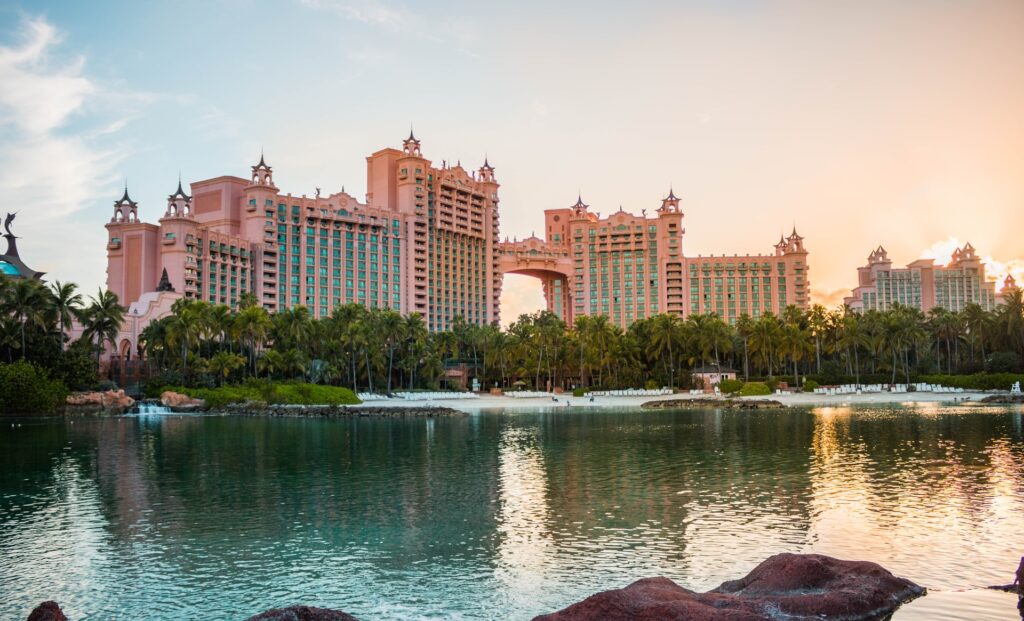
We admire the confidence, we’ll give you that. Because to name a place Paradise Island, you have to be pretty confident it’s going to deliver on that claim. And just off the Bahama’s most populous island New Providence and its capital city Nassau, and reachable by bridge or ferry in around twenty minutes, we can report that the ‘Paradise’ billing is more than justified.
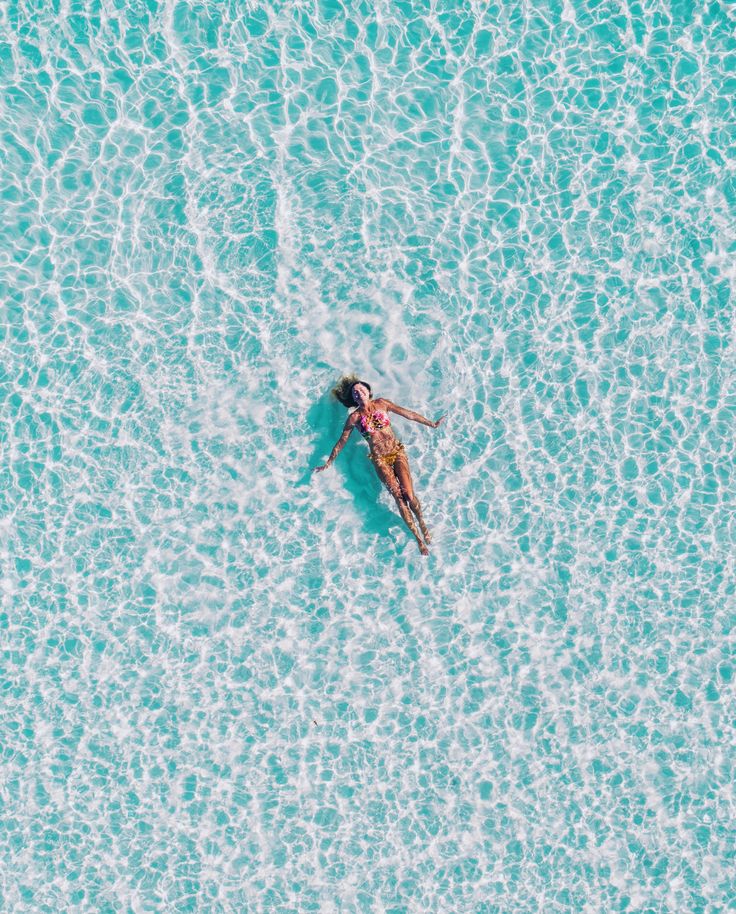
Here you’ll find white, soft sand beaches and shallow, clear waters lined with palm trees and looking out over the Atlantic; the Caribbean dream, no doubt. On top of that, the vast Atlantis resort and entertainment complex dominates the island, attracting the wealthy and the curious to a huge water park and one of world’s most prestigious manmade marine habitats. All of this adds up to plenty of options to keep you entertained, relaxed and refreshed. Let’s get to it; here are 5 of the best things to do in Nassau Paradise Island, the Bahamas.
KICK BACK ON COVE BEACH
Before we dive right into the more stimulating elements of Paradise Island, first let’s take a load off. Bahamians love to kick back, and Cove Beach on Paradise Island is the perfect place to do just that. The clue’s in the name, hey?
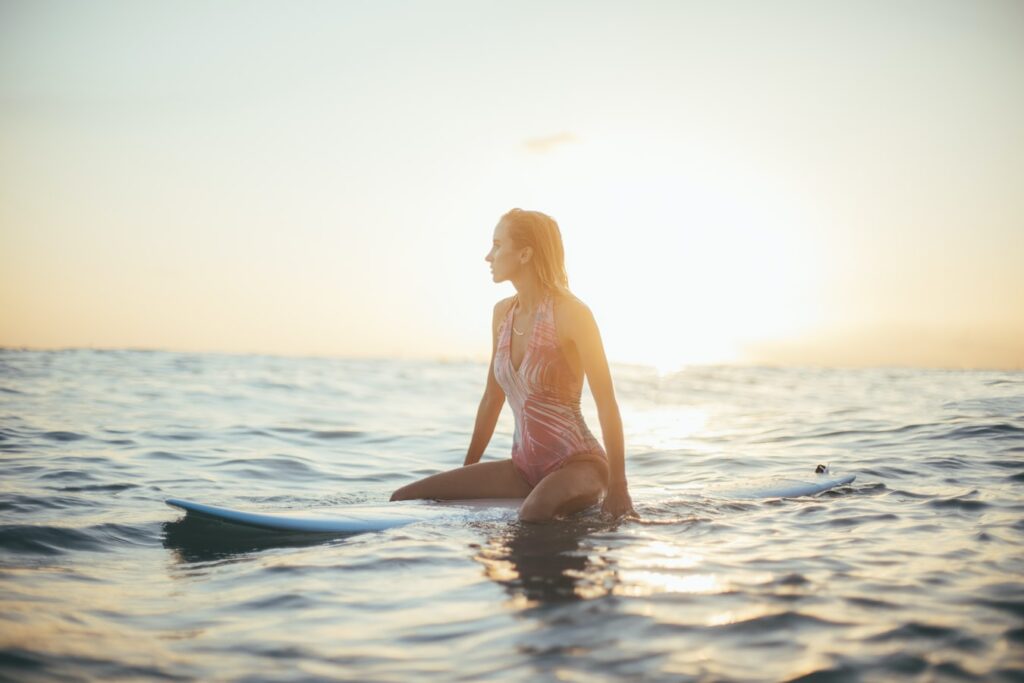
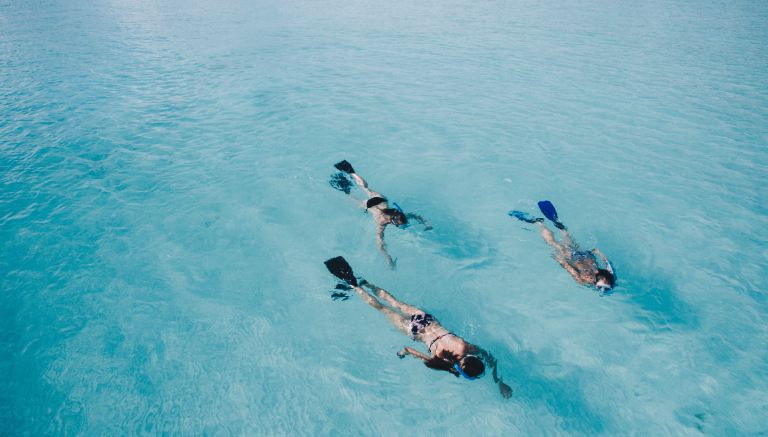
This lovely 1.5 km stretch of sand on the island’s north west boasts crystal clear waters perfect for snorkelling or simply sunbathing. Do note that you need to be a guest of Cove Atlantis Hotel (Paradise Drive) to have full access to the beach, but there’s nothing stopping you settling on the sand through a public footpath to the side of the hotel. There’s also the Atlantis (which requires purchase of a day pass) and Paradise beaches nearby for more sand and surf.
Though much of the rest of the island has rather choppy waves and swimming isn’t always safe (Cabbage Beach, on the island’s south, suffers from this but is still great for strolling or reclining), Cove Beach’s location in a cove means it’s more protected from the elements. Make sure you pack your snorkel, or you can even go scuba diving further out to sea, via an arranged excursion.
RIDE THE SLIDES AT AQUAVENTURE
Or, if sea swimming is looking a little precarious and you’re in the mood for slides, then close to Cove Bay and part of the sprawling Atlantis resort you’ll find Aquaventure. This massive 141 acre waterpark features 20 separate swimming zones, 11 swimming pools, and more slides than you can shake a palm tree’s branch at. Though the Mayan Temple and Power Tower slides are some of the most daring in the Caribbean, Aquaventure also boats a lazy river for those looking for a more low and languid experience.
Should you be staying in one of the associated resorts, entry to Aquaventure is free, but if you’re visiting the island, day passes to Atlantis, which include the water park and beaches, cost £129, giving you access from 9am to 4:30pm.
Right now, Atlantis Paradise is closed, but the park hopes to reopen soon. Do keep checking their website for updates.
GO SOUVENIR SHOPPING AT NASSAU STRAW MARKET
If you’re staying in the Atlantis Resort on Paradise Island and want a glimpse into a different Bahamian way of life, then you should take a ten minute taxi ride back across Paradise Island Bridge onto New Providence proper to check out the famous Nassau Straw Market.
Here, the vibe is very different to the pomp and luxury of Paradise Island’s resort, with handmade Bahamian crafts, clothes and souvenirs on sale and bargains easy to find. As the name suggests woven straw souvenirs like hats and bags made by skilled weavers are the piece de resistance here; straw weaving is a long-standing Bahamian tradition and various islands have distinct styles of plaiting. Do make sure you pick one up on your visit.
Recently relocated indoors close to Bay Street, this is the perfect place to take shelter if winds are high or a tropical storm is brewing; remember to bring your bartering skills, as doing so is actively encouraged here! All part of the fun, we think, and a great glimpse at a different side of The Bahamas.
The Nassau Straw Market is open daily, from 8am to 8pm.
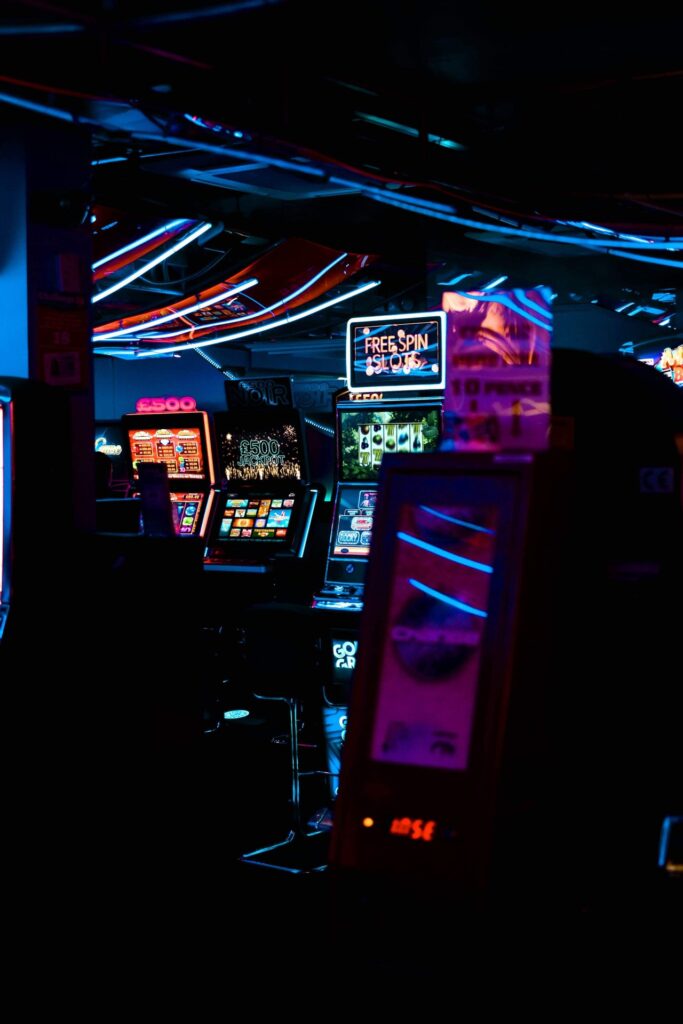
VISIT ATLANTIS CASINO
If you’re seeking spectacular modern architecture and design, as well as amazing glass sculpture designed by artist Dale Chihuly and of course, the thrill of a few table games and slots, then Atlantis Casino is one of the Caribbean’s premier entertainment and gaming venues.
With 85 gaming tables where you can settle in for a game of blackjack, roulette or baccarat, amongst others, and nearly a thousand slot machines, you’ll find loads to keep you entertained here. Interestingly, the Cove Pool area of Atlantis Casino offers poolside gaming with views of the ocean; a welcome deviation from the windowless casinos you usually find!
Should you be keen on brushing up on your skills prior to play, Atlantis offers complimentary gaming lesson each day.
WONDER AT MARINE WILDLIFE AT MARINE HABITAT, ATLANTIS
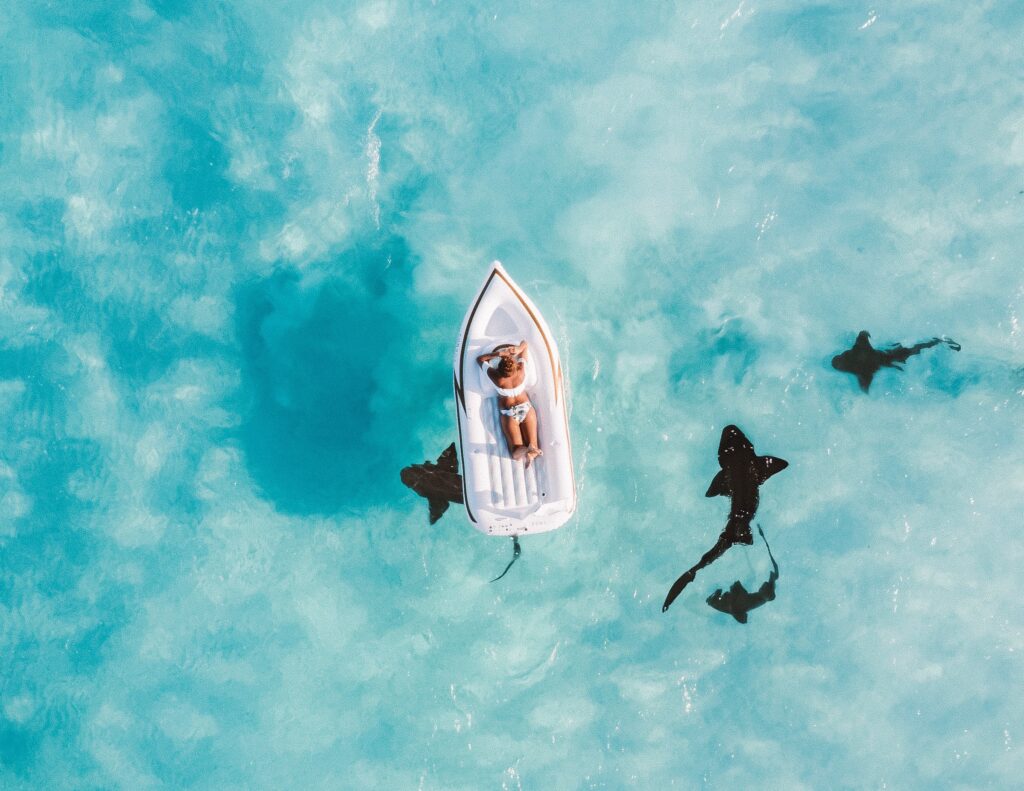
We’ve perhaps saved the best ‘till last here. The Atlantis resort’s Marine Habitat is a world leader in sealife displays and marine conservation, and is the biggest open air marine habitat on the planet. Here you can see more than 50’000 aquatic animals with 14 lagoons showing off different species; we particularly love the ‘Predator Lagoon’ which boasts sharks and rays amongst others, but if you want to get truly up close and personal with the former, then Mayan Temple Shark Lagoon lets you ride a slide through the shark tank! You’ll be surrounded by glass, of course, but it’s totally thrilling nonetheless.
If you’re staying at one of the Atlantis partner hotels, entry is free. Otherwise, Guided Tour tickets cost in the region of £35, and after 6pm it’s free to enter.